Oven Control Board Diagnostic Tool
Select the symptoms you are experiencing with your oven. This tool analyzes common signs of control board failure versus other component issues.
Diagnostic Result
Analysis
Recommended Next Steps
Cost & Repair Advice
You’re standing in your kitchen, staring at an oven that refuses to heat up, or maybe the display is flashing codes you’ve never seen before. It’s frustrating. You check the power, you check the breaker, and everything seems fine. So what gives? In many cases, the culprit isn’t a broken heating element or a faulty thermostat-it’s the oven control board. This small circuit board acts as the brain of your appliance, telling every other component when to turn on, off, or adjust temperature. When it fails, your oven can behave erratically, refuse to start, or even shut down completely. Knowing how to identify a bad control board saves you from buying expensive parts that aren’t actually broken.
What Does the Oven Control Board Actually Do?
Before we hunt for symptoms, let’s clarify what this part is. The oven control board, also known as the electronic range control (ERC) or electronic oven control (EOC), is a printed circuit board that manages all digital functions of your oven. It processes input from the keypad, controls the relay switches that send power to heating elements, monitors the oven temperature sensor, and displays information on the screen. Think of it as the conductor of an orchestra. If the conductor loses their place, the whole band falls apart, even if every instrument is perfectly tuned.
Most modern ovens use a microprocessor-based board. These boards are sensitive to voltage spikes, moisture, and age-related component failure. Unlike mechanical timers, which wear out slowly, electronic boards can fail suddenly due to a single burnt-out capacitor or a cracked solder joint.
Top Signs Your Control Board Is Failing
How do you know it’s the board and not something else? Look for these specific behaviors. If you see more than one of these signs simultaneously, the probability of a board failure increases significantly.
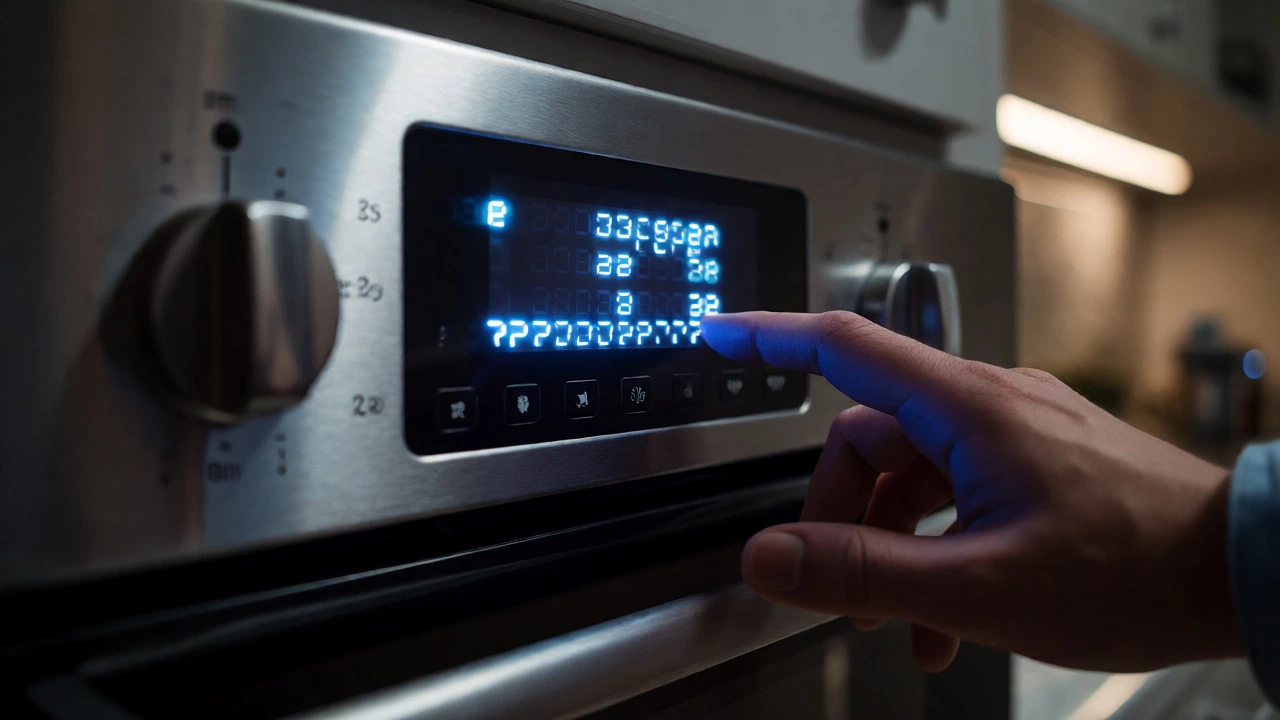
- The display is dead or flickering. If the clock won’t light up, or digits appear scrambled, missing segments, or blink randomly, the board isn’t sending stable signals to the display module.
- Buttons don’t respond consistently. Sometimes the "Bake" button works; sometimes you have to press it five times. Or worse, the oven starts baking when you hit "Broil." This indicates shorted contacts on the membrane switch layer or a failing processor.
- Erratic temperature readings. You set the oven to 350°F, but it heats to 400°F, then drops to 250°F, then shoots back up. If the temperature sensor tests good (more on that later), the board is misinterpreting the data.
- The oven won’t start, but lights come on. Power reaches the unit, so the interior light works, but no heat comes from the elements. This often means the board isn’t closing the relay to send high-voltage power to the bake or broil elements.
- Unexplained error codes. Modern ovens like those from Whirlpool, GE, or Samsung display error codes (e.g., F1, E-2). While some codes point to sensors, persistent codes that reset only after unplugging the oven often signal a main board fault.
Ruling Out Other Culprits First
It’s tempting to blame the most expensive part first, but smart diagnosis rules out cheaper components. A bad control board is rare compared to a failed heating element or thermal fuse. Before you order a replacement board, perform these quick checks.
| Component | Typical Symptom | Test Method |
|---|---|---|
| Heating Element | Oven doesn't heat, but display works | Visual inspection for breaks; continuity test with multimeter |
| Thermal Fuse | Total loss of power or heat | Continuity test (should show 0 ohms) |
| Temperature Sensor | Inaccurate temp or early shutdown | Resistance check at room temp (usually ~1080 ohms) |
| Control Board | Display issues, erratic behavior, no relay click | Voltage output test; visual burn marks |
If your heating element looks intact and has continuity, and your thermal fuse isn’t blown, you’re getting closer to the board. Also, check the door lock motor. On self-cleaning models, if the latch mechanism jams, the board will prevent heating for safety. Listen for the locking sound. If it locks but still doesn’t heat, the board might be failing to send the "heat on" signal.
Performing the Voltage Test
This is the definitive way to confirm a bad board. You’ll need a multimeter and caution-working with live voltage is dangerous. Unplug the oven before accessing the board, then plug it back in for testing.
- Access the control panel. Remove the screws holding the front trim or console. Gently pull the panel away to expose the back of the control board.
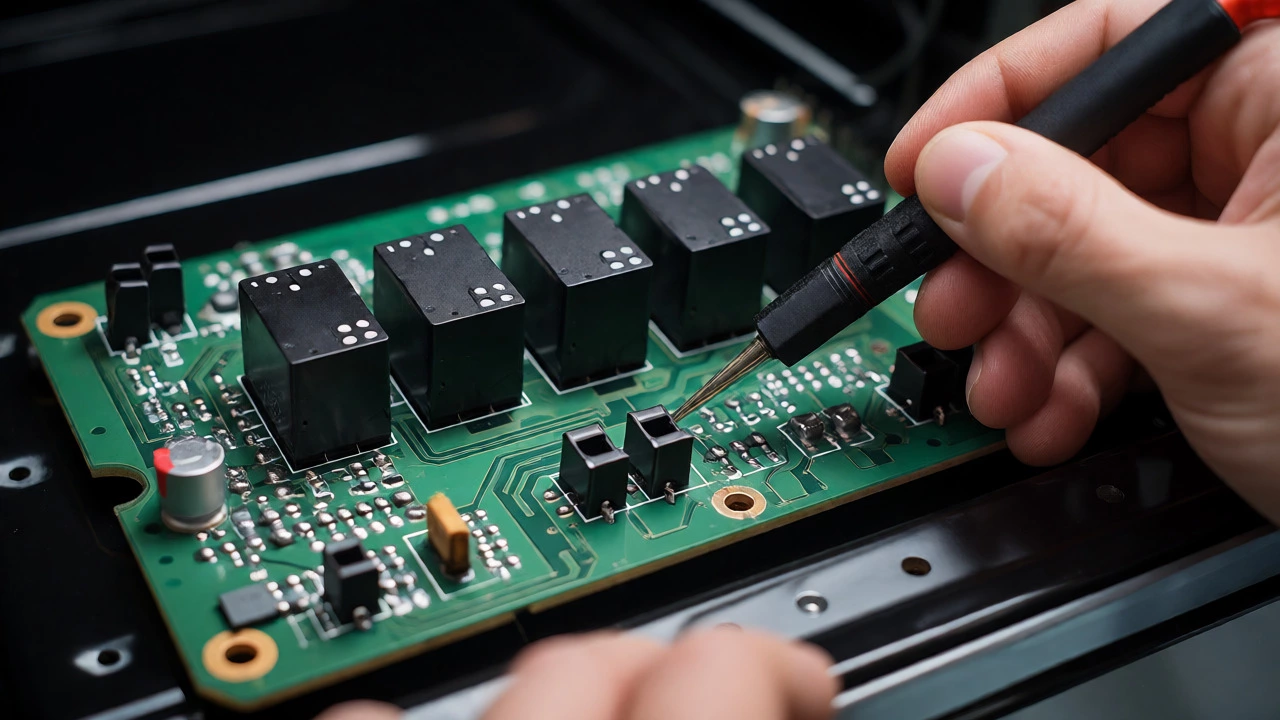
- Identify the relays. Look for black rectangular blocks on the board labeled "Bake," "Broil," or "Element." These are relays that switch power on and off.
- Set the oven. Plug the oven in. Set it to Bake at 350°F. Wait for the preheat cycle to finish.
- Measure output voltage. Place the multimeter probes on the output terminals of the bake relay. You should read approximately 120V or 240V (depending on your model and wiring) when the relay is closed. If the relay clicks (you hear it) but there is no voltage at the output, the relay inside the board is stuck open or the trace is broken. No voltage equals a bad board.
- Check input voltage. Ensure the board is receiving power. Measure across the main power connector entering the board. If you have 120V/240V input but no output from the relays, the board is definitely faulty.
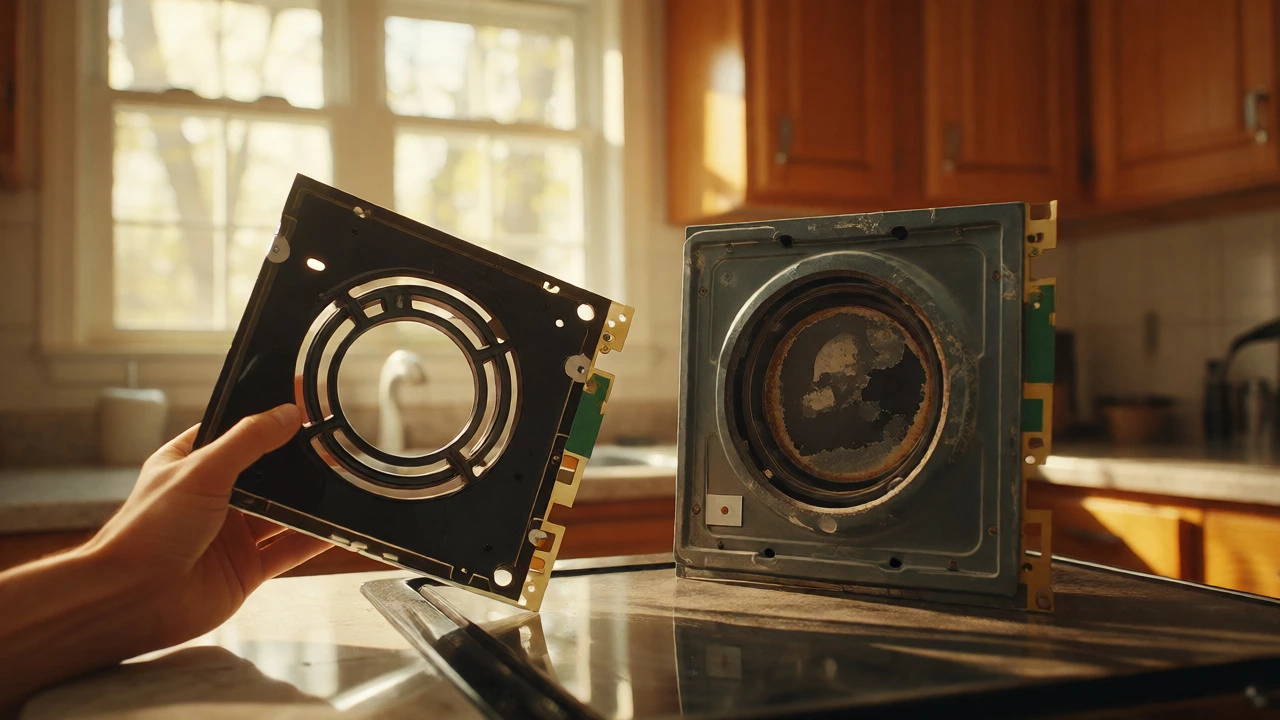
Pro tip: Smell the board. A burnt electronics smell, often described as sharp or acrid, usually points to a blown capacitor or resistor. Visually inspect for brown scorch marks or bulging capacitors. If you see physical damage, replace the board immediately.
When to Replace vs. Repair
Can you fix a control board yourself? Technically, yes. Electronic hobbyists can resolder joints or replace capacitors. But for most homeowners, replacement is the practical choice. Why? Because diagnostic time alone often costs more than the part.
A new OEM (Original Equipment Manufacturer) control board typically costs between $150 and $400. Aftermarket options exist for less, but reliability varies. Labor for a professional technician ranges from $100 to $200 per hour. If you’re handy, swapping the board takes about 30-60 minutes. Just ensure you disconnect power completely and take photos of wire connections before removing the old board.
Consider the age of your oven. If it’s over 15 years old, and the board fails, weigh the cost against buying a new appliance. Newer ovens have better energy efficiency and features. However, if the rest of the oven is in great shape, replacing the board extends its life significantly.
Troubleshooting Specific Scenarios
Not all failures look the same. Here are three common real-world scenarios:
Scenario 1: The "F1" Error Code. Many GE and Hotpoint ovens throw an F1 code. This usually means a shorted touchpad or a faulty ERC. Disconnect the ribbon cable connecting the touchpad to the board. Reset the oven by unplugging it for one minute. Plug it back in. If the error persists, the board is bad. If the error clears, the touchpad is the problem.
Scenario 2: Oven Heats Unevenly. If the top element works but the bottom doesn’t, check the bake relay specifically. If both elements fail intermittently, suspect a loose connection on the main power harness entering the board. Reseating connectors can sometimes solve intermittent issues caused by vibration.
Scenario 3: Display Works, But Fan Runs Continuously. On convection ovens, the fan should run only during certain cycles. If it runs non-stop, even when the oven is off, the board’s logic gate controlling the fan motor may be stuck. This is a classic sign of internal board corrosion or component failure.
Preventing Future Board Failures
Once you’ve replaced the board, how do you keep it alive longer? Electronics hate heat and moisture. Keep the area around the control panel clean and dry. Avoid using steam cleaners directly near the vent above the oven, as moisture can seep into the electronics. Also, consider installing a surge protector for your major appliances. Power surges from lightning or grid fluctuations are silent killers of circuit boards.
Can I bypass a bad oven control board?
No, you cannot easily bypass the control board. It regulates temperature and safety functions. Bypassing it would require manually switching power to the elements, which is unsafe and impractical for daily cooking. Replacement is the standard solution.
How much does it cost to replace an oven control board?
Parts typically range from $150 to $400 depending on the brand and model. Professional installation adds another $100 to $200. DIY replacement saves labor costs but requires careful handling of electrical components.
Do all oven brands use the same type of control board?
No. Brands like Whirlpool, GE, Samsung, and Bosch use proprietary designs. Even within the same brand, boards vary by model year. Always match the part number exactly when ordering replacements.
Is it worth repairing an old oven?
If the oven is under 10 years old and otherwise functional, yes. For older units, compare the repair cost to the price of a new energy-efficient model. If the repair exceeds 50% of the cost of a new oven, replacement is often smarter.
What causes an oven control board to fail?
Common causes include power surges, excessive heat buildup in the control panel, moisture intrusion from cleaning, and general aging of electronic components like capacitors and relays.