When your cooking surface suddenly stops heating, the first question is usually, electric stove repair - can you fix it yourself or do you need a pro? This guide walks you through how an electric stove works, the most common faults, step‑by‑step diagnostics, DIY fixes, and when it’s safer to call a specialist.
How an Electric Stove Works
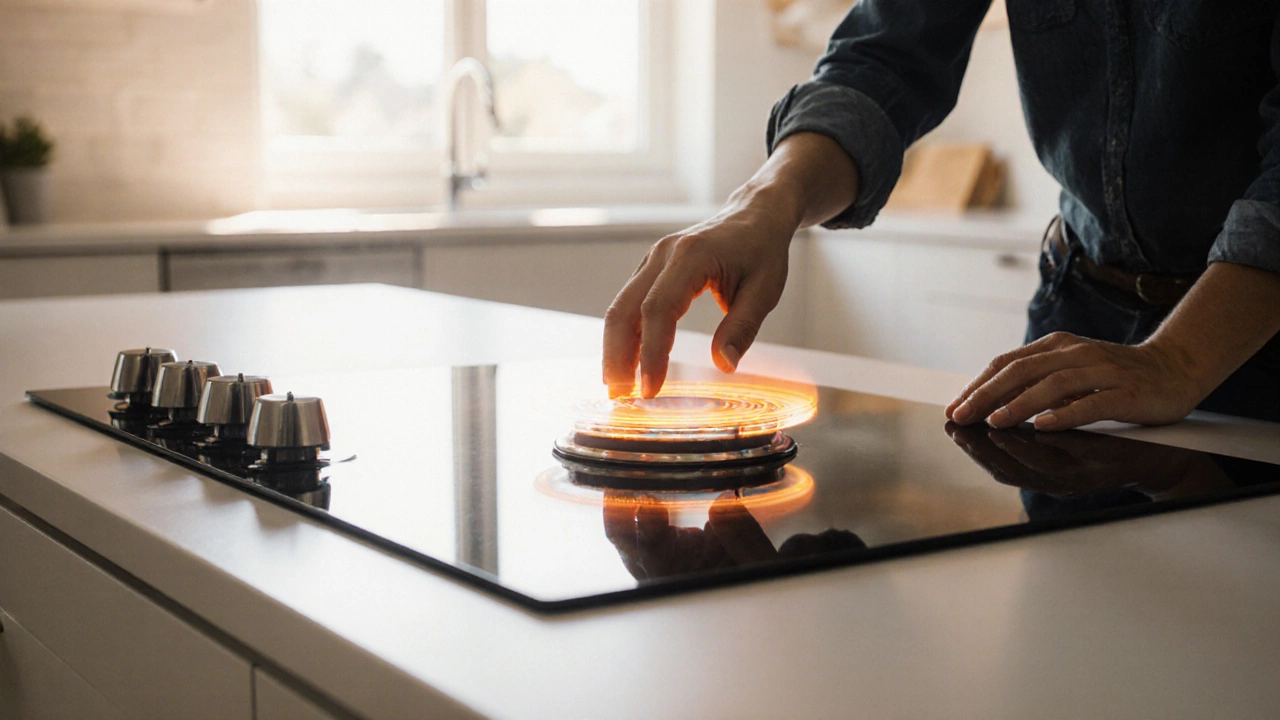
Understanding the basics makes troubleshooting a lot easier. An electric stove (also called an electric hob) consists of a few key parts that turn electricity into heat.
- Heating element is a metal coil or ribbon that becomes hot when electricity flows through it. It’s the part you see glowing under the glass top.
- Thermostat regulates the temperature by turning the heating element on and off based on the set level
- Control board receives the user’s input from the knobs or touch panel and sends power to the appropriate heating element
- Power cord delivers mains voltage (usually 220‑240V in New Zealand) to the internal wiring.
- Circuit breaker in your home’s fuse box protects the stove from overloads.
Typical Signs Something’s Wrong
Before you start pulling parts apart, check for these common symptoms:
- One or more burners stay cold even when turned to high.
- Uneven heating - one side of a burner is hotter than the other.
- Flickering or dimming lights on the control panel.
- Unusual smells (burnt plastic or ozone) when you switch a burner on.
- Tripped circuit breaker right after you start cooking.
Diagnostic Checklist
Follow these steps in order. Keep a notebook handy to jot down what you test and the results.
- Unplug the stove or switch off the dedicated circuit breaker. Safety first.
- Inspect the power cord for cuts, frayed wires, or burnt plugs.
- Remove the burner caps and clean any food residue that might be insulating the heating element.
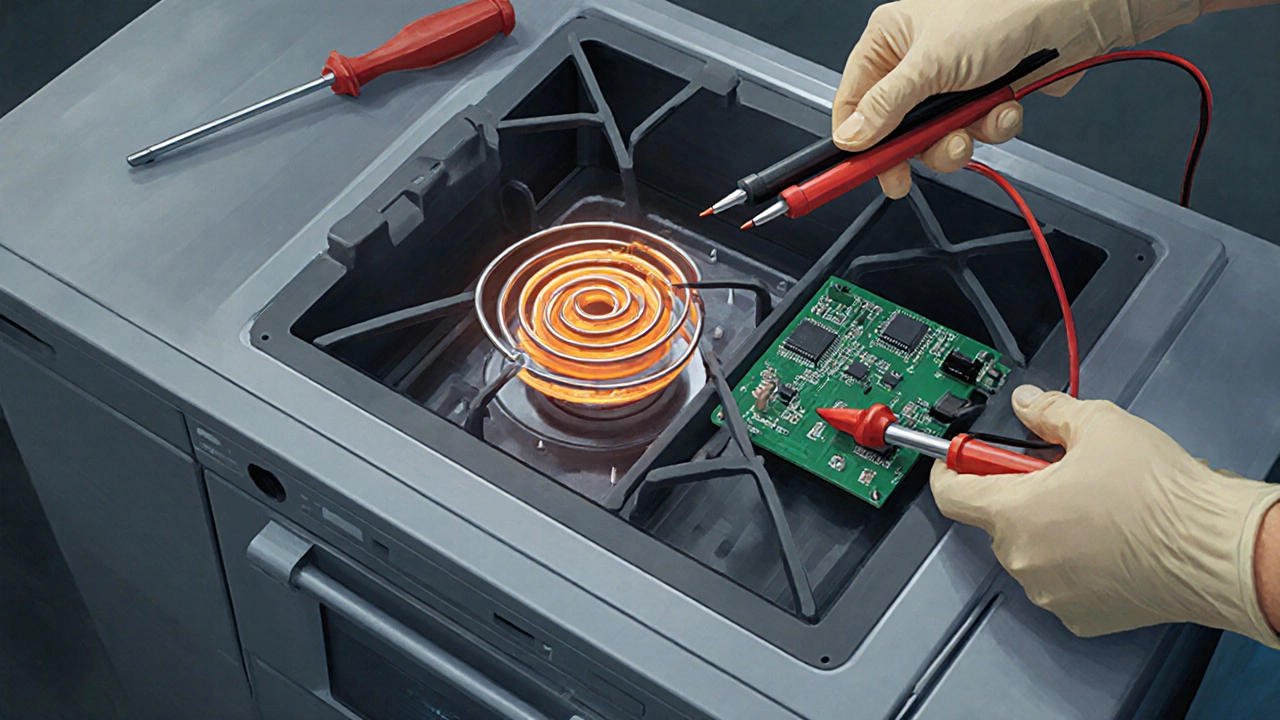
- Use a multimeter to check continuity of the heating element. Set it to the resistance (Ω) mode, touch the probes to the element’s terminals - a reading between 10‑30Ω usually means the element is OK.
- If the element checks out, test the thermostat. Disconnect the element wires, then place the multimeter across the thermostat terminals. A functional thermostat should show near‑zero resistance when set to “high” and infinite resistance when set to “off”.
- Should both element and thermostat be fine, the fault likely lies in the control board. Look for burnt spots or loose solder joints.
- Finally, verify that the circuit breaker in the fuse box isn’t faulty. Reset it and observe if it trips again after the stove is powered.
DIY Repairs You Can Try
Once you’ve pinpointed the culprit, here’s how to fix the most common problems.
Replacing a Faulty Heating Element
- Gather a replacement element that matches the make and model (most manufacturers list part numbers on the original element).
- Remove the burner cap and any securing screws.
- Disconnect the element’s wiring harness - usually a simple plug.
- Slide the old element out of its slot and insert the new one, making sure it sits flush.
- Reattach the wiring, replace the burner cap, and restore power to test.
Fixing a Bad Thermostat
- Thermostats are inexpensive (often under NZ$20). Make sure you buy the exact part number.
- Unscrew the thermostat housing, disconnect the wires, and replace the unit.
- Secure the housing, reconnect power, and verify that the burner now heats appropriately.
Dealing with a Faulty Control Board
Control boards are more complex and pricey. If you have basic soldering skills, you can attempt a re‑solder of any cracked joints you see. Otherwise, ordering a direct‑fit replacement from the stove’s manufacturer and swapping it is usually the safest route.
When to Call a Professional
Even if you love DIY, some situations are better left to experts:
- Repeated circuit‑breaker trips despite a new element.
- Signs of water damage or corrosion inside the control panel.
- Unusual buzzing noises that could indicate a short‑circuit.
- Lack of proper tools - a quality soldering station or a calibrated multimeter costs more than a simple repair.
Professional technicians have access to OEM diagnostic software and can safely test high‑voltage components.
Tool & Part Comparison Table
| Item | Purpose | Typical Cost (NZ$) | Essential? |
|---|---|---|---|
| Multimeter | Check continuity and resistance of heating elements and thermostats | 30‑80 | Yes |
| Screwdriver set (PH & flathead) | Remove burner caps, access panels, and tighten mounting screws | 15‑40 | Yes |
| Replacement heating element | Swap a burnt‑out coil | 20‑60 | Depends on diagnosis |
| Thermostat module | Controls temperature regulation | 15‑35 | Depends on diagnosis |
| Soldering iron | Repair cracked traces on control board | 25‑70 | No (only for advanced fixes) |
| OEM control board | Replace a failed electronic controller | 120‑250 | No (only if board is defective) |
Maintenance Tips to Keep Your Stove Healthy
A little regular care can delay most repairs:
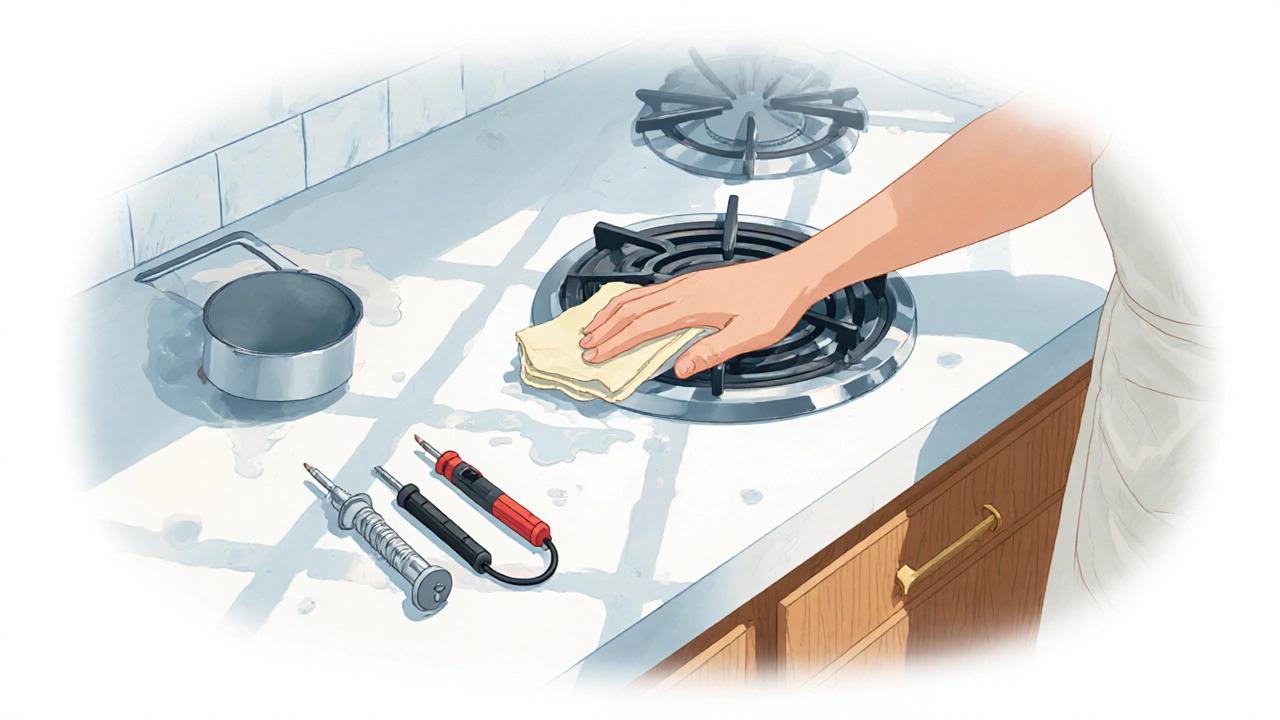
- Wipe spills immediately - sugar or oil can burn onto the element and cause hot spots.
- Use only cookware with flat, heat‑conductive bottoms to ensure even heating.
- Every six months, run each burner on high for a minute to burn off any residue.
- Check the power cord annually for wear; replace it before the insulation cracks.
- Keep the vent openings under the stove clear so heat can dissipate.
Key Takeaways
- Most electric stove failures involve the heating element, thermostat, or control board.
- A basic multimeter, screwdriver set, and replacement parts are enough for 70‑80% of DIY fixes.
- Always disconnect power before inspecting or replacing components.
- If you encounter repeated breaker trips, water damage, or high‑voltage issues, call a qualified technician.
- Routine cleaning and periodic high‑heat runs extend the life of your stove.
Frequently Asked Questions
Why does one burner on my electric stove stay cold?
The most common cause is a faulty heating element. Test it with a multimeter; if the resistance is infinite, replace the element. If the element is fine, check the thermostat or the control board for that specific burner.
Can I use a regular screwdriver on the heating element screws?
Yes, most electric stoves use standard Phillips or flat‑head screws. A set of 3‑mm to 6‑mm screwdriver bits will cover the majority of fasteners.
My stove’s control panel flickers - is that a sign of a bad control board?
Flickering often points to a failing control board or a loose connection. Inspect the board for burnt spots. If you’re comfortable, re‑solder any cracked joints; otherwise, replace the board with an OEM part.
How much does a typical heating element cost in New Zealand?
For most mid‑range models, a replacement element costs between NZ$20 and NZ$60, depending on brand and wattage.
Is it safe to repair an electric stove myself?
Yes, as long as you follow basic electrical safety: unplug the appliance, use insulated tools, and never work on live circuits. If you feel unsure at any point, pause and call a licensed electrician or appliance technician.