Water Heater Maintenance Tracker
Maintenance Checklist
Incomplete-
Annual FlushRemove sediment to prevent corrosion and maintain efficiency.Yearly
-
Check Anode RodInspect sacrificial rod; replace if >50% corroded.Every 3-5 Years
-
Test TPR ValveLift lever to ensure pressure relief works correctly.Monthly
-
Inspect ConnectionsCheck drain valve, gauge, and pipe joints for leaks.Yearly
-
Check Heating ElementsLook for scaling/corrosion on electric elements.Every 2-3 Years
-
Inspect Burner & PilotEnsure flame is blue (not yellow) and clear of soot.Yearly
-
Clear Flue/VentilationRemove debris from flue pipes to prevent CO risk.Yearly
Your water heater is one of the most overlooked appliances in your home until it fails. When that happens, you're left with lukewarm showers and cold baths while waiting for a technician. But most breakdowns are preventable with simple, regular care. Understanding what water heater maintenance actually involves can save you hundreds of dollars in emergency repair costs and extend the life of your unit by several years.
Whether you have a traditional gas or electric tank model, or a newer heat pump system, the core principles of upkeep remain similar. The goal is to manage sediment, check safety components, and ensure efficient energy use. Let's break down exactly what needs attention, how often, and why it matters.
Quick Summary / Key Takeaways
- Flush annually: Removing sediment prevents corrosion and maintains heating efficiency.
- Check the Anode Rod every 3-5 years: This sacrificial component protects the tank from rusting out.
- Test the TPR Valve monthly: A quick pull-test ensures your primary safety release works correctly.
- Inspect connections yearly: Look for leaks at the drain valve, pressure gauge, and pipe joints.
- Know your type: Electric units need element checks; gas units require burner inspection.
Why Sediment Buildup Is the Main Enemy
If you live in an area with hard water, your water heater is fighting a constant battle against mineral deposits. Over time, calcium and magnesium settle at the bottom of the tank. This layer of sediment acts as an insulator, forcing the heating elements or burner to work harder and run hotter to reach the desired temperature. In Dunedin, where water hardness varies by suburb, this is a particularly relevant issue for many households.
More than just wasting energy, sediment causes localized overheating. When the bottom of the tank gets too hot, it can weaken the steel, leading to premature rust and eventual leaks. Flushing the tank removes these deposits before they cause structural damage. It’s not just about cleaning; it’s about preserving the integrity of the vessel itself.
The Annual Flush: Step-by-Step Process
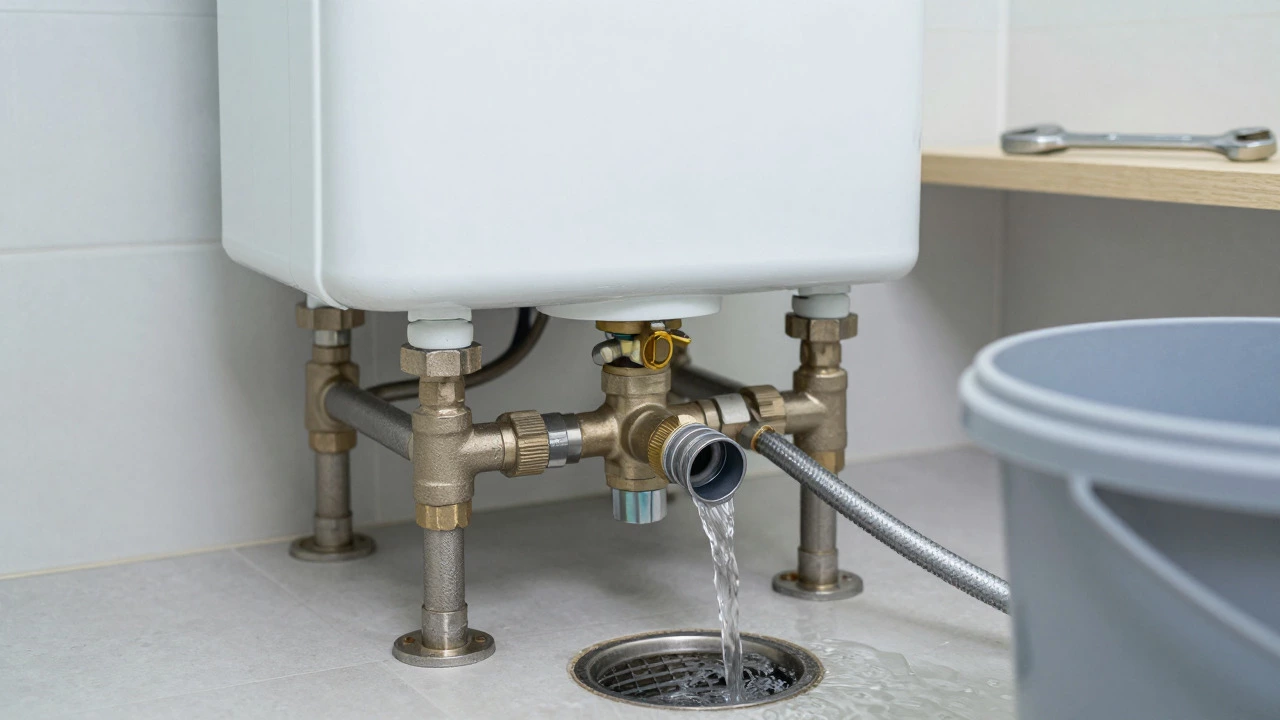
Flushing a standard tank water heater is a DIY-friendly task if done carefully. You’ll need a garden hose, a bucket, and access to the drain valve at the base of the unit. Here is how to do it safely:
- Turn off the power or gas: For electric units, flip the breaker. For gas units, turn the dial to "Pilot" or "Off."
- Cut the water supply: Close the cold water inlet valve located near the top of the tank.
- Attach the hose: Connect a garden hose to the drain valve at the bottom. Run the other end into a floor drain or outside.
- Open a hot tap: Turn on a hot water faucet elsewhere in the house (like a laundry sink) to relieve pressure inside the tank. This prevents a vacuum effect.
- Open the drain valve: Slowly open the valve to allow water to flow out. Initially, it will be murky with sediment. Keep flushing until the water runs clear.
- Close up and refill: Close the drain valve, remove the hose, and slowly open the cold water supply valve. Wait until water flows steadily from the open hot tap before turning it off.
- Restore power/gas: Turn the breaker back on or relight the pilot flame.
Pro tip: If you don’t flush regularly, consider adding a small amount of white vinegar to the tank during the flush cycle to help dissolve stubborn scale, though plain water is usually sufficient for annual maintenance.
The Hidden Hero: Your Anode Rod
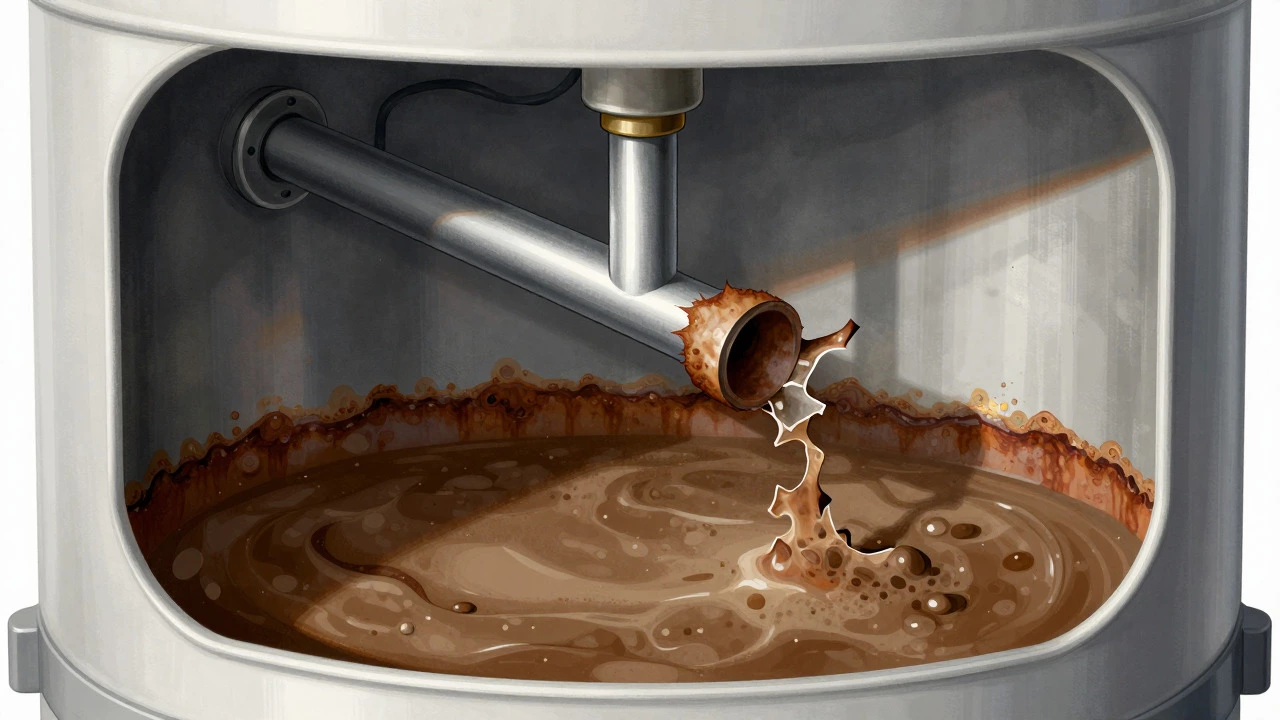
Most homeowners never think about the anode rod, yet it’s arguably the most critical component for extending tank life. Inside the tank, there is a metal rod-usually made of magnesium or aluminum-that sacrifices itself to protect the steel tank from corrosion. As long as the anode rod is intact, it attracts corrosive ions from the water, keeping them away from the tank walls.
However, once the rod corrodes away, the tank itself begins to rust. Checking this rod takes only a few minutes. Remove the hexagonal plug at the top of the tank (often covered by a plastic cap). Use a socket wrench to unscrew the rod. If more than 50% of the metal is gone, replace it immediately. Replacement rods are inexpensive and widely available at hardware stores. Replacing a $15 rod can save you from buying a new $800+ water heater.
Safety First: Testing the TPR Valve
The Temperature and Pressure Relief (TPR) valve is your last line of defense against catastrophic failure. If the water inside gets too hot or the pressure builds up dangerously, this valve opens to release steam or water. If it sticks closed due to mineral buildup, your tank could explode under extreme pressure.
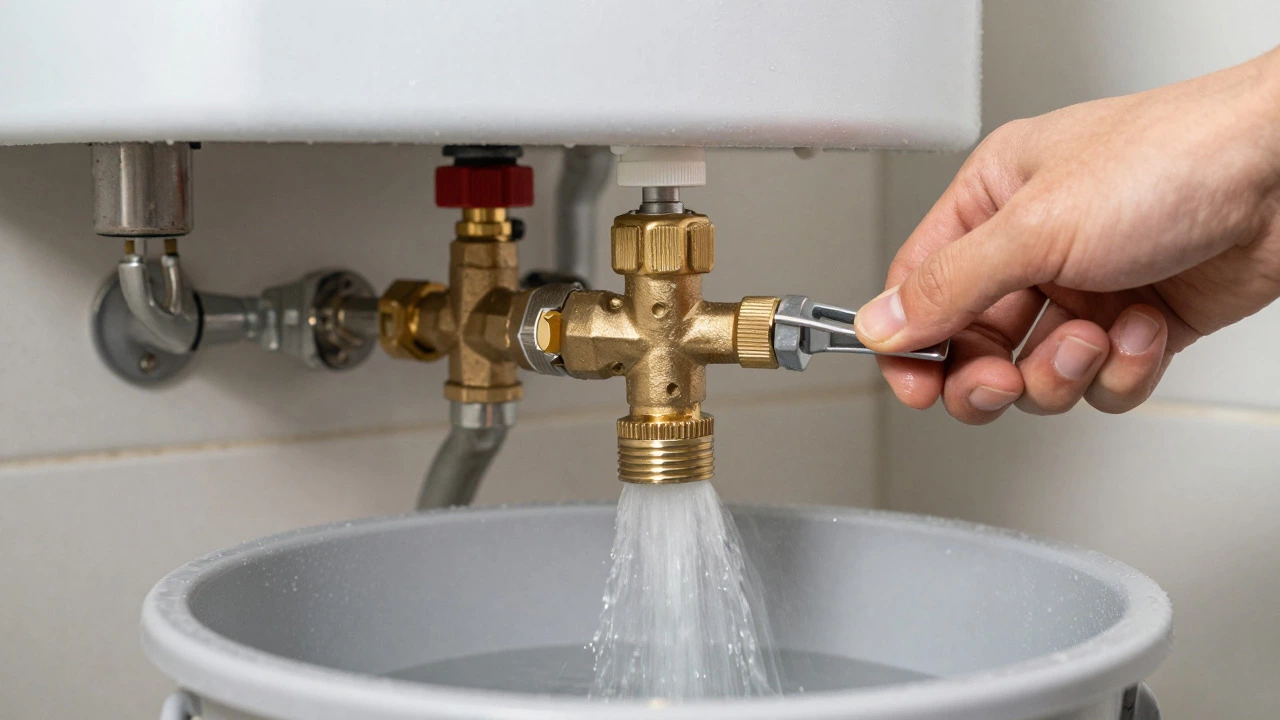
You can test this valve yourself without tools. Place a bucket under the discharge pipe connected to the TPR valve. Lift the little lever handle on the side of the valve. You should hear a hiss and see water gush out briefly. Release the lever, and the flow should stop. If no water comes out, the valve is stuck and needs professional replacement. If water continues to drip after releasing the lever, the seal may be worn, and the valve should be swapped out soon.
Electric vs. Gas: Specific Maintenance Needs
While flushing and anode rod checks apply to both types, there are distinct differences in what else needs attention.
| Task | Electric Tank Unit | Gas Tank Unit |
|---|---|---|
| Heating Elements | Check for scaling/corrosion every 2-3 years. Replace if heavily encrusted. | N/A (Uses burner) |
| Burner & Pilot | N/A | Inspect for soot buildup annually. Ensure pilot flame is blue, not yellow. |
| Ventilation | Ensure exhaust fan vents are clear (if applicable). | Clear flue pipes of debris to prevent carbon monoxide risk. |
| Thermostat | Verify settings match desired temperature (usually 60°C/140°F max). | Adjust via control knob; ensure it clicks when adjusted. |
For electric units, scaling on the heating elements is a common culprit for reduced hot water output. If you notice the water isn't getting as hot as it used to, despite a clean tank, the elements might be coated in limescale. Soaking them in a descaling solution or replacing them can restore performance. For gas units, the focus shifts to combustion efficiency. A yellow, lazy pilot flame indicates incomplete combustion, which produces soot and reduces efficiency. A healthy flame should be bright blue and steady.
When to Call a Professional
DIY maintenance covers about 80% of routine care, but some signs indicate deeper issues that require expert hands. You should call a licensed plumber or appliance technician if:
- Rust appears in the water: Brownish water coming from taps suggests internal tank corrosion.
- Noise persists after flushing: If popping or rumbling sounds continue after a thorough flush, large sediment chunks may be lodged in difficult areas.
- Persistent leaks: Small drips from the tank body (not valves or pipes) are a sign of imminent failure.
- Short cycling: If the heater turns on and off frequently, the thermostat or gas valve may be failing.
In Dunedin, finding a local service provider who specializes in water heaters ensures you get someone familiar with regional water conditions and building codes. Don't wait for a total failure; preventive maintenance is always cheaper than emergency replacement.
Frequently Asked Questions
How often should I flush my water heater?
Ideally, once a year. If you live in an area with very hard water, twice a year may be necessary to prevent significant sediment buildup that affects efficiency and tank lifespan.
What happens if I ignore the anode rod?
Without a sacrificial anode rod, the steel tank will begin to corrode from the inside out. This significantly shortens the life of the water heater, potentially causing it to leak and fail within 2-3 years instead of the typical 8-12 years.
Is it safe to flush a water heater myself?
Yes, for most standard tank units, provided you follow safety steps like turning off power/gas and relieving pressure. However, if you are unsure about accessing the drain valve or handling high-pressure water, consult a professional to avoid injury or property damage.
How much does water heater maintenance cost?
DIY costs are minimal, mostly limited to the price of an anode rod ($10-$20) and potential descaling agents. Professional servicing typically ranges from $100 to $250 depending on the complexity of the unit and labor rates in your area.
Can I add a filter to reduce sediment?
Yes, installing a whole-house water softener or a sediment pre-filter before the water heater can drastically reduce the amount of minerals entering the tank. This reduces the frequency of required flushes and extends the life of the heating elements and anode rod.