Extractor Fan Maintenance: Simple Steps to Keep Your Home Fresh
Every time you cook or take a hot shower, your extractor fan works hard to pull out steam, odors, and moisture. Over time that work can turn into a noisy, stinky problem if you don’t look after it. The good news? Keeping your fan in top shape is easy, cheap, and only takes a few minutes a month.
How Often Should You Clean the Fan?
Think of your fan like a kitchen sponge – use it a lot, it gets dirty fast. For most homes, a quick clean every 3‑4 months does the trick. If you do a lot of frying, grilling, or have a busy bathroom, aim for once a month. The rule of thumb: whenever you notice slower airflow, a musty smell, or the fan sounding louder, it’s time to clean.
Step‑by‑Step DIY Cleaning Guide
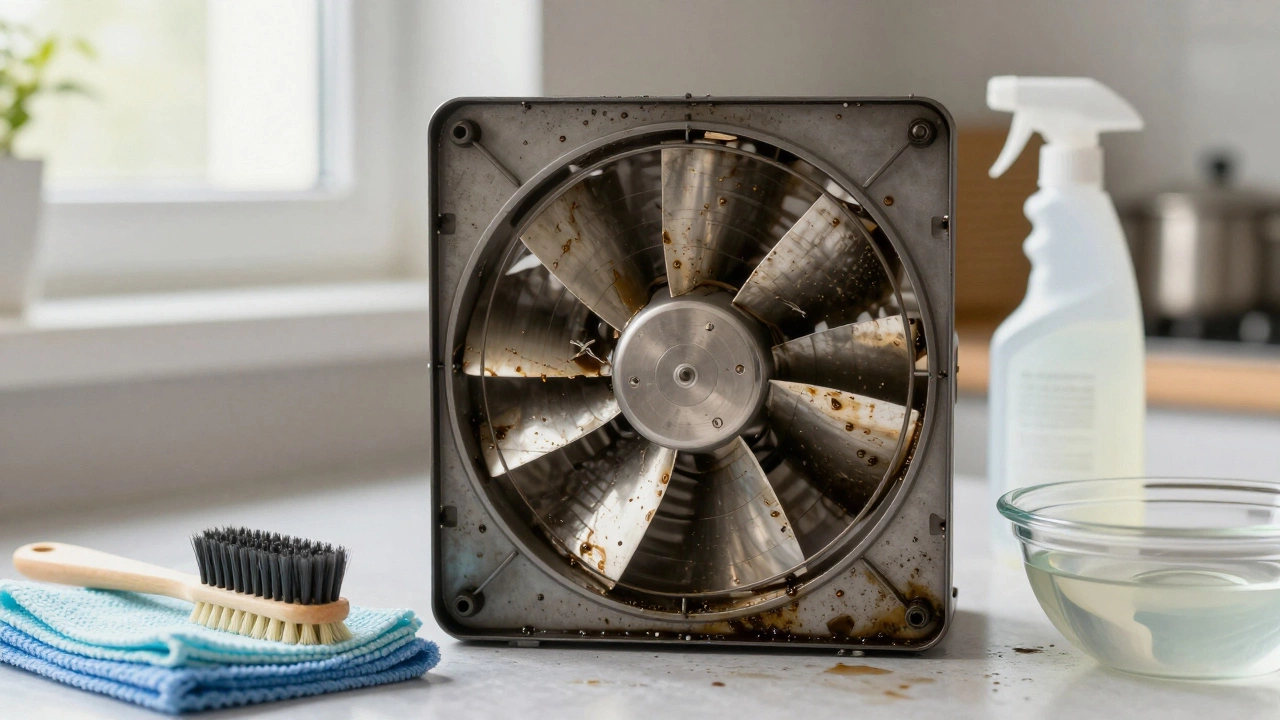
1. Gather your tools. All you need is a screwdriver (usually Phillips), a soft brush or old toothbrush, a vacuum with a hose attachment, a bucket of warm soapy water, and a dry cloth.
2. Turn off power. Safety first – switch off the fan at the wall socket or, better yet, shut the circuit breaker. A quick test with a voltage tester can confirm it’s dead.
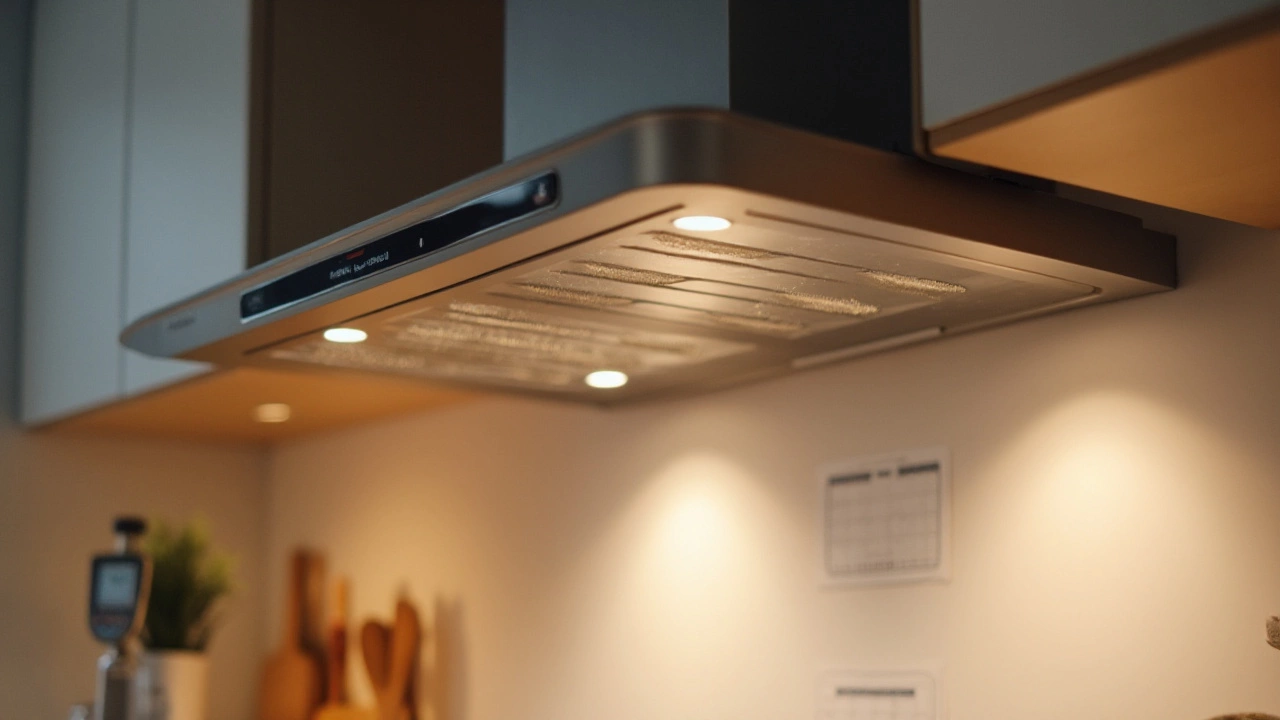
3. Remove the cover. Most extractor fans have a snap‑on or screw‑on cover. Unscrew or pop it off and set it aside. If it’s greasy, soak it in the soapy water for a few minutes.
4. Clean the filters. Many models use a mesh or carbon filter that traps grease. Pull it out, give it a good shake, then scrub with the brush. Rinse, shake off excess water, and let it dry completely before reinstalling.
5. Clear the fan blades and motor housing. Use the vacuum hose to suck out dust from the motor and surrounding area. Follow with the brush to loosen any stuck grime, then wipe everything with a damp cloth. Avoid getting water directly on the motor.
6. Check the ductwork. If your fan vents to the outside, a short section of duct may be clogged. Detach the duct (most have a simple slip‑on joint), vacuum the inside, and brush away any buildup. Re‑attach securely.
7. Reassemble and test. Put the cover back on, secure any screws, restore power, and switch the fan on. You should hear a smoother, quieter operation and feel stronger airflow.
That’s it – a full clean in under 30 minutes. If the fan still struggles after cleaning, it could be a motor issue or a worn bearing. Those parts usually need a professional’s touch.
When to Call a Pro
If you notice any of these signs, contact a qualified technician:
- Persistent humming or grinding noises after cleaning.
- Electrical sparks, burnt smells, or frequent tripping of the circuit.
- Motor won’t start at all, even after a thorough clean.
- Visible wear on fan blades or a broken duct connection.
Trying to fix motor problems yourself can be risky, especially if you’re not comfortable working with electricity. A professional can replace the motor, repair wiring, or recommend a new fan if the unit is too old.
Regular maintenance not only keeps your kitchen and bathroom smelling fresh, it also saves you money by avoiding costly replacements. A clean fan uses less electricity and lasts years longer than a neglected one.
So set a reminder, grab a brush, and give your extractor fan the TLC it deserves. You’ll notice the difference the next time you fire up the hob or take a hot shower – cleaner air, quieter operation, and peace of mind that your home’s ventilation is doing its job.
Jan 1, 2026
How to Clean an Extractor Fan Motor: Step-by-Step Guide for Better Airflow
0 Comments
Learn how to safely clean your extractor fan motor to restore quiet operation, improve airflow, and prevent fire risks. Step-by-step guide with vinegar, tools, and maintenance tips.
Read MoreDec 24, 2024
The Essential Guide to Servicing Your Extractor Fan
0 Comments
Extractor fans play a vital role in maintaining the ventilation and air quality of your home. Regular servicing of these fans is crucial to ensure their efficiency and longevity. This article explores why extractor fan maintenance is necessary, the benefits it offers, how often you should service your fan, common issues that can arise, and some practical tips for effective upkeep. Discover how scheduled servicing can prevent costly repairs and ensure your extractor fan continues to serve you well.
Read More