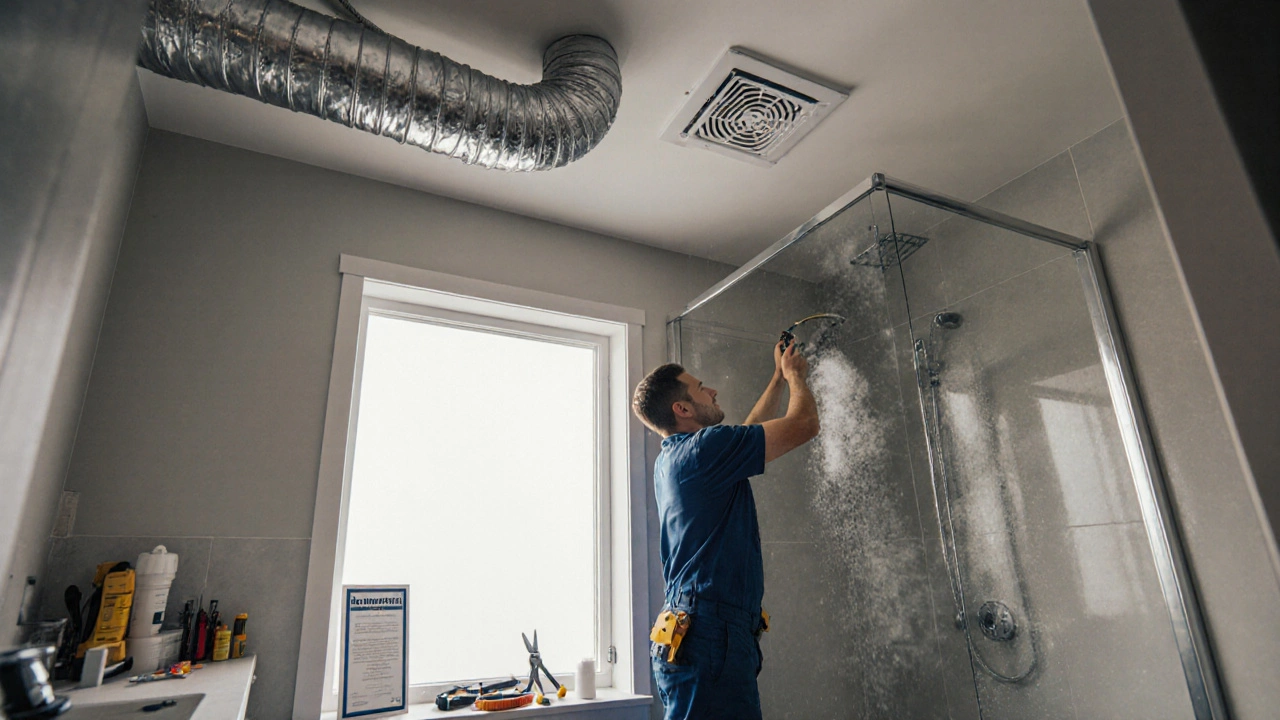
Extractor Fan Installation – Simple Steps to Get Fresh Air Fast
Thinking about putting a new extractor fan in your kitchen or bathroom? You don’t need to be an electrician or a handyman to get it done. With the right tools and a clear plan, you can have a fresh‑air solution up and running in an afternoon.
What You Need Before You Start
First, gather the basics: a drill, screwdrivers, a spirit level, a pencil, and a measuring tape. You’ll also need a fan that matches the size of your room – check the airflow rating (measured in CFM) to be sure. If the fan is electric, make sure you have a suitable power supply and a certified plug or hard‑wired connection. Finally, keep a dust mask and safety glasses handy; cutting into plaster or drywall can send a cloud of dust everywhere.
Step‑by‑Step Installation Process
1. Choose the location. Install the fan near the source of moisture or cooking fumes, ideally on an external wall. Measure the distance to the outside to ensure the duct will reach without sharp bends.
2. Mark and cut the opening. Hold the fan’s outer frame against the wall and trace the outline with a pencil. Use a keyhole saw or a rotary tool to cut through the plaster or tiles. Don’t rush – cut a little at a time and check the fit.
3. Fit the duct. Connect a flexible duct to the fan’s outlet, then run it straight to the outside vent. Seal any joints with foil tape to stop air leaks. If you hit a joist, you may need to drill a small hole to pass the duct through.
4. Secure the fan. Place the fan into the opening and screw it into the wall studs or backing board. Use a spirit level to make sure it sits straight; an uneven fan can cause rattling.
5. Wire the fan. Turn off the electricity at the breaker. If the fan has a plug, simply plug it into a nearby socket. For hard‑wired units, connect the live (brown), neutral (blue), and earth (green/yellow) wires to the corresponding terminals. If you’re unsure, it’s safer to call a qualified electrician.
6. Seal and finish. Apply caulk around the outer edge of the fan to stop drafts and moisture from getting behind it. Fit any decorative grille that came with the fan.
7. Test it out. Switch the power back on and turn the fan on. You should hear a steady hum and feel airflow from the vent outside. If it’s noisy or doesn’t run, double‑check the screws and the duct connection.
That’s it – you’ve installed an extractor fan that will keep your kitchen or bathroom dry and odor‑free. Keep the fan clean by wiping the grille every few months; a clogged fan loses efficiency and can overheat.
When you plan future renovations, remember that a well‑placed fan not only improves comfort but can also protect your walls and ceilings from moisture damage. If you run into any wiring doubts or structural obstacles, don’t hesitate to get professional help. A small investment in proper installation saves you headaches and repair costs down the line.
What Tradesperson Fits an Extractor Fan? Expert Guide for Homeowners
0 Comments
Find out which tradesperson is qualified to fit an extractor fan in your home. Learn why electricians are the best choice, what to avoid, and how to spot a safe, compliant installation.
Read MoreIs It Hard to Replace an Extractor Fan? DIY Exhaust Fan Replacement Tips & Steps
0 Comments
Worried about replacing your extractor fan? Discover if it's really difficult, which skills you need, tools required, important safety tips, and secrets for an easy DIY job.
Read More
