DIY Microwave Fix: Quick Guides & Tips
When working with DIY microwave fix, the practice of diagnosing and repairing a microwave oven by yourself. Also known as microwave troubleshooting, it gives you control over a common kitchen appliance and can save you a service call. Microwave oven, a device that uses high‑frequency radio waves to heat food quickly is built around a few key parts: magnetron, high‑voltage transformer, and the infamous capacitor. Understanding the high voltage capacitor, the component that stores a charge strong enough to power the magnetron is essential for safety. The whole process falls under the broader umbrella of appliance troubleshooting, systematic testing and fixing of household devices. In short, a DIY microwave fix encompasses component inspection, requires safety awareness around high voltage, and benefits from solid troubleshooting skills.
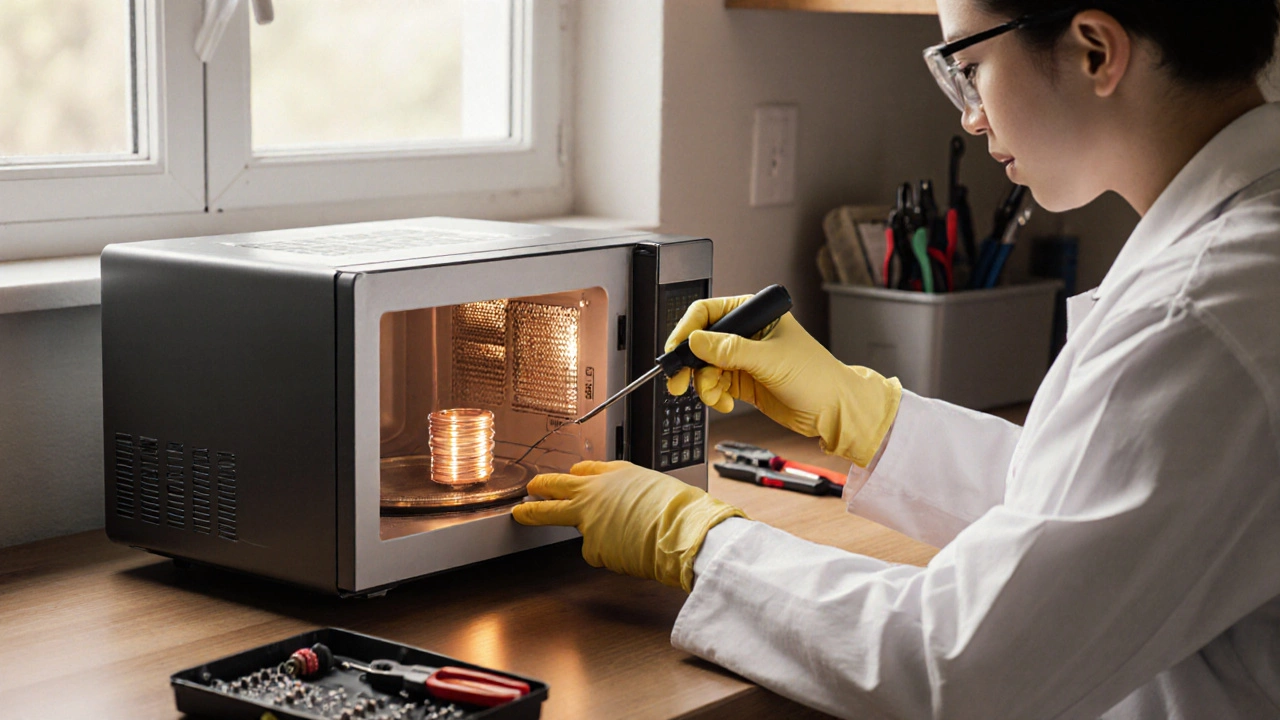
Key Steps, Tools, and Safety First
Start by unplugging the microwave and waiting a few minutes – the capacitor can retain charge even after power is removed. A simple multimeter helps you verify that the capacitor is discharged; you’ll hear a faint click when you short it safely with an insulated screwdriver. Next, remove the outer cover using a screwdriver set; most models use Phillips heads, but a few have hidden torx screws. Once the shell is off, you can visually inspect the door latch, turntable motor, and the magnetron for obvious signs of wear – scorch marks, broken wires, or a humming noise that never stops. If the microwave fails to heat but runs, the magnetron is the usual suspect; testing its resistance with an ohmmeter will tell you if it’s still good. A faulty transformer usually shows up as intermittent power or a burnt smell; swapping it with a known‑good unit is the quickest proof. Throughout the process, wear insulated gloves and eye protection – the high‑voltage side can deliver a painful shock. If at any point you’re unsure, pause and call a qualified technician; the risk of fire or electrocution outweighs the savings from a DIY fix.
Having a clear mental map of the microwave’s internals makes the repair smoother. You’ll need a few basic tools – screwdriver set, multimeter, insulated screwdriver, and maybe a replacement magnetron or capacitor depending on the fault you uncover. Most common issues – door latch failure, turntable motor jam, or a blown fuse – can be resolved in under an hour with the right parts. For deeper problems like a burnt magnetron or transformer, budgeting for a new component is wise; these parts are widely available online at reasonable prices. By following the steps above, you’ll keep the repair safe, efficient, and cost‑effective. Below you’ll find a curated set of articles that dive deeper into specific microwave problems, detailed part‑by‑part guides, and tips on when it makes sense to replace rather than repair. Explore the collection to sharpen your skills and get your microwave humming again.
Oct 16, 2025
DIY Microwave Repair: Step‑by‑Step Fixes for Common Issues
0 Comments
A step-by-step DIY guide to troubleshoot and repair common microwave problems at home, covering safety, tools, fixes for heating, turntable, arcing, and more.
Read More