Got a sputtering, silent, or outright dead microwave and wondering if you can fix it yourself? You don’t need to call a technician for every hiccup. With the right safety precautions, a few basic tools, and an understanding of the key components, most common microwave woes can be tackled at home. Below is a practical, no‑jargon guide that walks you through diagnosing and repairing the usual culprits.
Safety First: Treat Every Microwave Like a Small Power Plant
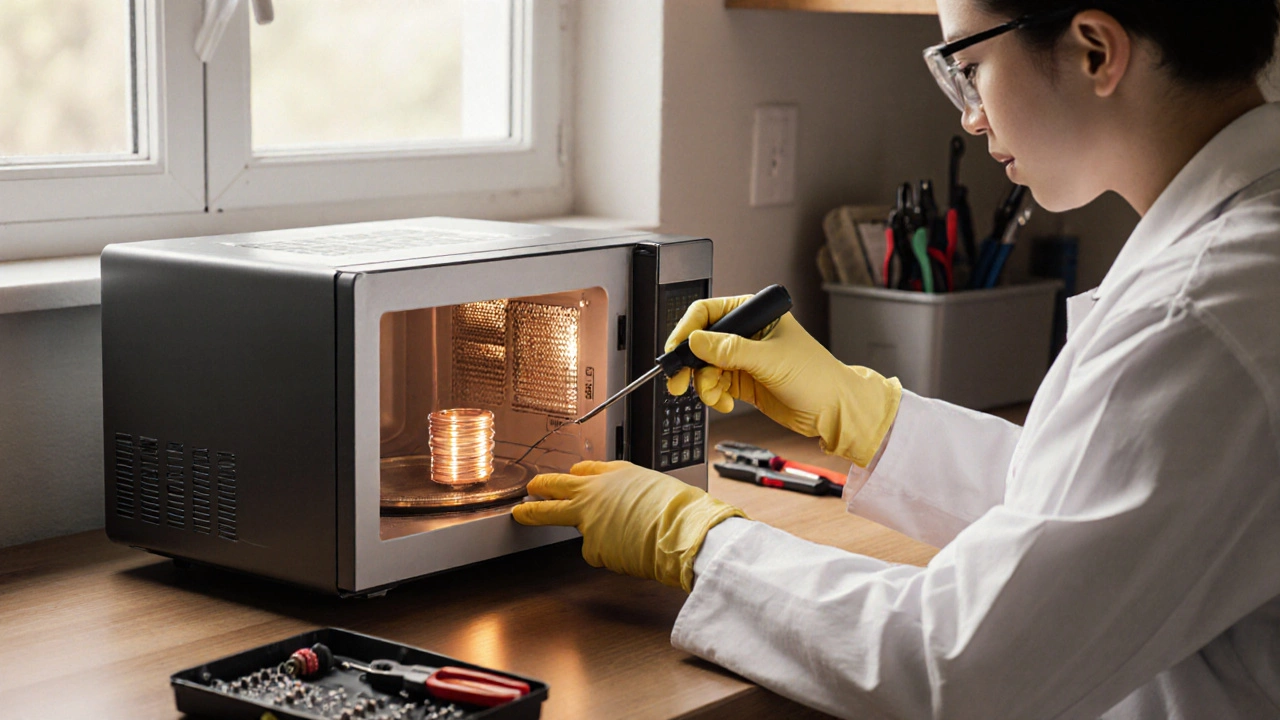
Before you even lift the outer shell, unplug the unit and wait at least five minutes. Microwaves store high voltage (up to 5,000V) in a capacitor that can discharge long after the appliance is unplugged. To be safe, locate the High Voltage Capacitor a component that stores electrical energy for the magnetron and discharge it using a resistor or a screwdriver with an insulated handle. Wear safety glasses and gloves, and never work on a microwave if you feel unsure about the high‑voltage parts.
Tools You’ll Need
- Screwdriver set (Phillips and flat‑head)
- Multimeter for continuity and voltage checks
- Insulated pliers
- Nut driver or socket set for retaining screws
- Replacement parts (magnetron, turntable motor, fuses, door interlock, etc.)
- Microwave‑safe work surface and a container for loose screws
Common Microwave Problems and How to Fix Them
1. Microwave Won’t Heat
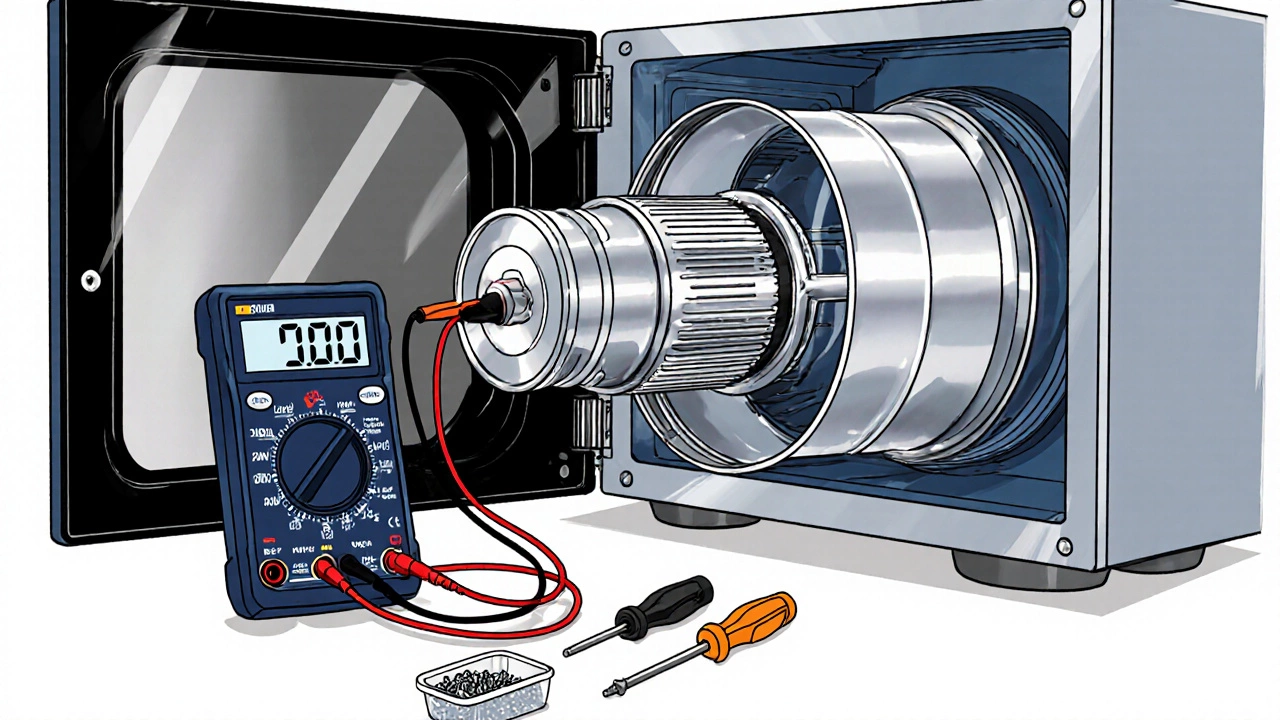
If the turntable spins and the display works but nothing gets hot, the culprit is usually the Magnetron the core component that generates microwave energy or the high‑voltage capacitor that powers it.
- Remove the outer cabinet (usually four screws on the back).
- Locate the magnetron - it looks like a large metal can with a cooling fan attached.
- Use a multimeter to test the magnetron’s continuity. A reading of infinite resistance means the magnetron is dead.
- If the magnetron fails, replace it with an exact match (same wattage and model number). Re‑install, reconnect the high‑voltage capacitor leads, and re‑assemble.
- Run a test with a cup of water for 30seconds. If the water heats, you’re done.
Note: Replacing a magnetron can be pricey, so compare the cost with a new microwave if the unit is older than ten years.
2. Turntable Doesn’t Rotate
A stationary plate usually points to a faulty Turntable Motor the motor that spins the carousel inside the microwave or a broken drive bushing.
- Unplug and remove the glass turntable and the three rollers underneath.
- Inspect the motor shaft for debris or broken plastic pieces.
- Test the motor with a multimeter for continuity; a broken wire shows infinite resistance.
- Swap in a new motor (same voltage rating) and re‑attach the rollers.
- Re‑assemble and test by running a quick 10‑second cycle.
3. No Sound or Buzzing When Running
Missing sound can be a sign of a failed Control Board the electronic brain that manages power and timing or a blown fuse.
- Locate the fuse - often a glass tube near the power inlet.
- Inspect visually; a broken filament or blackened glass means it’s blown.
- Replace with the same amperage rating (usually 5A or 10A).
- If the fuse blows again, the control board may be shorted. Test board voltage outputs with a multimeter.
- Replace the board if voltages are absent or irregular.
4. Sparks or Arcing Inside the Cavity
Arcing is dangerous and usually caused by a damaged Waveguide Cover a metal or mica plate that directs microwaves into the cooking chamber or stray metal objects.
- Turn off and unplug the microwave.
- Inspect the waveguide cover for scorch marks, cracks, or missing pieces.
- If damaged, order a replacement that matches the model.
- Clean the interior with a damp cloth; avoid aluminum foil or metal utensils.
- Re‑assemble and test with a cup of water - no sparks should appear.
5. Display or Control Panel Won’t Light Up
A dead display is often traced to a faulty Door Interlock Switch a safety switch that tells the microwave the door is closed or a bad keypad.
- Open the microwave door and locate the interlock switches - there are usually two.
- Use a multimeter to check for continuity; a bad switch reads infinite resistance.
- Replace the faulty switch (they’re inexpensive and sold by part number).
- Re‑test the keypad functions; if still dead, the control board may need replacement.
6. Microwave Door Doesn’t Close Properly
If the door won’t latch, the interlock switch may be misaligned, or the door hinges could be stripped.
- Inspect the hinges for wear; tighten any loose screws.
- Check the rubber gasket for tears - a compromised seal can prevent proper closure.
- Adjust the door position until the interlock switches engage fully.
- Test by closing the door and listening for the click; the unit should power on.
When to Call a Professional
Even with the best DIY spirit, some scenarios are better left to certified technicians:
- Repeated capacitor discharge warnings or lack of confidence handling high‑voltage parts. \n
- Major water damage or corrosion inside the unit.
- Units older than 12years where replacement costs approach buying new.
- When the microwave exhibits multiple simultaneous failures (e.g., heating and control issues together).
Professional repair ensures compliance with safety standards and can be more cost‑effective than piecemeal part swaps on an aging appliance.
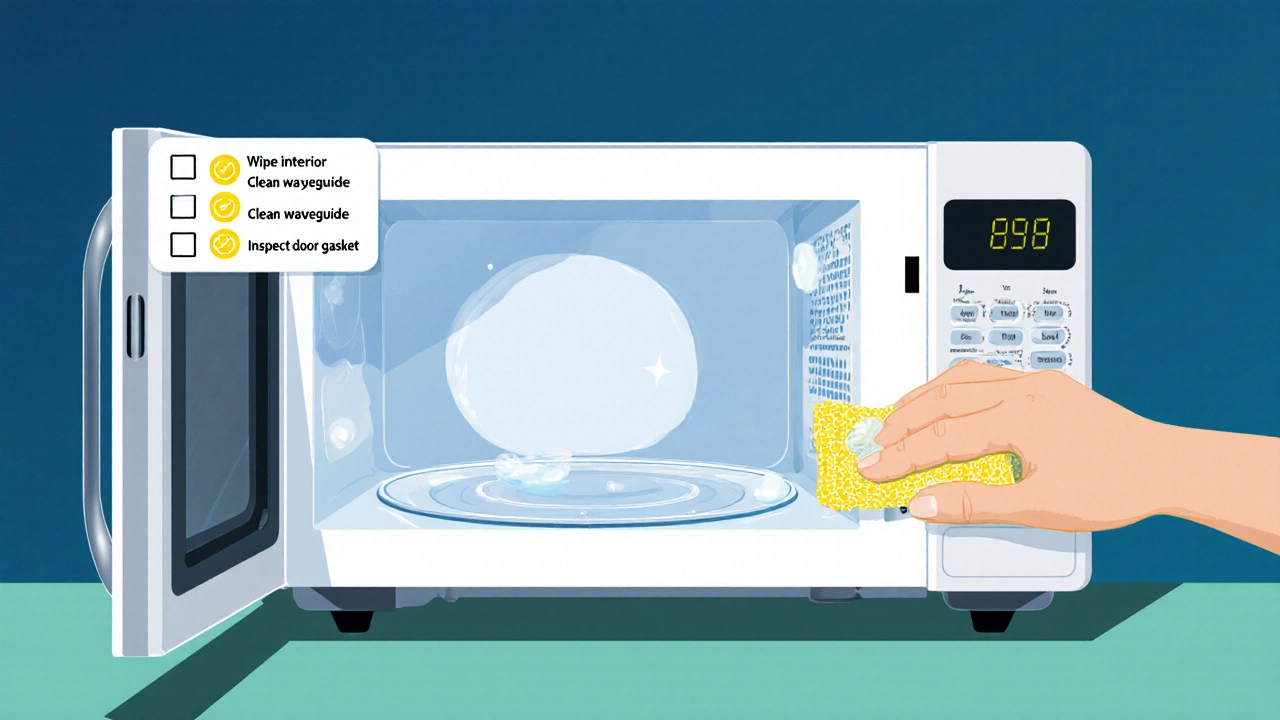
Maintenance Tips to Keep Your Microwave Healthy
- Wipe interior after each use to prevent food buildup that can cause arcing.
- Never operate the microwave empty; it can damage the magnetron.
- Clean the waveguide cover regularly with a soft, damp cloth.
- Avoid metal trays, foil, or twist‑ties inside the cavity.
- Schedule a quick visual check every six months for loose screws or worn door gaskets.
Quick Troubleshooting Checklist
| Problem | Likely Cause | Suggested Fix |
|---|---|---|
| Not heating | Magnetron or capacitor | Test and replace magnetron or capacitor |
| Turntable stuck | Turntable motor or drive bushing | Replace motor or clean bushing |
| No sound | Blown fuse or control board | Replace fuse; if repeats, replace board |
| Sparks inside | Damaged waveguide cover | Replace cover; clean interior |
| Display blank | Door interlock or keypad | Swap interlock switch; test keypad |
| Door won’t close | Hinges or gasket | tighten hinges; replace gasket |
With the right knowledge and a little patience, most of these fixes can be done in under an hour, saving you time and money. If you’re ready to tackle the repair, gather your tools, follow the steps, and enjoy a humming microwave again.
Frequently Asked Questions
Can I repair a microwave without discharging the capacitor?
No. The capacitor can hold a lethal charge even after the unit is unplugged. Always discharge it with a resistor or a specially designed discharge tool before opening the microwave.
How much does a replacement magnetron typically cost?
A new magnetron for a standard 900‑W microwave runs between $30 and $70, plus shipping. Make sure the part number matches your model exactly.
Is it safe to operate a microwave with a cracked waveguide cover?
No. Cracks allow microwaves to escape, which can cause arcing or even fire hazards. Replace the cover before using the appliance again.
What are the signs that the control board is failing?
Typical signs include a dead display, random power loss during cooking, or the microwave completing cycles without heating. A multimeter can confirm missing voltage outputs.
Should I replace a microwave that’s 15 years old?
Often yes. Older units are less energy‑efficient and parts become harder to find. Compare repair costs with a new, energy‑star model; the savings on electricity may justify a replacement.