Boiler Installation Mess Estimator
Select your specific scenario to estimate the potential mess level and expected duration of the work.
Estimated Mess Level:
Time Impact
4–6 Hours
Main Debris
Sludge & Packaging
Key Preparation Tip
You’ve got the quote. The new boiler is sitting in the garage, gleaming and ready to work its magic on your hot water. But then doubt creeps in. You picture dust clouds, dripping pipes, and a living room turned into a construction zone. Is replacing a boiler actually as messy as your neighbor’s horror story suggests?
Here’s the truth: it can be messy, but it doesn’t have to be a disaster. The level of chaos depends entirely on three things: the type of boiler you’re swapping, where it lives, and how well your installer preps the site. In Dunedin, where many homes are older with cast-iron radiators and asbestos-adjacent insulation, the stakes for keeping things tidy are higher than in a modern build. Let’s break down exactly what gets dirty, what stays clean, and how to keep your carpets safe.
The Short Answer: It Depends on the Swap
| Replacement Scenario | Mess Level (1-5) | Main Debris Source | Time Impact |
|---|---|---|---|
| Like-for-Like Swap (Same Location) | 1 - Low | Old sludge from pipes, minor packaging waste | 4-6 hours |
| Cupboard to Cupboard (Different Size) | 2 - Moderate | Wood shavings from cupboard modification, pipe fittings | 6-8 hours |
| Relocation (e.g., Kitchen to Garage) | 4 - High | Dust from drilling/chasing walls, old flue holes, floor protection wear | 1-2 days |
| System Conversion (Combi to System) | 3 - Moderate-High | Cylinder removal/installation, extra pipework, insulation debris | 1 day+ |
What Actually Makes It Dirty?
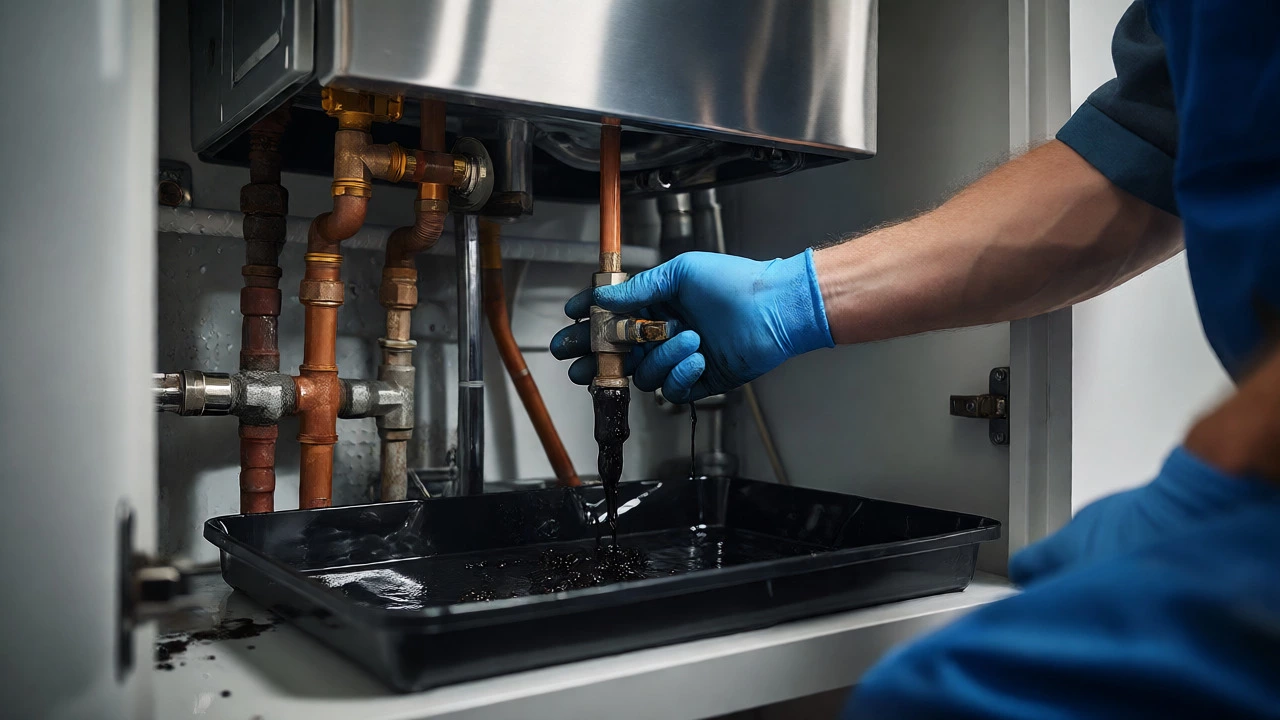
Most people fear the mess before they see it. So, let’s look at the specific culprits. When an engineer disconnects your old unit, residual water often remains in the heat exchanger or connected pipes. This isn’t just clear tap water; it’s often black, smelly sludge caused by corrosion inside your radiators. If the installer isn’t careful with drip trays, this gunk can stain floors. That’s why professional plumbers use heavy-duty absorbent pads and sealed buckets. They don’t just yank the pipes out; they cap them immediately.
Then there’s the physical labor. Removing an old cast-iron radiator or lifting a heavy copper cylinder requires moving through hallways and stairs. Scuffs on skirting boards happen if corner guards aren’t used. In older Dunedin villas, moving large components through narrow doorways might require removing doors temporarily, which adds to the visual clutter but not necessarily the dirt. The real dust comes from modifications. If your new boiler needs a different flue position, the installer must drill through brick or weatherboard. Brick dust is fine, pervasive, and hard to vacuum up without a HEPA filter. Weatherboard creates wood chips. These are manageable but noticeable.
Preparation Is 90% of the Battle
You can’t control the physics of plumbing, but you can control the environment. Before the team arrives, clear the area around the existing boiler completely. Remove clothes, cleaning supplies, and anything that can catch dust. If the boiler is in a kitchen cupboard, empty the shelves. Why? Because installers need elbow room to work safely, and tight spaces lead to bumped elbows and dropped tools. A cleared space also makes it easier for them to lay down protective sheeting properly.
Ask your installer about their floor protection protocol. Good ones bring thick, rubber-backed canvas sheets, not just thin plastic drop cloths. Plastic slips; canvas grips. For carpeted areas, they should tape down edges to prevent tripping hazards and stop dust from seeping underneath. If you have hardwood floors, ensure they know to avoid dragging metal pipes across the finish. A quick conversation here saves you from sanding marks later.
The Flue Factor: Where Dust Really Hides
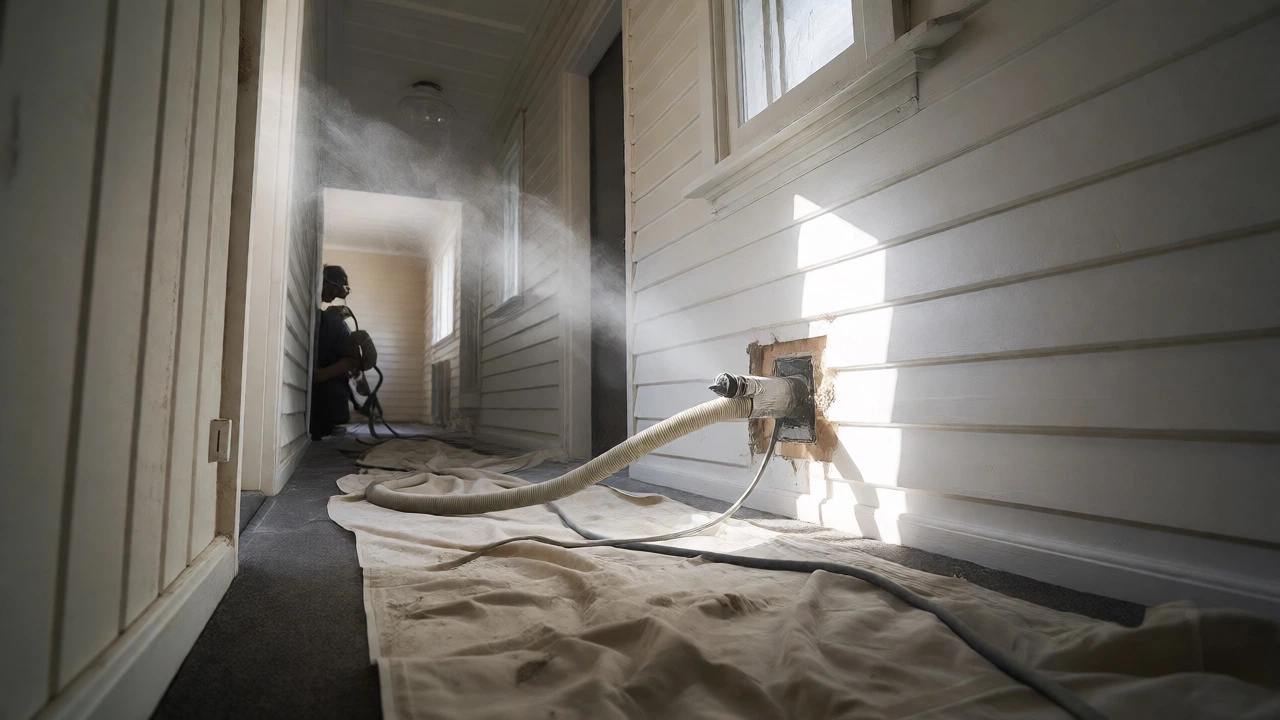
If you’re switching from a conventional boiler to a combi, or changing brands, the flue outlet likely needs repositioning. This is the single biggest source of indoor dust during a replacement. Drilling a new hole through external walls generates significant debris. However, competent technicians use dust extraction units attached directly to their core drills. If you see a vacuum hose snaking from the drill bit, you’re in good hands. If they’re using a hammer drill without extraction, expect a fine layer of grit on nearby surfaces.
In New Zealand, compliance with NZS 3604 and gas safety regulations means flues must meet strict clearance requirements. Sometimes, this forces the flue into an awkward spot, requiring more wall chasing than anticipated. Chasing-cutting grooves into plasterboard or brick to hide pipes-creates drywall dust or masonry rubble. This is why relocation jobs feel so much messier than like-for-like swaps. The pipes have to travel further, and they rarely stay on the surface forever.
Dealing with Old Sludge and Radiator Flushes
Replacing the boiler is one thing; maintaining the rest of the system is another. Often, the messiest part isn’t the boiler itself but the power flush. If your radiators are cold at the bottom, your system is clogged with magnetite sludge. A power flush involves circulating high-velocity water and chemicals through the entire loop to dislodge this grime. The wastewater coming out starts black and foul-smelling, eventually turning greyish-white when clean.
This process requires connecting hoses to multiple radiators throughout the house. Each connection point is a potential leak. While professionals isolate each radiator carefully, small spills are common. Having towels handy for the engineers helps speed up cleanup. More importantly, this step prevents future headaches. A clean system protects your new boiler’s warranty and efficiency. Skipping the flush because you’re afraid of the mess is a false economy; you’ll pay for it in higher energy bills within two years.
Post-Installation Cleanup: Who Does What?
Don’t assume the job ends when the flame ignites. A reputable installer will leave the site broom-clean. This means all packaging cardboard, plastic wrap, and old parts are removed. They should sweep visible debris from the immediate work area. However, they won’t mop your kitchen or vacuum your hallway unless specified in the contract.
Expect some residual dust even after sweeping. Fine particles settle slowly. Once the crew leaves, do a gentle wipe-down of horizontal surfaces near the work zone. Check behind furniture if drilling occurred nearby. If you notice significant staining from sludge or uncontained dust, address it immediately while the team is still packing up. It’s easier to ask for a quick fix now than to negotiate it next week. Keep receipts and photos of the finished state for your records, especially if you’re claiming insurance or warranty work later.
Local Considerations for Dunedin Homes
Housing stock matters. Many homes in North Dunedin or Mornington are pre-1950s builds. These properties often have asbestos-containing materials in insulation or floor tiles. If your installer needs to disturb these areas, they must follow WorkSafe NZ guidelines. This might mean sealing off the work area with plastic sheeting and negative air pressure machines, which looks intense but keeps contaminants contained. It’s not “messy” in the traditional sense, but it does make the space feel industrial for a few hours.
Weather also plays a role. If your flue work involves external walls, rain can complicate things. Installers may delay drilling if conditions are poor to avoid water ingress into open cavities. Plan your replacement for a drier stretch if possible. Also, consider access. Tight urban sections mean vans park far away, requiring hand-carrying equipment over longer distances. This increases the chance of accidental bumps or drops. Clearing a clear path from the street to the boiler location reduces this risk significantly.
How to Minimize the Chaos
- Communicate early: Tell your installer about fragile flooring, pets, or sensitive electronics near the work zone.
- Isolate the workspace: Close doors to other rooms and seal gaps with damp towels to trap dust.
- Protect valuables: Cover artwork or mirrors near the boiler location with blankets or cardboard.
- Plan for downtime: Hot water and heating will be off for several hours. Have a plan for showers and warmth.
- Verify disposal: Confirm who takes away the old boiler and any hazardous waste like asbestos tiles.
Ultimately, replacing a boiler is a trade-off. You endure a few hours of noise and some localized dust for years of reliable heat and hot water. By choosing a licensed Gasfitter with strong reviews for cleanliness, and by preparing your home beforehand, you turn a potentially chaotic event into a manageable inconvenience. The mess is temporary; the comfort is permanent.
Does replacing a boiler damage the walls?
Not usually. If it's a like-for-like swap, no structural changes occur. If relocating, new holes are drilled for the flue and pipes. These are patched professionally, though paint matching may be needed later. Proper technique ensures minimal cracking or crumbling of surrounding plaster or brick.
How long does the whole process take?
A straightforward replacement takes 4-6 hours. Adding a power flush extends this by 2-4 hours. Relocating the boiler or converting systems can take 1-2 days depending on pipework complexity and wall modifications required.
Will my carpets get ruined?
Rarely, if done correctly. Professionals use protective coverings and drip trays. Accidents happen, but reputable firms carry liability insurance to cover damages. Always check their public liability coverage before hiring.
Is the smell from the old boiler harmful?
The smell comes from stagnant water and bacterial buildup in the heat exchanger. It’s unpleasant but generally not hazardous if ventilated. Ensure windows are open during the disconnection phase to dissipate fumes quickly.
Do I need to move out during the replacement?
No, you can stay home. Noise levels are comparable to a standard DIY project. Just keep children and pets away from the immediate work area for safety. You’ll lose hot water temporarily, so plan accordingly.