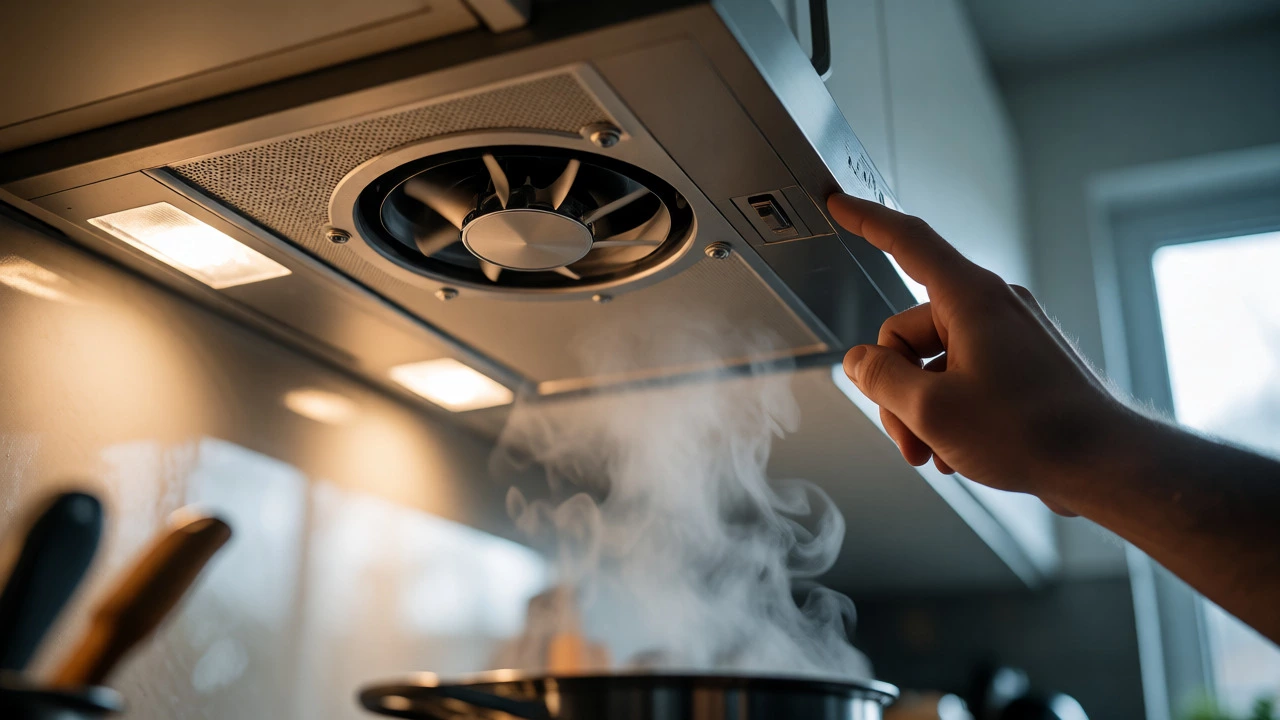
Extractor Fan Troubleshooter
Select your symptoms below to get a step-by-step diagnosis and recommended fixes.
Diagnosis & Repair Guide
DifficultyRecommended Actions:
Nothing kills the vibe of a freshly cooked meal faster than a extractor fan that refuses to spin or sounds like a dying lawnmower. You’re standing there, steam rising from your pasta, while the hood above you sits silent or rattles aggressively. Before you call a technician in Dunedin for a hefty service fee, know this: about 70% of extractor fan issues are simple mechanical or electrical faults you can fix yourself with basic tools.
This guide cuts through the noise-literally-to help you diagnose and fix the most common problems. We’ll look at why fans stop working, how to clean them properly without damaging the motor, and when it’s actually time to replace the unit rather than repair it. Whether you have a wall-mounted chimney style or a slimline under-cabinet model, the core principles remain the same.
Quick Summary: Key Takeaways
- No power? Check the circuit breaker and switch first; 40% of "dead" fans are just tripped breakers.
- Noisy operation? Clean the blades and check for loose screws before assuming the motor is dead.
- Poor suction? Inspect the external vent flap and ducting for grease buildup or bird nests.
- Light works but fan doesn't? The issue is isolated to the fan motor or its capacitor, not the main power supply.
- Safety first: Always isolate power at the mains before removing any covers or touching internal components.
Diagnosing Power Issues: Is It Dead or Just Sleeping?
The most frustrating scenario is pressing the button and hearing absolutely nothing. No hum, no click, no light. This usually points to a power interruption rather than a broken motor. Start with the simplest checks. Go to your switchboard and look for a tripped circuit breaker. Kitchen appliances draw significant current, and if you’ve recently used other high-power devices, the breaker might have popped.
If the breaker is fine, test the wall switch. Sometimes the internal contacts wear out, preventing electricity from reaching the unit. Use a multimeter to check for continuity across the switch terminals. If you get no reading when the switch is on, replace the switch. It’s a cheap part and takes five minutes to swap.
| Symptom | Likely Cause | DIY Fix Difficulty |
|---|---|---|
| Fan and lights both off | Tripped breaker, faulty wall switch, or blown fuse | Easy |
| Lights work, fan silent | Faulty fan motor, bad capacitor, or disconnected wire | Moderate |
| Fan runs only on one speed | Faulty speed control switch | Easy |
| Intermittent operation | Loose wiring connection or failing thermal cut-out | Moderate |
Fixing Noise: Why Your Fan Sounds Like a Jet Engine
A loud extractor fan isn’t just annoying; it’s a sign of mechanical distress. If the noise is a grinding sound, you likely have debris stuck in the impeller. Turn off the power, remove the filter, and shine a torch inside. Look for dried grease clumps, bits of packaging plastic, or even small insects that have wandered in. Remove them carefully with pliers.
If the noise is a rattling vibration, tighten every visible screw. Over time, heat and vibration loosen the casing panels. A loose panel acts like a drum skin, amplifying normal motor noise into a roar. Also, check the mounting brackets. If the fan isn’t securely fixed to the cabinet or wall, it will vibrate against the structure. Adding rubber washers between the bracket and the surface can dampen this significantly.
For a humming noise that gets louder over time, suspect the bearings. Older fans use sleeve bearings that require lubrication. Some modern motors are sealed, but many allow access to the shaft. Apply a few drops of lightweight machine oil (not WD-40, which dries out) to the bearing point. If the noise persists after cleaning and oiling, the motor bearings are worn out, and replacement is often more cost-effective than repair.
Tackling Poor Suction: Cleaning and Duct Inspection
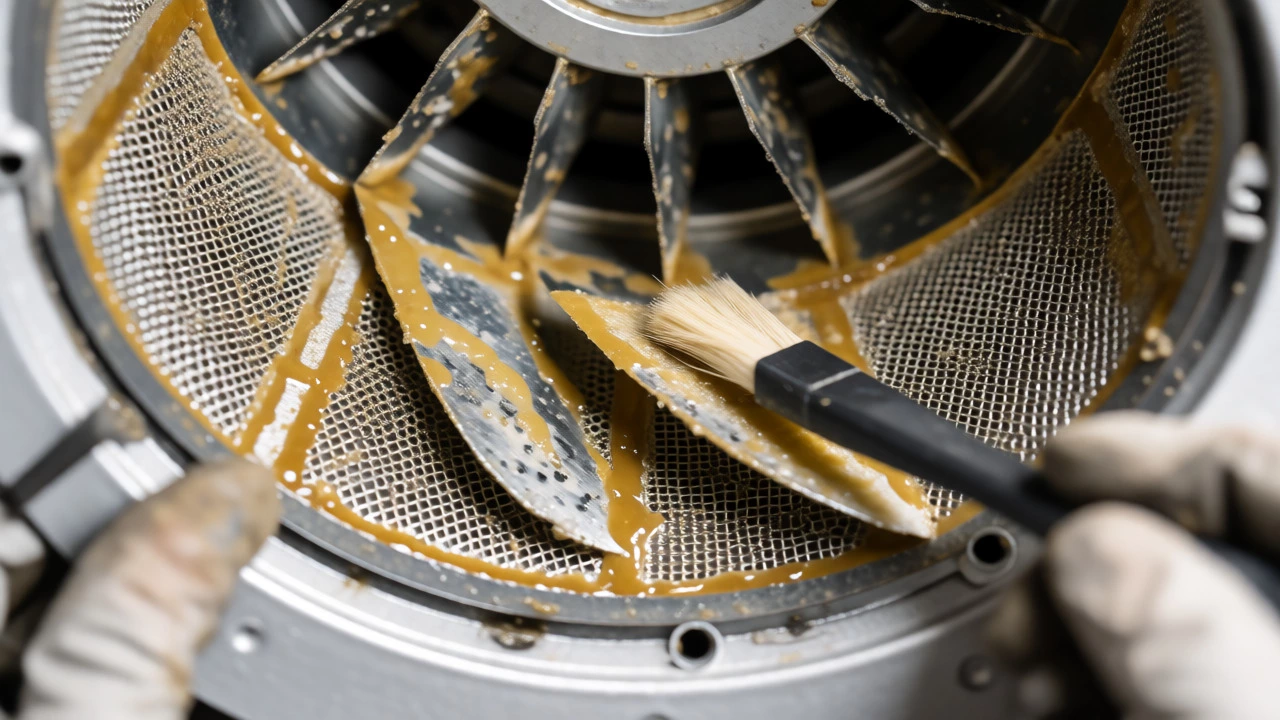
If your fan spins fast but fails to remove steam, the problem is airflow restriction. Grease is the enemy here. It accumulates on the filters, the impeller blades, and crucially, inside the ducting. In New Zealand homes, especially older ones, ducts can be long and winding, making them prone to clogs.
Start by soaking the metal mesh filters in hot water with degreaser. Let them sit for an hour, then scrub gently. While they dry, inspect the impeller. Use a soft brush to wipe down each blade. Even a thin layer of sticky grease alters the aerodynamics, reducing efficiency by up to 30%.
Next, trace the ductwork. Most residential extractor fans vent outside via a flexible foil duct or rigid PVC pipe. Check the external vent cap. Does it open freely? Birds love nesting in these caps, and strong winds can sometimes bend the flaps shut. If the flap is stuck closed, air has nowhere to go. Clear any obstructions and ensure the flap moves smoothly.
Inside the duct, look for kinks. Flexible ducting must be stretched taut to maintain airflow. A crushed section creates a bottleneck. If you can’t reach the far end of the duct, consider using a shop vac to suck out loose debris. For severe blockages, professional duct cleaning might be necessary, but try the manual approach first.
Understanding the Motor and Capacitor
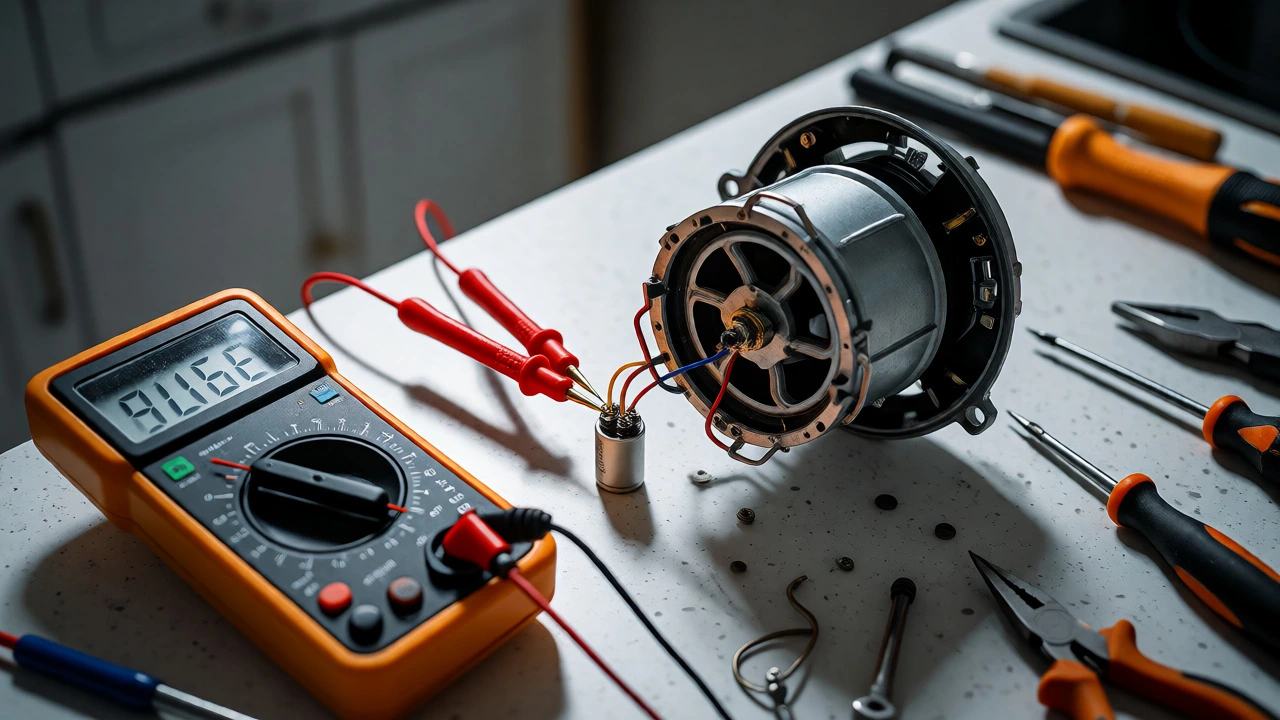
When the fan won’t start but you hear a faint hum, the culprit is often the run capacitor. This small cylindrical component provides the initial torque needed to spin the motor. When it fails, the motor stalls. You can test a capacitor with a multimeter set to capacitance mode. Compare the reading to the value printed on the side (e.g., 2.5µF). If the measured value is significantly lower, replace it.
Replacing a capacitor is straightforward. Note the wire connections, disconnect the old one, and install the new one with matching ratings. Ensure the voltage rating matches or exceeds the original. This simple $10 part fixes a surprising number of "dead" motors.
If the capacitor is good, test the motor windings. Disconnect the motor leads and measure resistance across them. An open circuit (infinite resistance) means the winding is burnt out. At this point, unless you have a vintage fan worth restoring, buying a new unit is usually cheaper than sourcing a specific motor.
When to Call a Professional
While DIY is great, some jobs require expert hands. If you smell burning plastic or see scorch marks on the wiring, stop immediately. This indicates an electrical fault that could pose a fire risk. Similarly, if your home has aluminum wiring (common in NZ houses built between 1960-1980), handle connections with care or hire a registered electrician, as improper terminations can cause overheating.
Also, consider hiring a pro if the fan is hardwired without a plug and you aren’t comfortable working with live circuits. Safety isn’t just about avoiding shocks; it’s about ensuring the appliance remains compliant with local building codes. In Dunedin, moisture levels can be high, so if you notice corrosion on the motor housing, ask a specialist to assess whether the unit needs full replacement due to environmental damage.
Preventative Maintenance Checklist
To avoid future headaches, adopt a simple maintenance routine. Grease builds up quickly, especially if you fry food often. Set a reminder to clean filters monthly. Wipe down the exterior weekly to prevent dust from entering the intake.
- Monthly: Wash metal filters in hot soapy water.
- Quarterly: Vacuum the interior housing and check for loose screws.
- Annually: Inspect external vent flap for movement and clear any outdoor debris.
- As needed: Lubricate motor bearings if accessible and recommended by manufacturer.
Keeping the fan clean doesn’t just improve performance; it extends the lifespan of the motor. A clean fan runs cooler, putting less stress on the electrical components. Think of it like changing the oil in your car-it’s minor effort for major longevity.
Why does my extractor fan make a clicking noise?
A clicking noise usually indicates something physical is hitting the blades. This could be a loose screw, a piece of packaging material left from installation, or a warped blade rubbing against the housing. Turn off the power and inspect the interior for foreign objects. Tightening all casing screws often resolves this.
Can I use WD-40 to lubricate my extractor fan?
No, standard WD-40 is primarily a solvent and rust remover, not a long-term lubricant. It evaporates quickly and leaves behind a sticky residue that attracts more dust and grease. Use a dedicated lightweight machine oil or silicone-based lubricant designed for electric motors instead.
How do I know if my extractor fan motor is burned out?
Signs of a burned-out motor include a distinct burning smell, blackened wires, or a complete lack of response despite having power. You can confirm this with a multimeter by checking for continuity in the motor windings. If there is no continuity, the coil is broken, and the motor needs replacement.
Is it safe to run an extractor fan without a filter?
It is not recommended. Filters trap grease and particulate matter before they enter the motor and ducting. Running without a filter allows grease to coat the impeller and motor, leading to imbalance, increased noise, and potential fire hazards. Always ensure filters are installed and clean.
My fan vibrates excessively. What should I do?
Excessive vibration is often caused by unbalanced blades due to uneven grease buildup or bent blades. Clean the blades thoroughly. If they are bent, straighten them carefully or replace the impeller. Also, ensure the fan is securely mounted to the ceiling or wall; loose mounting hardware amplifies vibration.