Extractor Fan Maintenance Planner
Fan Configuration
Cleaning Checklist
Track your cleaning progress by checking off completed tasks:
A loud, rattling kitchen hood or a bathroom fan that barely moves air is more than just an annoyance. It’s a sign that your extractor fan is a ventilation device designed to remove stale air, moisture, cooking fumes, and odors from indoor spaces. When these units get clogged with grease or dust, they lose efficiency, consume more electricity, and can even become a fire hazard in the kitchen. You don’t need to call a professional for every squeak or drop in performance. Most of the time, a thorough cleaning and basic checkup will bring it back to life.
Servicing your extractor fan yourself saves money and extends the lifespan of the appliance. Whether you have a sleek wall-mounted unit above your stove or a ceiling-mounted vent in your shower, the core principles remain the same. Let’s walk through exactly how to clean, inspect, and maintain these devices so they run quietly and efficiently for years to come.
Gather Your Tools and Safety Gear
Before you start taking things apart, make sure you have the right equipment. This isn’t a job you want to do halfway. You’ll need a few specific items to handle the grime safely and effectively.
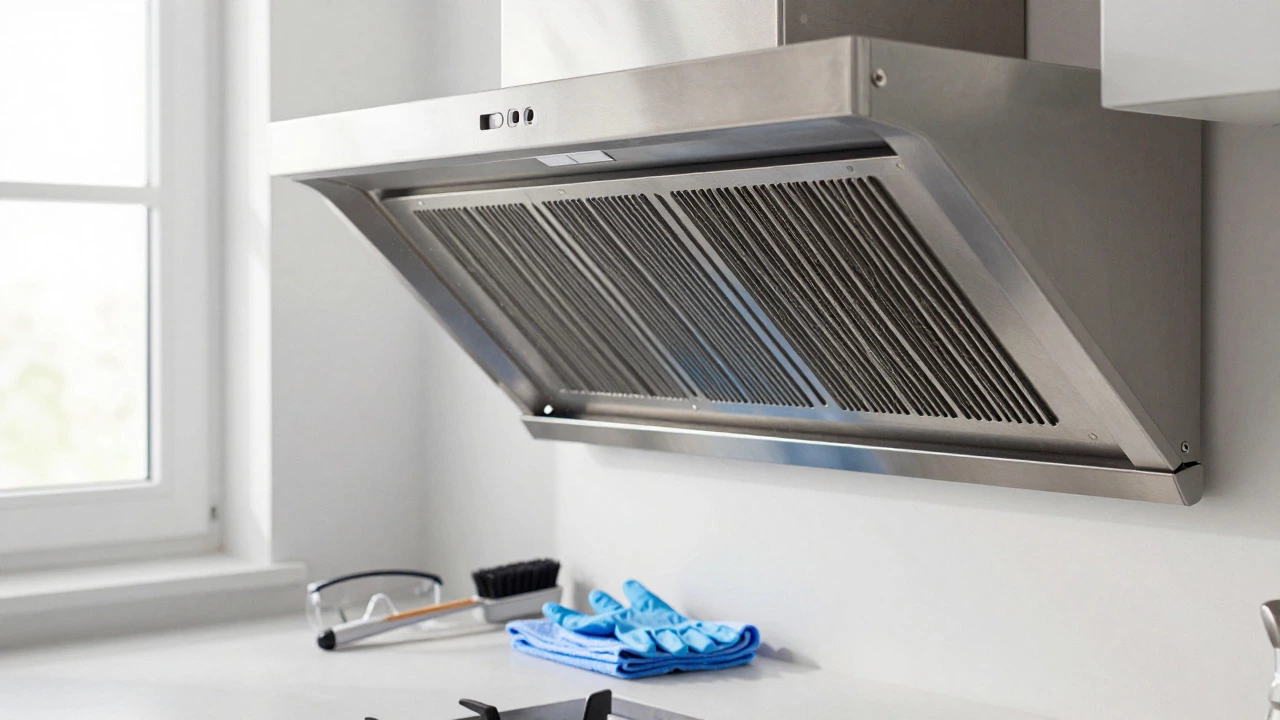
- Safety glasses: Dust and debris fall downward when you disassemble the unit. Protect your eyes.
- Nitrile gloves: Kitchen grease is tough on skin, and bathroom mold spores are best avoided. Gloves keep your hands clean and safe.
- Microfiber cloths: These trap dust better than cotton rags and don’t leave lint behind.
- Soft-bristle brush: An old toothbrush works perfectly for scrubbing tight corners and filter meshes.
- Vinegar and baking soda: These natural cleaners cut through grease without harsh chemicals that might damage plastic components.
- Screwdriver set: Usually Phillips head, but check your model first.
- Ladder: If your fan is mounted high on a wall or ceiling, a sturdy step ladder is essential.
Turn off the power at the circuit breaker before touching anything. Electricity and water don’t mix, and even low-voltage fans can give you a nasty shock if the wiring is compromised. This single step prevents most accidents during home maintenance tasks.
Step-by-Step Cleaning Process
The bulk of servicing an extractor fan involves removing built-up grime. Grease in kitchens acts like glue, trapping dust and food particles. In bathrooms, humidity encourages mold and mildew growth inside the housing. Here is how to tackle both scenarios.
- Remove the outer cover: Most modern kitchen hoods are ventilation systems installed above cooking areas to capture smoke and heat feature clips or screws that hold the front panel in place. Gently release these fasteners. If it’s stuck, don’t force it-check for hidden latches.
- Take out the filters: Metal mesh filters in kitchens catch grease. Carbon filters in recirculating models absorb odors. Slide them out carefully. Note their orientation so you put them back correctly later.
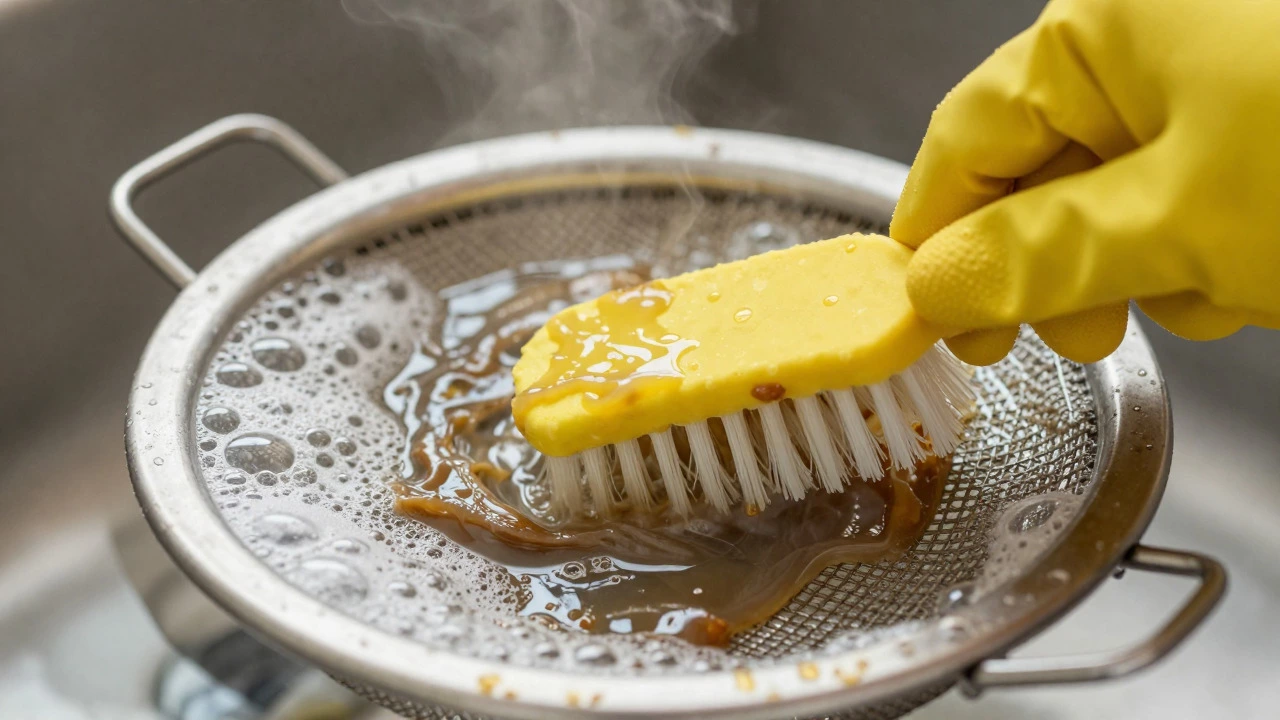
- Clean the filters: For metal grease filters, soak them in hot water mixed with dish soap and a cup of vinegar for 15 minutes. Scrub with your soft brush until the mesh looks clear. Rinse thoroughly and let them air dry completely. Never put wet filters back into the fan. For carbon filters, check the manufacturer’s label. Many cannot be washed; if yours can, follow those specific instructions. If not, replace them every three to six months depending on usage.
- Wipe the interior: With the filters removed, you can see the fan blades and the motor housing. Use a cloth dampened with warm soapy water to wipe down the visible surfaces. Avoid pouring water directly into the unit. The goal is to remove surface grease, not to flood the motor.
- Address the ductwork (if accessible): If your fan vents outside, check the flexible aluminum duct connected to the back. If it’s kinked or visibly clogged with thick grease sludge, you may need to detach it and clean it separately. Straighten any bends to ensure smooth airflow.
Drying is crucial. Reassemble everything only when all parts are bone dry. Moisture trapped inside the housing leads to rust and electrical shorts over time.
Inspecting the Motor and Blades
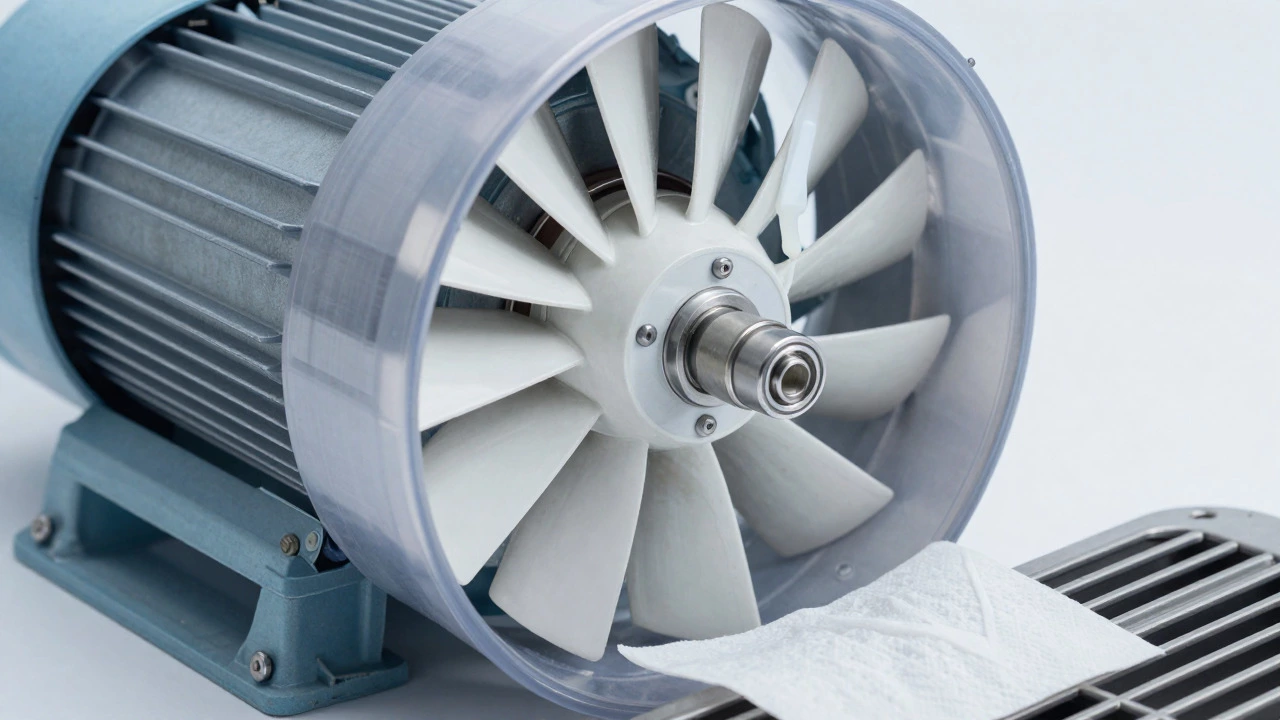
Once the unit is clean, look closer at the mechanics. The fan motor is the electric component that drives the impeller blades to move air is the heart of the system. Over time, bearings wear out, causing noise and reduced speed.
Spin the blades by hand. They should rotate smoothly without resistance or grinding noises. If you feel grittiness, the bearings might be dry. A small drop of silicone-based lubricant on the bearing shaft can help, but avoid oil-based lubricants as they attract more dust. If the blades wobble excessively or hit the housing, the motor mount might be loose. Tighten any visible screws securing the motor assembly.
Check the capacitors if your fan has a humming sound but doesn’t spin. Capacitors give the motor the initial boost it needs to start. A swollen or leaking capacitor needs replacement. This is a cheap part, usually costing less than $10, but replacing it requires some basic electrical knowledge. If you’re uncomfortable handling live components, this is where you might consider calling a technician.
Testing Airflow and Noise Levels
After reassembly, turn the power back on. Run the fan on its highest setting. Listen closely. A well-serviced fan should hum quietly. Any clicking, rattling, or screeching indicates something is still loose or obstructed. Turn it off immediately and re-check your work.
Test the suction power. Hold a piece of tissue paper near the intake grille. It should stick firmly due to the airflow. If it flutters weakly, there might be a blockage further down the ductwork or an issue with the external vent flap. Go outside and check the exterior vent. Ensure the flaps open freely when the fan runs and close tightly when it stops. Bird nests or debris often block these openings, especially in spring and summer.
Maintenance Schedule for Longevity
How often should you service your extractor fan? It depends on where it’s installed and how much you use it.
| Location | Task | Frequency |
|---|---|---|
| Kitchen Hood | Clean grease filters | Every 1-3 months |
| Kitchen Hood | Deep clean interior/motor | Every 6-12 months |
| Bathroom Fan | Check for mold/dust | Every 3-6 months |
| Bathroom Fan | Clean blades and housing | Annually |
| All Fans | Inspect external vent | Twice a year |
If you cook frequently with frying or grilling, lean toward the shorter end of the kitchen schedule. Grease builds up quickly and becomes harder to remove as it polymerizes into a varnish-like coating. In humid climates like Dunedin, New Zealand, bathroom fans need more frequent checks for mold to prevent musty smells and health issues.
When to Call a Professional
DIY servicing handles 90% of common problems. However, some signs point to deeper issues that require expert attention. If the fan trips the circuit breaker repeatedly, there’s likely a short circuit in the wiring. Burning smells indicate overheating wires or a failing motor insulation. Persistent noise after cleaning and lubrication suggests internal mechanical failure.
Also, consider professional help if your warranty is still active. Opening certain sealed units might void the coverage. Check your manual first. For older models, finding replacement parts can be difficult. Sometimes, replacing the entire unit is more cost-effective than repairing a vintage fan. Modern energy-efficient models use significantly less power and operate much quieter than units from ten years ago.
Common Mistakes to Avoid
People often rush through this process and miss critical details. Don’t use abrasive scouring pads on stainless steel hoods; they scratch the finish and create traps for future grease. Avoid spraying cleaner directly onto electrical components. Spray onto the cloth instead. And never ignore the external vent. Cleaning the inside while the outside remains blocked is like cleaning a sink with the drain plug still in.
Another frequent error is forcing filters back in upside down. Grease filters are designed with a specific flow direction. Installing them backward reduces efficiency and causes grease to bypass the filter entirely, ending up on your walls and cabinets. Take a photo before disassembly if you’re unsure about the orientation.
Can I use bleach to clean my extractor fan?
It is generally not recommended. Bleach can corrode metal components and damage plastic housings over time. It also releases strong fumes that linger in the ventilation system. Stick to vinegar, baking soda, or dedicated degreasers labeled safe for kitchen appliances. These alternatives are effective against grease and mold without risking material degradation.
Why is my extractor fan making a buzzing noise?
Buzzing usually comes from loose parts or electrical issues. First, check if the cover or filters are securely attached. Vibrations can cause rattling if screws are loose. If the hardware is tight, the noise might be from the motor capacitor failing or the bearings wearing out. If cleaning and tightening don’t stop the buzz, the motor may need replacement.
How do I know if my extractor fan needs replacing?
Consider replacement if the fan is consistently noisy despite servicing, if it no longer pulls air effectively even with clean filters, or if it trips breakers. Also, if your current unit is over 10 years old, newer models offer better energy efficiency and quieter operation. Compare the cost of repairs against the price of a new unit to decide.
Do I need to turn off the power before cleaning?
Yes, always turn off the power at the circuit breaker. Even though fans operate on low voltage, water and electricity are dangerous combinations. Switching off the main supply ensures safety while you spray, wipe, and disassemble the unit. It prevents accidental activation while your hands are inside the housing.
Can I wash carbon filters in the dishwasher?
Most carbon filters cannot be washed. The activated charcoal loses its odor-absorbing properties when exposed to water and heat. Check the manufacturer’s label. If it says "replaceable," you need to buy new ones. Some hybrid filters have a metal mesh side that can be washed, but the carbon layer itself usually needs replacement every 3 to 6 months.