Oven Problem Diagnostic Tool
There is nothing quite as frustrating as pulling out your baking sheet only to find the cake has stayed raw because the oven never actually got hot. Or worse, you open the door and realize it’s been running at 500°F instead of 350°F, turning your dinner into charcoal. Before you call a technician and pay for a house call that might just result in a quick fix you could have done yourself, you need to know how to diagnose an oven problem effectively.
Determining whether your appliance needs a simple reset, a cheap part replacement, or professional intervention saves you time and money. This guide walks you through the logical steps to identify common oven issues, from power failures to sensor glitches, ensuring you approach the repair with confidence rather than guesswork.
Quick Summary / Key Takeaways
- Safety First: Always disconnect power at the circuit breaker before inspecting internal components.
- Check the Basics: Verify the circuit breaker, control lock settings, and clock settings before assuming hardware failure.
- Visual Inspection: Look for obvious signs of damage like burnt wires, cracked heating elements, or broken glass.
- Component Testing: Use a multimeter to test continuity on heating elements, thermostats, and igniters.
- Know When to Call a Pro: Gas leaks, complex electronic control board issues, and sealed system refrigerant problems require certified technicians.
Understanding Your Oven's Core Components
To diagnose an issue, you first need to understand what makes the machine work. An electric oven is a kitchen appliance that uses electrical resistance to generate heat for cooking food. Unlike gas models, which rely on combustion, electric ovens depend entirely on the flow of electricity through specific components to create warmth.
The central entity here is the heating element, which converts electrical energy into thermal energy via resistance. In most modern ovens, there are two primary elements: the bake element (located at the bottom) and the broil element (located at the top). If one fails, the oven may still function partially, but not correctly.
Other critical entities include the thermal fuse, a safety device that cuts power if the oven overheats, and the temperature sensor, which monitors internal temperature and signals the control board to adjust heat. Understanding these relationships helps you isolate where the breakdown occurred.
Step 1: The Basic Power and Settings Check
Before you grab any tools, rule out the simplest explanations. It sounds obvious, but many "broken" ovens are simply unplugged, tripped, or locked.
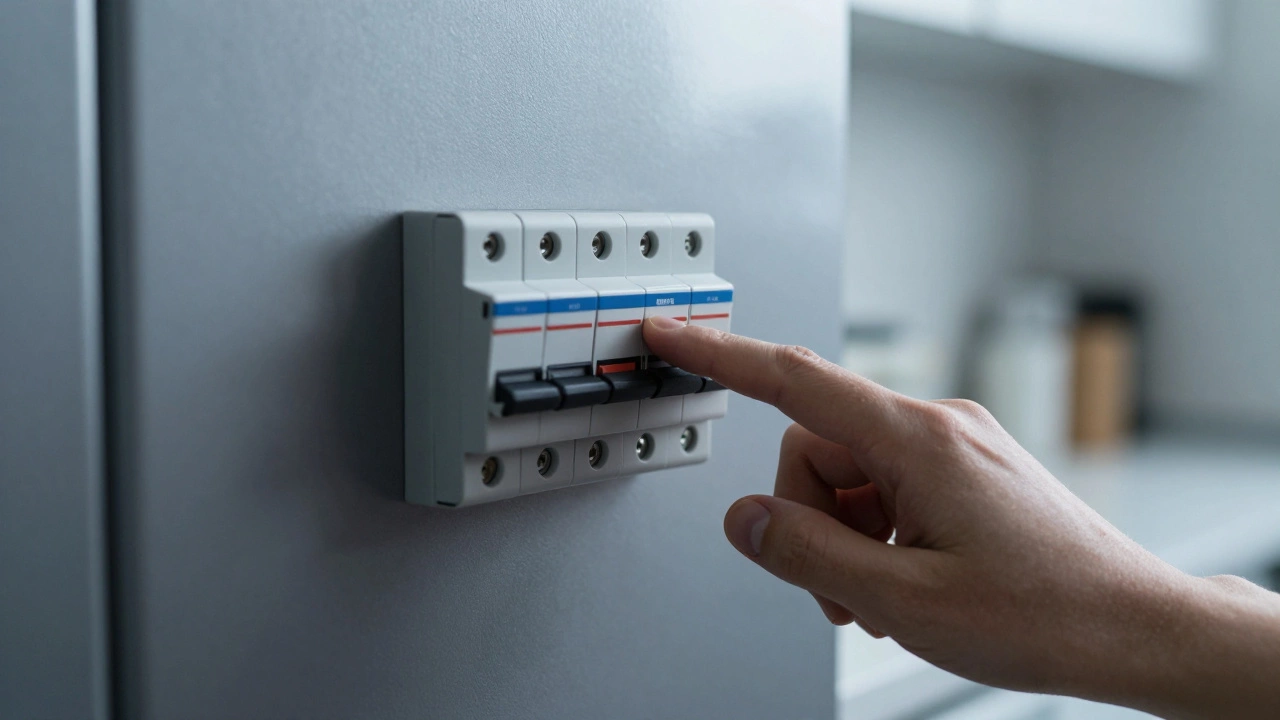
- Check the Circuit Breaker: Go to your home’s main electrical panel. Look for the switch labeled "Kitchen" or "Oven." If it is in the middle position or off, flip it fully off and then back on. Ovens draw significant amperage (often 30-50 amps), so they can trip breakers during heavy use.
- Inspect the Control Lock: Many modern ovens have a "Control Lock" or "Child Lock" feature. If this is active, the keypad will be unresponsive. Look for a padlock icon on the display. Hold the "Lock" button for three seconds to disable it.
- Verify the Clock: Some digital ovens will not operate if the clock is not set. After a power outage, the clock resets, and the oven refuses to heat until you re-enter the time.
If the oven has power but isn't heating, move to the next step. If it has no power at all, check the outlet (if it plugs in) or the hardwired connection at the junction box.
Step 2: Diagnosing Heating Issues
The most common complaint is "my oven won't heat." To diagnose this, you need to determine if the problem is with the source of heat or the signal telling it to turn on.
Testing the Bake Element
The bake element is responsible for general cooking. Visually inspect it for blisters, breaks, or dark spots. However, a healthy-looking element can still be dead internally. You will need a multimeter, a tool used to measure electrical voltage, current, and resistance.
- Disconnect power to the oven.
- Remove the element by unscrewing the mounting brackets.
- Set your multimeter to the ohms (Ω) setting.
- Touch the probes to the terminals of the element.
A working element should show a reading between 10 and 30 ohms. If the meter reads "OL" (Open Loop) or infinity, the element is broken and needs replacement. If it reads zero, there is a short circuit, which is also a failure.
Testing the Broil Element
The process is identical for the broil element. Note that some ovens share a relay on the control board for both elements. If both elements fail simultaneously, the issue is likely the control board or the power supply, not the elements themselves.

Step 3: Addressing Temperature Inaccuracies
If your oven heats up but bakes unevenly or runs too hot/cold, the problem lies in the regulation system. This involves the temperature sensor and the control board.
The temperature sensor is a thin metal probe located inside the oven cavity, usually near the top rear wall. It acts as the oven's thermometer. Over time, it can degrade or become coated in grease, leading to inaccurate readings.
To test it:
- Disconnect power.
- Locate the sensor and remove the screw holding it in place.
- Measure the resistance with your multimeter.
At room temperature (around 70°F), a standard sensor should read approximately 108-112 ohms. As the temperature rises, the resistance increases. If the reading is significantly off, replace the sensor. They are inexpensive and easy to swap.
If the sensor is fine, the issue might be the relay module on the control board. Relays act as switches that send power to the heating elements. If a relay sticks open, the element never turns on. If it sticks closed, the oven never turns off, posing a fire risk. Listening for a clicking sound when you change the temperature can help indicate if the relays are engaging.
Step 4: Common Error Codes and What They Mean
Modern ovens communicate problems via error codes displayed on the screen. While codes vary by manufacturer, several are universal across brands like GE, Whirlpool, Samsung, and Bosch.
| Error Code | Likely Cause | Diagnostic Action |
|---|---|---|
| F9 / F9E | Temperature Sensor Fault | Test sensor resistance; check for loose wiring. |
| F6 / F6E | Control Board Failure | Reset power; if persistent, replace control board. |
| F7 / F7E | Communication Error | Check ribbon cables connecting control board to user interface. |
| F1 / F1E | Keypad Short or Control Board Issue | Try resetting; if it returns immediately, replace board or keypad. |
| SOAK | Self-Cleaning Cycle Interrupted | Allow oven to cool completely; reset the cycle. |
Always consult your specific model's manual for code definitions, as manufacturers sometimes assign different meanings to the same letters. However, F-codes generally indicate electronic faults, while E-codes often point to sensor or mechanical issues.
Step 5: Mechanical and Door Issues
Not all oven problems are electrical. Mechanical failures can prevent the oven from functioning safely or efficiently.
Oven Door Won't Close Properly
If the door doesn't seal tightly, heat escapes, and the oven struggles to reach temperature. Inspect the gasket (the rubber-like strip around the door frame) for tears, gaps, or debris. Clean it with warm soapy water. If it's damaged, order a replacement gasket specific to your model number.
Also, check the door hinges. If they are worn or bent, the door may sag. Lubricate the hinge tracks with silicone spray to ensure smooth operation. Never force the door shut, as this can damage the latch mechanism.
Broken Glass or Window
Oven doors often have double or triple-pane glass to insulate against extreme heat. If the inner pane cracks, the outer glass can shatter due to thermal stress. If you see any cracks, stop using the oven immediately. Replace the entire door assembly or the glass kit, depending on availability.
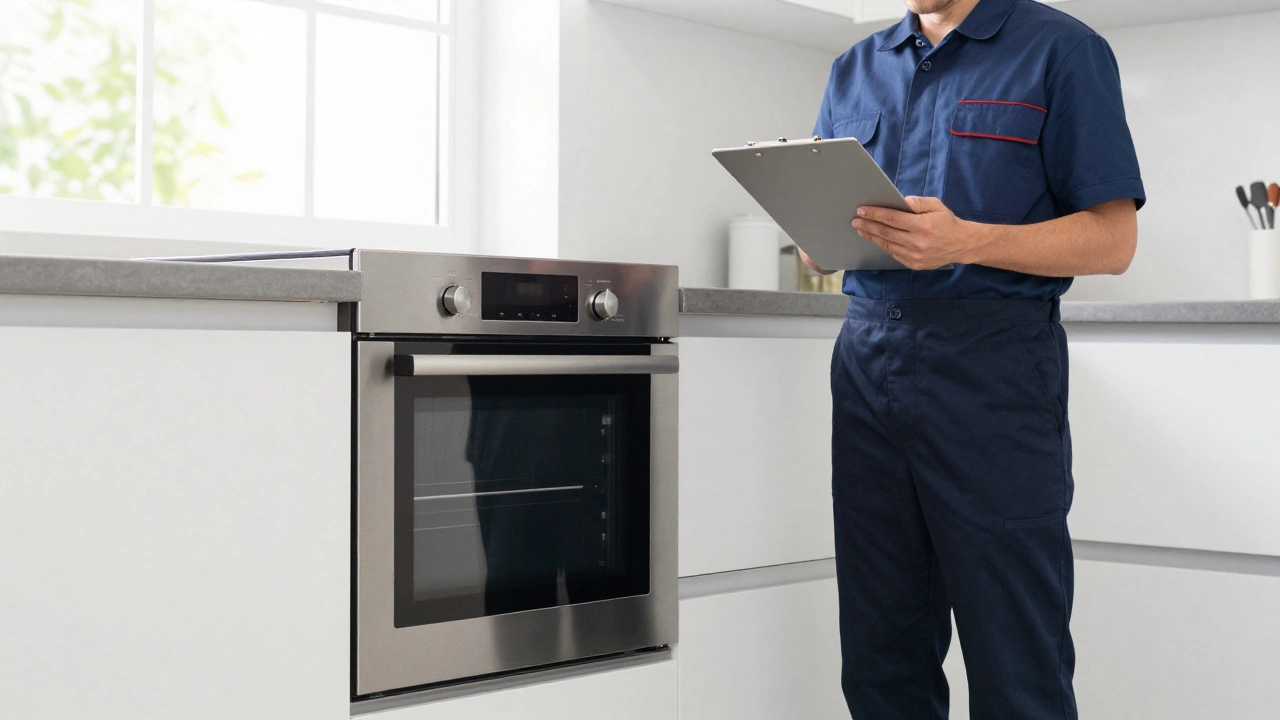
When to Call a Professional Technician
While many oven issues are DIY-friendly, some situations require expert intervention. Safety should always be your priority.
- Gas Leaks: If you smell gas or hear hissing, evacuate the house and call the gas company. Do not attempt to diagnose gas valves or igniters yourself unless you are certified.
- Complex Electronic Boards: If multiple relays fail or the board shows physical burn marks, replacing it requires precise programming and calibration. Incorrect installation can void warranties or cause further damage.
- Warranty Coverage: If your oven is under warranty, attempting repairs yourself may void the coverage. Contact the manufacturer's authorized service provider first.
- High Voltage Concerns: If you are uncomfortable working with 240-volt circuits, hire an electrician or appliance repair technician. Shock hazards are real and serious.
Preventive Maintenance Tips
Regular maintenance can extend the life of your oven and prevent sudden breakdowns.
- Clean Spills Immediately: Grease and sugar buildup on heating elements can cause smoking, odors, and even fires. Wipe up spills as soon as the oven cools down.
- Use the Self-Clean Cycle Sparingly: While convenient, self-cleaning cycles reach extremely high temperatures (up to 900°F), which can stress seals, sensors, and electronic components. Manual cleaning is gentler on the appliance.
- Inspect Seals Annually: Check the door gasket every six months for wear and tear. A good seal ensures efficient heating and lower energy bills.
- Calibrate Temperature: If your oven consistently runs hot or cold, many models allow you to calibrate the temperature offset through the settings menu. Refer to your manual for instructions.
Conclusion
Diagnosing an oven problem doesn't have to be intimidating. By starting with the basics-power, settings, and visual inspections-you can eliminate simple causes quickly. Moving on to component testing with a multimeter allows you to pinpoint failed parts like heating elements or sensors. Remember, safety is paramount. Disconnect power before touching anything, and know your limits. If the issue involves gas, complex electronics, or high voltage, calling a professional is the smart choice. With this knowledge, you can keep your kitchen running smoothly and avoid unnecessary repair costs.
Why is my oven making a buzzing noise?
A buzzing noise often comes from the heating elements expanding and contracting as they heat up. This is normal. However, if the buzz is loud or accompanied by sparks, it could indicate a loose wire or a failing relay on the control board. Inspect the connections if the noise persists.
Can I replace an oven heating element myself?
Yes, replacing a heating element is one of the easiest oven repairs. It typically involves unscrewing two mounting brackets and reconnecting two wires. Ensure the power is disconnected before starting. Make sure to buy the exact replacement part for your model number.
What does it mean if my oven light stays on but it doesn't heat?
This indicates that the oven is receiving power but the heating circuit is not activating. The issue could be a blown thermal fuse, a faulty temperature sensor, a bad heating element, or a problem with the control board relays. Start by checking the thermal fuse and element continuity.
How do I reset my oven after a power outage?
After a power outage, set the clock first. Then, try turning the oven on and off once to clear any temporary memory errors. If the display shows an error code, refer to your manual for specific reset procedures, which often involve holding certain buttons for several seconds.
Is it safe to use my oven if the door seal is slightly damaged?
No, it is not recommended. A damaged seal allows heat to escape, causing the oven to work harder, consume more energy, and potentially overheat other components. It also leads to uneven cooking. Replace the seal promptly to maintain safety and efficiency.