Extractor Fan Repair Time Estimator
Select your situation below to get a realistic timeline for your extractor fan repair. Remember: always cut power at the breaker before starting!
Fill in the details to see your estimated repair time.
Estimated Duration:
You turn on the switch, and instead of that satisfying hum sucking out steam and odors, you get silence. Or worse, a grinding noise that sounds like a blender trying to digest gravel. Your bathroom is foggy, your kitchen smells like last night’s burnt toast, and you’re wondering: how long does it take to fix an extractor fan?
The honest answer? It depends entirely on what’s broken. A simple clog might take twenty minutes. A seized motor could mean a full afternoon if you’re doing it yourself, or thirty minutes for a pro with the right parts. But here’s the catch-most people underestimate the prep work. You aren’t just swapping a part; you’re dealing with dust, electricity, and sometimes tight ceiling spaces.
Quick Summary / Key Takeaways
- Cleaning: 15-30 minutes if the issue is just grease or dust buildup.
- Belt Replacement: 45-60 minutes for accessible inline fans.
- Motor Replacement: 1-2 hours for DIYers; 30-45 minutes for professionals.
- New Installation: 2-4 hours if wiring and ducting are already in place.
- Pro Tip: Always cut power at the breaker before touching anything.
Diagnosing the Problem Before You Start the Clock
Before you grab your screwdriver, spend five minutes figuring out why the extractor fan is acting up. This diagnosis phase doesn’t count toward repair time, but skipping it will double your effort later.
If the fan runs but doesn’t pull air, it’s usually a blockage. If it makes noise but doesn’t spin, the motor or bearings are likely shot. If there’s no sound at all, check the power supply first. Is the breaker tripped? Is the wall switch faulty? These quick checks save you from tearing apart a perfectly good unit.
For instance, I recently helped a neighbor whose fan was making a high-pitched squeal. We assumed the motor was dead. Turns out, a bird had built a nest in the external vent flap outside. Cleaning that took ten minutes. Diagnosing it correctly saved us from buying a $150 replacement motor.
Scenario 1: The Quick Clean (15-30 Minutes)
This is the most common "repair" and often the easiest. Over time, kitchen exhaust fans accumulate grease, while bathroom fans collect dust and mold spores. When these coat the blades, the fan slows down or stops working efficiently.
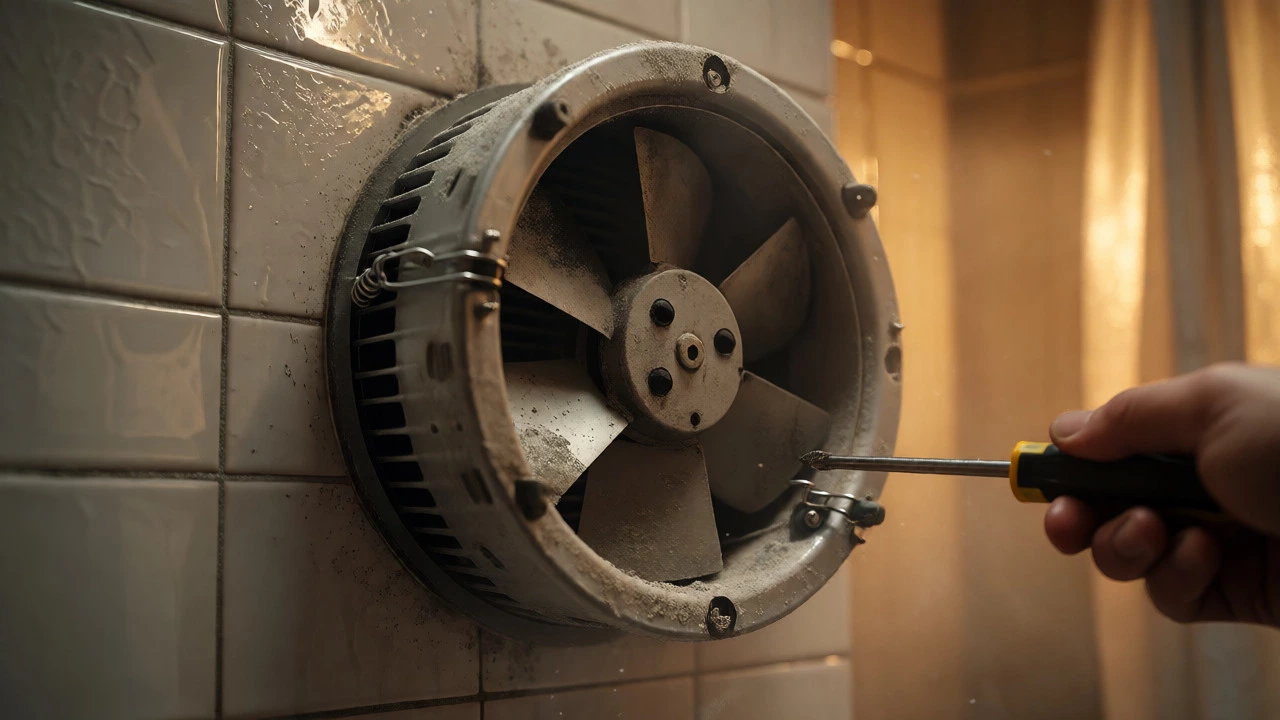
To clean it, pop off the cover grille. Most modern units use spring clips or simple screws. Soak the plastic grille in hot water with dish soap. Use a vacuum with a brush attachment to suck dust off the internal housing and blades. For kitchen fans, degreaser is your friend. Wipe down the interior carefully. Reassemble, test, and you’re done.
Why this takes so little time: No tools beyond a screwdriver and cloth are needed. No electrical disconnection is required unless you’re removing the entire motor housing, which is rare for basic cleaning.
Scenario 2: Motor Replacement (1-2 Hours for DIY)
If cleaning didn’t help, the motor is probably the culprit. Motors burn out due to age, overheating, or running continuously without breaks. Replacing a motor is straightforward but requires patience.
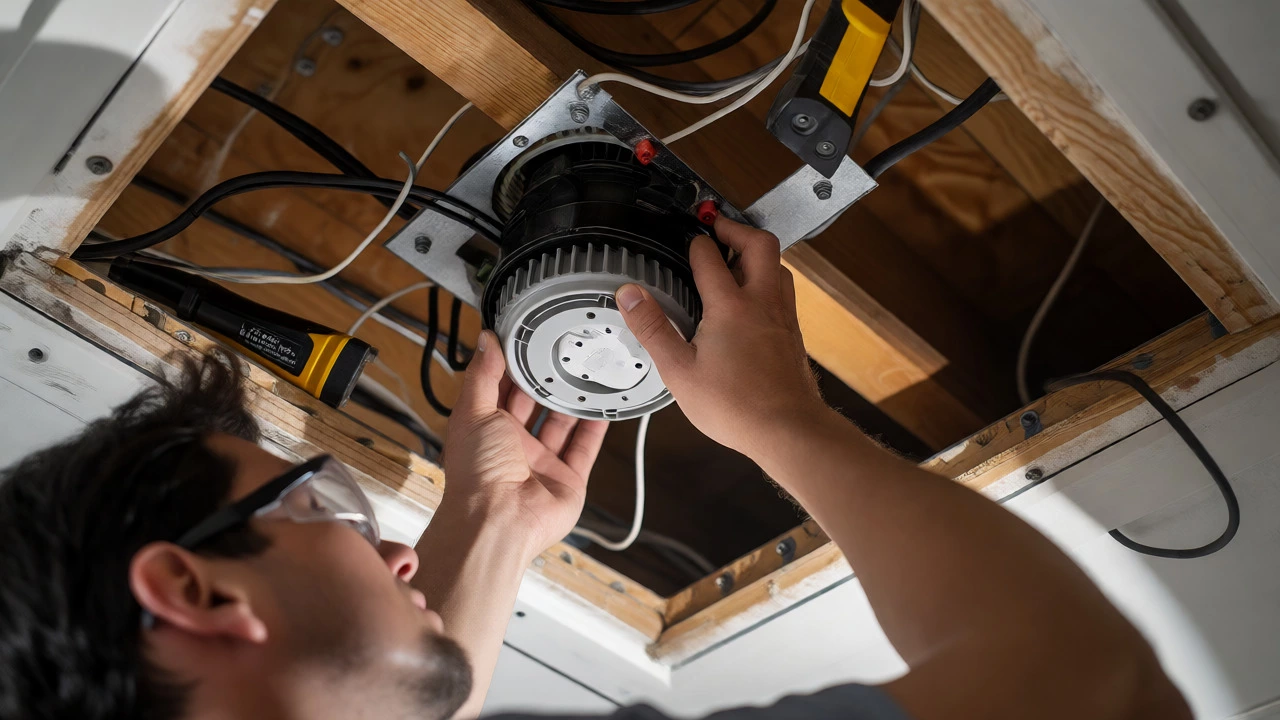
First, kill the power at the circuit breaker. Not just the switch-the breaker. Test the wires with a voltage tester to be sure. Remove the cover and disconnect the old motor. Note how the wires are connected; take a photo with your phone before pulling them off. Unscrew the mounting brackets, swap in the new motor, reconnect the wires matching color to color (usually black to black, white to white), and secure everything.
Here’s where things slow down. If your fan is recessed into a ceiling joist, you might need to maneuver awkwardly. If the wiring is old or brittle, stripping insulation can be tricky. Add extra time if you need to order a specific motor model. Universal motors exist, but they don’t always fit custom housings.
| Repair Task | DIY Time Estimate | Professional Time Estimate | Difficulty Level |
|---|---|---|---|
| Cleaning Grille & Blades | 15-30 mins | N/A (usually included in service) | Easy |
| Replacing Wall Switch | 30-45 mins | 15-20 mins | Moderate |
| Replacing Motor Unit | 1-2 hours | 30-45 mins | Moderate/Hard |
| Full Unit Replacement | 2-4 hours | 1-1.5 hours | Hard |
Scenario 3: Full Unit Replacement (2-4 Hours)
Sometimes, fixing isn’t worth it. If the housing is rusted, the ducting is crushed, or the unit is over 15 years old, replacing the whole thing is smarter. This is more involved because you’re dealing with structural elements.
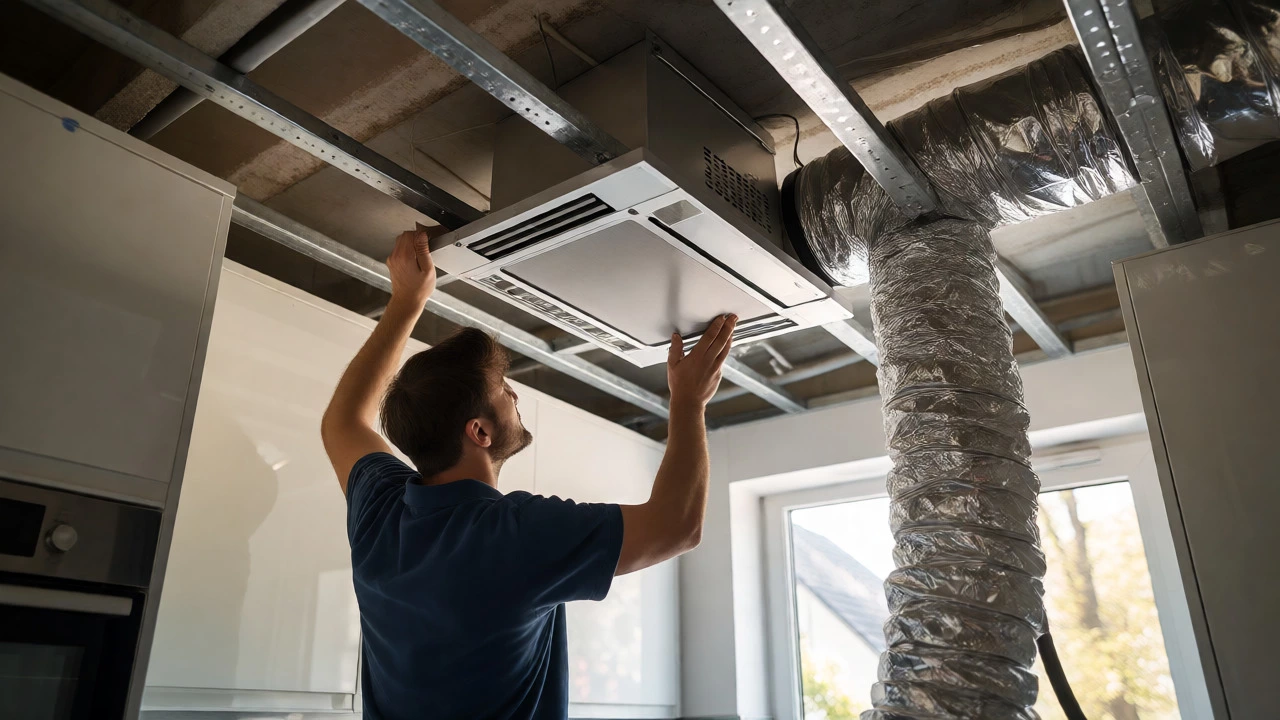
You’ll need to remove the old unit, which might involve cutting nails or unscrewing it from joists. Then, you must ensure the new unit fits the existing hole. If not, you’ll need to trim drywall or wood framing. Next comes the ductwork. Old flexible foil ducts often tear when removed. Installing new rigid or semi-rigid ducting ensures better airflow and less noise.
Wiring is the final hurdle. If the existing wire gauge matches the new unit, great. If the new fan has different amperage requirements, you might need to upgrade the circuit. In New Zealand, AS/NZS 3000 standards dictate safe electrical practices, so if you’re unsure about wiring, call a licensed electrician. They can finish the job in under an hour, whereas a novice might struggle for half a day.
Factors That Slow Down the Process
Several variables stretch the timeline. Access is the biggest one. A fan in a drop-ceiling office is easy. A fan embedded in a concrete slab bathroom ceiling? Much harder. You might need special anchors or longer screws, adding trip-to-the-store time.
Part availability matters too. Common brands like Broan-NuTone or Panasonic have motors available locally. Obscure or older models might require ordering online, turning a same-day fix into a week-long project. Check compatibility before starting. Measure the diameter of the fan housing and the length of the motor shaft.
Also, consider safety protocols. Working above your head is tiring. Fatigue leads to mistakes, like dropping screws into the cavity or misaligning wires. Take breaks. Rushing causes rework, which triples the total time spent.
When to Call a Professional
Should you do it yourself? If you’re comfortable with basic hand tools and understanding electrical diagrams, yes. The savings are significant-a pro charges $80-$150 per hour in Dunedin, plus parts. DIY costs mostly just the part price.
However, call a pro if:
- The wiring looks scorched or melted.
- The fan is hardwired without a plug and you’re uncomfortable handling live circuits.
- The ducting runs through multiple floors and needs cleaning/replacement.
- You suspect asbestos in older homes (common in pre-1980s buildings).
A professional brings experience. They know which screws to loosen first to avoid cracking the plasterboard. They have specialized vacuums to clean ducts without damaging them. And they guarantee their work. If the new motor fails in a month, they come back for free.
Troubleshooting After the Fix
You’ve fixed the fan. Turn the power back on. Does it run smoothly? If it vibrates excessively, check the mounting brackets. Loose screws cause rattling. If it still doesn’t pull air well, inspect the exterior vent flap. Is it stuck shut? Debris or paint can glue it closed. Lubricate the hinge or clear the obstruction.
Noise persists? Ensure the blades aren’t hitting the housing. Sometimes, during reassembly, the motor sits slightly off-center. Adjust the position until the blades spin freely. If the fan runs hot after ten minutes, the bearings might still be failing, or the unit is undersized for the room volume.
Frequently Asked Questions
Can I replace just the motor or do I need a new fan?
You can often replace just the motor if the housing is intact. However, if the housing is corroded or the design is obsolete, buying a new unit is often cheaper than sourcing a rare motor. Check if the motor is universal or brand-specific first.
How much does it cost to hire someone to fix an extractor fan?
In New Zealand, expect to pay between $100 and $250 for labor depending on complexity. Parts add another $50-$150. Simple repairs like cleaning or switch replacement are at the lower end, while full replacements with new ducting are higher.
Why is my extractor fan noisy after repair?
Noise usually means loose components. Tighten all mounting screws. Check that blades aren't rubbing against the casing. If the noise is a hum, the transformer might be incompatible with the new LED lights if you switched lighting types simultaneously.
Do I need an electrician to change an extractor fan?
If the fan is plugged in, you can do it yourself. If it's hardwired directly into the home's electrical system, NZ regulations generally require a licensed electrician for permanent connections to ensure compliance with AS/NZS 3000 standards.
How long do extractor fan motors last?
Typically 5 to 10 years, depending on usage. Running a fan continuously shortens its life compared to using it only during showers or cooking. Regular cleaning extends lifespan significantly.