Dryer Repair vs. Replacement Cost Calculator
Use this tool to apply the "50% Rule": if the estimated repair cost exceeds half the price of a comparable new unit, replacement is usually more economical.
Input Data
Analysis Result
Your tumble dryer is a household appliance that uses heated air to remove moisture from laundry, and when it stops working, the last thing you want is to pay for a service call just to find out the problem was a clogged filter. But can you actually fix it yourself? The short answer is yes, but only if you know which parts are safe to touch and which ones will bite back.
Before grabbing your screwdriver, you need to understand the difference between a minor glitch and a major failure. Some issues are as simple as clearing lint, while others involve high-voltage components that require professional tools. Knowing where the line is drawn saves you money, time, and potential injury.
Quick Summary / Key Takeaways
- Simple fixes: Cleaning the lint filter, checking the door switch, and clearing the condenser unit are safe for most homeowners.
- Moderate repairs: Replacing a thermal fuse or belt requires basic electrical knowledge and multimeter use.
- Professional jobs: Heating element failures, motor replacements, and control board issues usually warrant a technician visit.
- Safety first: Always unplug the dryer before opening the panel; gas dryers also need the gas valve shut off.
- Cost check: If the repair costs more than 50% of a new unit’s price, replacement might be smarter.
Identify the Problem Before You Open Anything
Diagnosis is half the battle. Jumping straight into disassembly often leads to unnecessary part orders. Start by observing the symptoms. Is the drum spinning but not heating? Or is the machine completely dead? Each symptom points to a different culprit.
If the dryer runs but doesn’t heat, the issue is likely in the heating circuit. This includes the heating element, a coiled wire that generates heat in electric dryers, the thermal fuse, or the thermostat. If the drum won’t spin at all, check the belt, the motor, or the start capacitor. If there’s no power whatsoever, inspect the outlet and the door switch.
Use this quick diagnostic flow to narrow down the cause:
- No power: Check the wall outlet with another device. Test the door switch (if the door isn’t closed, the dryer won’t start).
- Drum spins, no heat: Suspect the heating element, thermal fuse, or high-limit thermostat.
- No drum spin, hums: Likely a broken belt or seized motor.
- Loud noise: Could be worn rollers, bearings, or a foreign object like a coin in the drum.
Tools You Need for Basic Repairs
You don’t need a workshop to handle common dryer issues. A basic toolkit covers 80% of DIY scenarios. Here’s what should be in your bag:
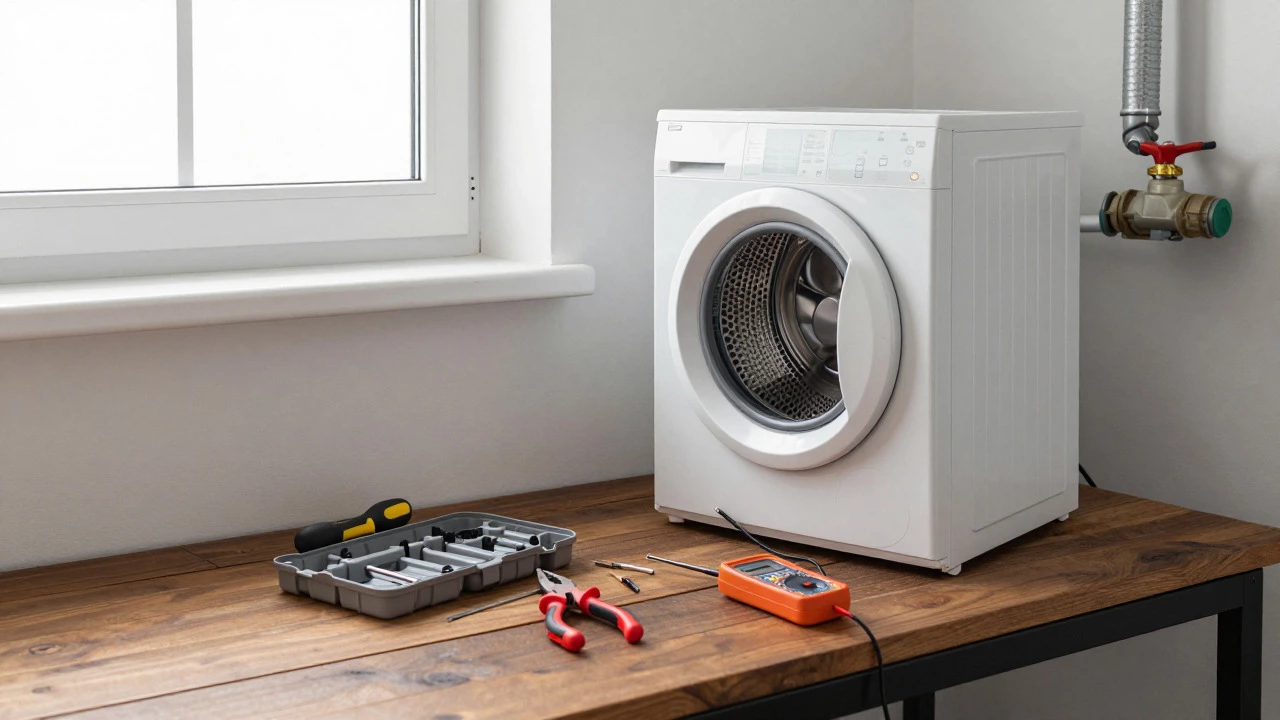
- Phillips and flathead screwdrivers: For removing panels and accessing internal components.
- Nut driver set: Many modern dryers use hex bolts rather than screws.
- Multimeter: Essential for testing continuity on fuses, thermostats, and motors.
- Pliers and needle-nose pliers: For disconnecting wires and handling small clips.
- Flashlight: Internal lighting is poor; you’ll need extra light to see connections.
If you’re tackling a gas dryer, add a gas leak detector or at least a soapy water solution to check for leaks after reconnection. Never work on a gas line without shutting off the supply valve.
Safe DIY Repairs: What You Can Handle Alone
Some components are designed for user maintenance. These are low-risk, low-cost fixes that save you a service fee.
Cleaning the Lint Filter and Vent Duct
The lint filter is the first line of defense. Clean it after every load. But the real bottleneck is often the vent duct behind the dryer. Over time, lint builds up in the ductwork, restricting airflow and causing overheating. Use a vacuum hose or a specialized dryer vent brush to clear the path. This single step resolves many “not drying” complaints.
Replacing the Door Switch
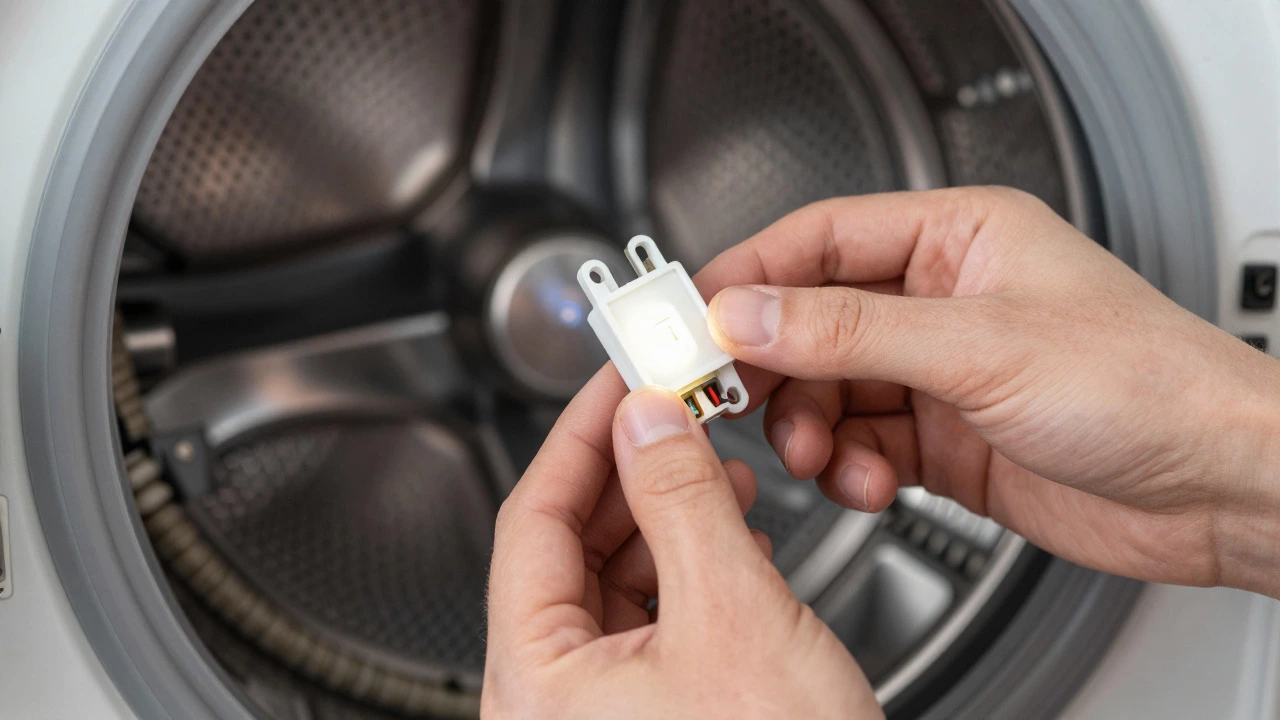
If your dryer won’t start even though the power is on, the door switch might be faulty. It’s a small plastic component near the door latch. Test it with a multimeter for continuity. If it fails, replace it. Most switches cost under $10 and take five minutes to swap.
Clearing the Condenser Unit (Condensing Models)
Condensing dryers have a mesh filter inside the chassis that traps moisture. If neglected, it clogs and reduces efficiency. Access it according to your manual, rinse it under warm water, and let it dry fully before reinstalling. This keeps your energy bills in check.
Moderate Repairs: Where Caution Is Needed
These tasks involve electricity or moving parts. They’re doable if you’re comfortable using a multimeter and following wiring diagrams.
Testing and Replacing the Thermal Fuse
The thermal fuse is a one-time safety device that blows if the dryer overheats. It’s usually located near the exhaust port. If it’s blown, the dryer won’t heat. Test it for continuity. If there’s none, replace it. But remember: if it blew once, something caused the overheat. Check the vent system first, or it will blow again.
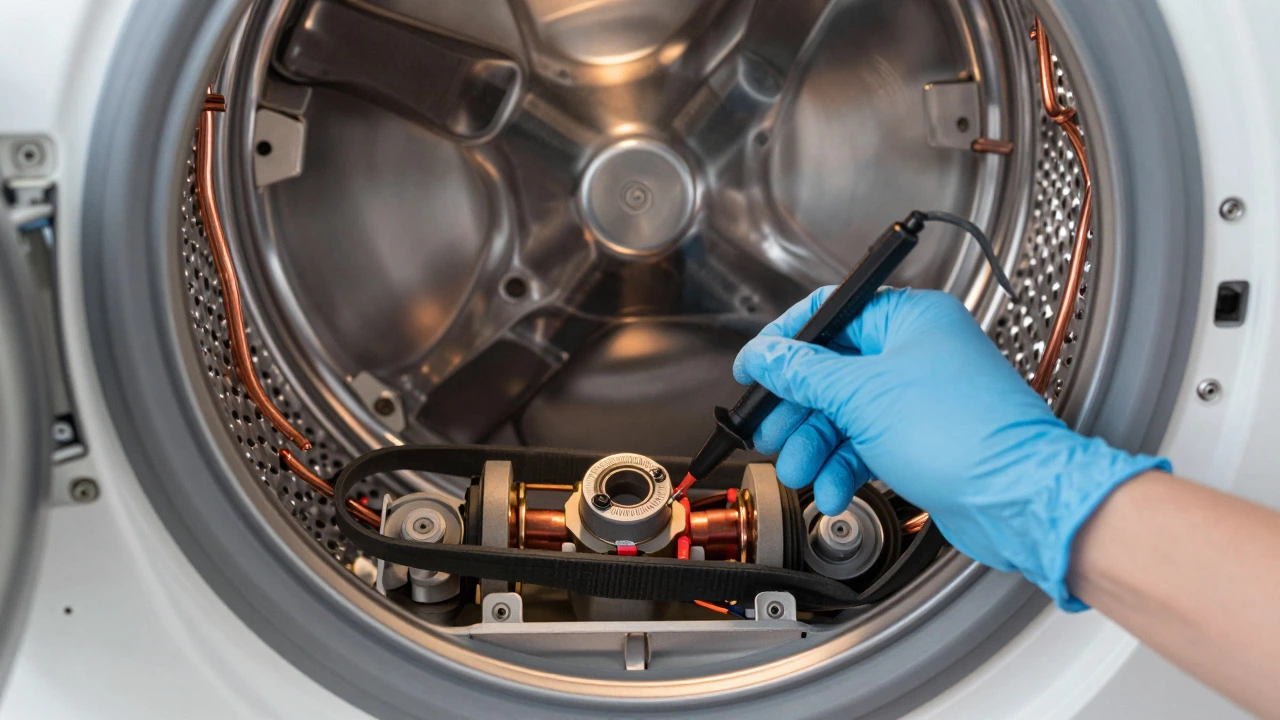
A snapped belt means the drum won’t turn. You’ll need to remove the front panel or top cover, release tension on the motor pulley, and slide the old belt off. Install the new one in a zigzag pattern around the motor and idler pulleys. Ensure it’s seated correctly to prevent slipping.
This thermostat cuts power to the heating element if temperatures get too high. It’s similar to the thermal fuse but resettable in some models. Test for continuity. If it’s open, replace it. Again, investigate why it tripped-usually poor airflow.
Not every job is worth your weekend. If you encounter these issues, consider hiring a technician:
Understanding the financial trade-off helps you decide. Here’s a rough breakdown based on typical market rates:
Note: Prices vary by region and brand. In New Zealand, labor rates for appliance technicians typically range from $80 to $120 per hour. Always get a quote before authorizing major repairs. Electricity and heat are unforgiving. Follow these rules to stay safe:
With proper maintenance, a quality tumble dryer lasts 10 to 15 years. Regular cleaning of filters and vents extends its life significantly. Neglecting maintenance can shorten lifespan to 7-8 years due to overheating and strain on components. Use the 50% rule. If the repair cost exceeds half the price of a comparable new model, replacement is usually more economical. Also consider the age of the unit. If it’s over 10 years old, future repairs may become frequent, making a new, more efficient model a better investment. A burning smell often indicates lint buildup in the vent or motor area. Turn off the dryer immediately. Clean the lint filter and inspect the vent duct. If the smell persists, check for frayed wires or a failing motor bearing. If the smell is strong, stop using the dryer until inspected. Yes, but it’s less effective than a dedicated vent brush. A hairdryer can blow loose lint out of the duct, but it won’t scrape off hardened deposits. For best results, combine a vacuum with a flexible brush attachment. Always ensure the outdoor vent flap opens freely. The most common failure is restricted airflow due to lint buildup, leading to overheating and thermal fuse blowing. Other frequent issues include broken drive belts and failed door switches. Preventive maintenance addresses most of these problems.Replacing the Drive Belt
Swapping the High-Limit Thermostat
When to Call a Professional
Cost Comparison: DIY vs. Professional Service
Repair Type
DIY Part Cost
Pro Labor + Parts
Difficulty Level
Lint/Vent Cleaning
$0-$10
$75-$120
Easy
Door Switch
$5-$15
$100-$150
Easy
Thermal Fuse
$10-$20
$120-$180
Moderate
Drive Belt
$15-$30
$150-$250
Moderate
Heating Element
$30-$60
$200-$350
Hard
Motor Replacement
$80-$150
$300-$500+
Very Hard
Safety Tips for Homeowners
Frequently Asked Questions
How long does a tumble dryer last?
Is it worth repairing an old dryer?
Why does my dryer smell like burning?
Can I use a hairdryer to clean the dryer vent?
What is the most common dryer failure?