
When an extractor fan goes silent, the kitchen or bathroom can quickly feel stale, humid, and smelly. Most homeowners assume the problem is a simple electrical glitch, but the reality is a mix of mechanical wear, blocked airflow, and occasional component failure. Below is a straight‑forward guide that walks you through the most frequent reasons a fan stops working, how to diagnose each issue safely, and when it’s time to call in a professional.
Key Takeaways
- Power supply problems, faulty motor or capacitor, and blocked ducts are the top three reasons fans quit.
- Regular cleaning of the vent and grease traps prevents many failures.
- Testing the fan with a multimeter can quickly rule out electrical faults.
- Replace worn‑out bearings or a burnt‑out motor before the whole unit needs replacement.
- Safety first - always disconnect power and use proper PPE before poking around inside the fan.
What an Extractor Fan Is and How It Works
Extractor fan is a ventilation device that pulls moist, odorous, or smoky air out of a room and pushes it through a duct to the outside. The core components are a motor that spins a blade, a capacitor that gives the motor an extra boost at start‑up, and a switch that lets you turn the fan on and off from a wall control or timer.
Top Five Reasons the Fan Stops Working
- Power supply issues - loose wiring, tripped fuse or circuit breaker, or a broken wall switch can cut electricity before it even reaches the motor.
- Motor failure - bearings wear out, windings burn, or the shaft bends, causing the motor to seize or spin irregularly.
- Capacitor malfunction - a dead or leaky capacitor won’t give the motor the extra torque it needs to start, resulting in a humming noise but no airflow.
- Blocked vent or duct - accumulated grease and dust can choke the fan blades, making the motor overheat and shut down.
- Safety devices tripped - many fans include an overload protector or a built‑in thermostat that shuts the fan off if it gets too hot.
Step‑by‑Step Troubleshooting Guide
Before you start, gather a screwdriver, a multimeter, a ladder (if the fan is ceiling‑mounted), a soft brush, and a drop cloth to catch debris.
- Verify power
- Check the wall switch - toggle it a few times.
- Inspect the circuit breaker - reset any tripped line.
- If the fan is on a dedicated fuse, replace it with the same rating.
- Listen for a hum
If you hear a faint buzzing, the motor is receiving power but the capacitor may be dead.
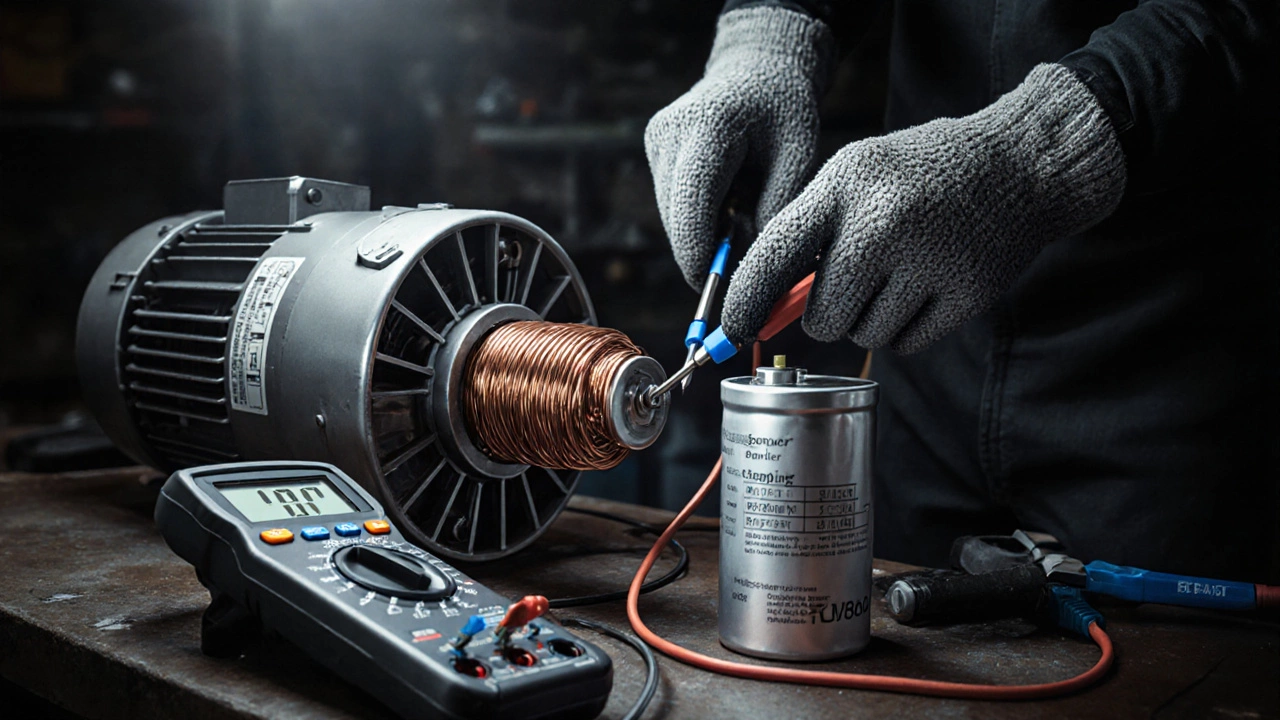
- Test the capacitor
- Turn off power at the breaker.
- Locate the capacitor (usually a small cylinder attached to the motor housing).
- Discharge it by shorting the leads with a screwdriver (wear insulated gloves).
- Use a multimeter set to capacitance; a healthy 5‑μF capacitor reads close to its marked value.
- Inspect the motor
- Remove the fan’s outer grille.
- Spin the motor shaft by hand; it should rotate freely.
- Smell for burnt insulation - a strong acrid odor means winding damage.
- Clear the vent and duct
- Detach the vent cover and brush out any grease buildup.
- Use a shop‑vac to suck out loose dust.
- Check the external hood or wall vent for obstructions (nesting birds, leaves).
- Check safety devices
- Locate the overload protector - it’s often a small reset button on the motor housing.
- Press it to see if the fan resumes operation.
- If the fan has a thermostat, feel the motor housing after a short run; excessive heat (>60°C) may indicate a faulty thermostat.
- Test wiring continuity
- With power off, use a multimeter on the continuity setting.
- Probe each wire from the switch to the motor; a break shows infinite resistance.
If any of these steps reveal a defective part - a blown fuse, a dead capacitor, a seized motor - replace the component. Most extractor fans use standard 120V or 240V motors, so you can source replacements from local hardware stores or online suppliers.
Common Maintenance Practices That Prevent Failure
- Monthly grease clean‑out - wipe the fan blades and housing with a warm, soapy rag to keep oil from hardening.
- Quarterly duct inspection - disconnect the external vent and use a flexible brush to remove built‑up debris.
- Annual motor lubrication - if your fan has serviceable bearings, apply a few drops of light machine oil.
- Check for vibrations - loose mounting screws cause excess wear; tighten them after each cleaning.
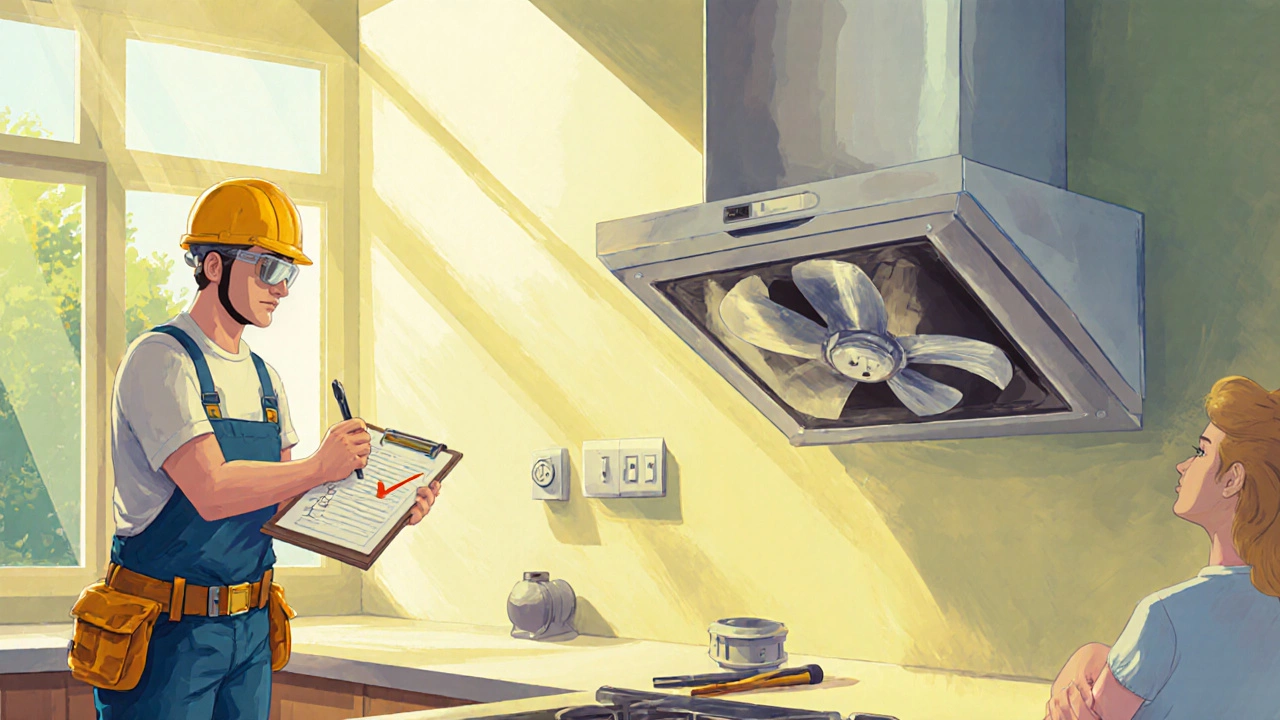
When to Call a Professional
Even the most handy homeowner can hit a wall where DIY stops being safe or cost‑effective. Call an electrician or certified ventilation technician if:
- The fan still doesn’t run after replacing the capacitor and checking power.
- You detect burnt wiring or scorch marks inside the housing.
- The motor hums but never starts, indicating possible internal winding damage.
- The fan is part of a complex HVAC system that requires pressure balancing after repair.
- You lack a multimeter or feel unsure about working with live electricity.
Quick Diagnostic Checklist
| Symptom | Most Likely Cause | First Test |
|---|---|---|
| No power at all | Tripped breaker or blown fuse | Check breaker panel / replace fuse |
| Humming but no airflow | Failed capacitor or seized motor | Test capacitor; spin motor shaft by hand |
| Intermittent operation | Loose wiring or overheating overload protector | Inspect connections; feel motor temperature |
| Weak airflow | Blocked duct or heavy grease buildup | Clear vent and clean blades |
| Strange noises (grinding) | Worn bearings or foreign object in fan | Remove grille and inspect blades |
Pro Tips for Extending Fan Life
- Install a timer switch so the fan runs only when needed - less wear, lower energy use.
- Consider a back‑draft damper on the external vent; it prevents rain and wind from pushing air back into the duct.
- Upgrade to a fan with a sealed‑bearing motor; they last 2‑3 times longer than open‑bearing models.
- Keep a spare capacitor on hand - they are inexpensive and replace in under five minutes.
Frequently Asked Questions
Why does my extractor fan make a loud grinding noise?
A grinding sound usually means the motor bearings are worn or a piece of debris has lodged between the blades. Turn off power, remove the grille, and spin the motor shaft. If it feels gritty or doesn’t turn freely, replace the motor or clean out any foreign objects.
Can I replace the capacitor myself?
Yes, as long as you follow safety steps: cut power at the breaker, discharge the old capacitor with an insulated screwdriver, note the voltage and capacitance rating, and swap it with an identical replacement. Capacitors are cheap - often under $10.
My fan runs but air feels weak. Is this a motor issue?
Weak airflow is usually a blockage problem. Grease, dust, or a kinked duct reduces suction. Clean the vent cover, brush the duct, and make sure the external hood isn’t obstructed. Only after confirming a clear path should you suspect motor wear.
How often should I clean the extractor fan?
Aim for a quick wipe‑down monthly and a deeper cleaning (including the duct) every three to six months, especially in a kitchen where cooking releases a lot of grease.
Is it safe to use a fan after a power surge?
Power surges can damage the capacitor or motor windings. If the fan shows any odd behavior after a surge - humming, intermittent start‑up, or odd smells - test the capacitor and motor. Replacing the capacitor is often enough, but a burnt motor should be swapped out.