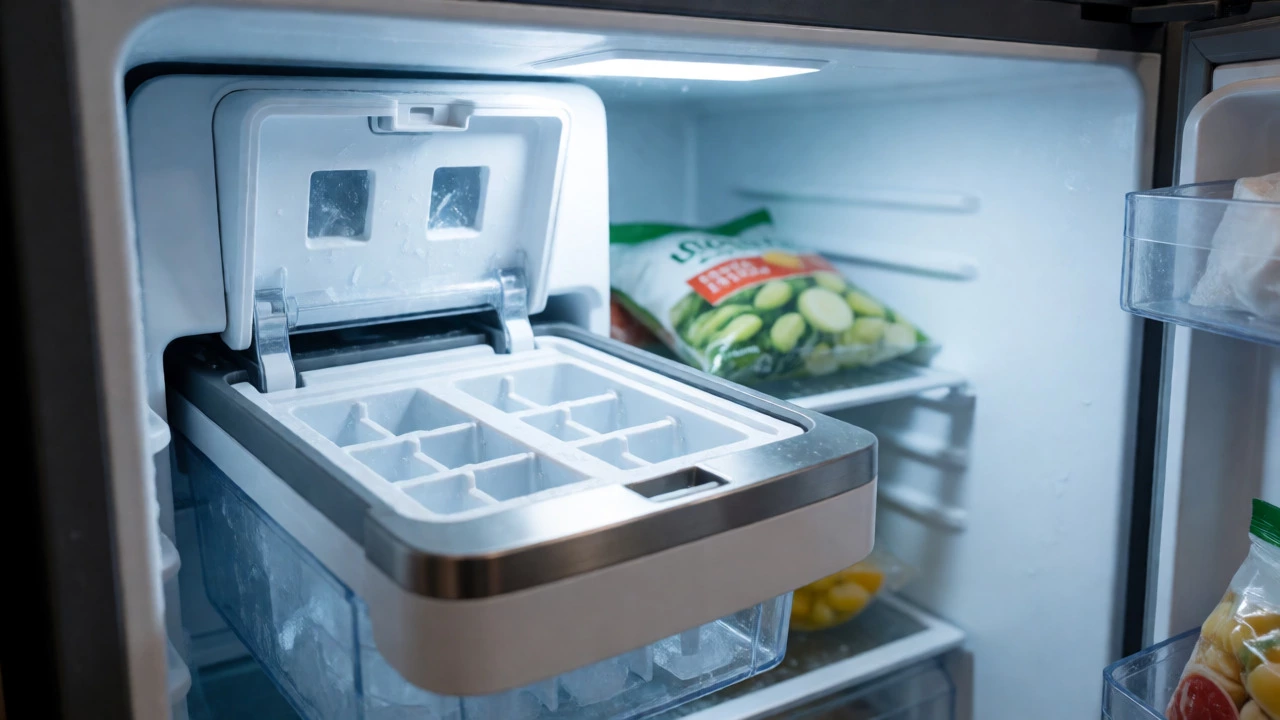
Freezer Ice Maker Troubleshooting Checklist
You open the freezer door, expecting a scoop of fresh cubes for your evening drink, but find nothing. Or worse, you find a single, misshapen lump stuck to the tray. It’s frustrating when a reliable appliance suddenly stops doing one specific job. Before you call a technician or buy a new unit, know that most causes of no ice production are simple fixes you can handle yourself in under an hour.
Check Your Water Supply First
The most common reason your freezer stopped making ice isn’t broken machinery-it’s a lack of water. Think about it: if the ice maker can’t get water, it can’t make ice. Start by checking the water line behind your fridge or freezer. Is the shut-off valve turned all the way on? Sometimes, cleaning crews or kids accidentally bump these valves while moving appliances.
If the valve is open, inspect the hose for kinks. A crushed hose restricts flow just enough to stop the fill cycle without completely stopping it. You might see slow drips instead of a solid stream. If you have a built-in water filter, check its age. Most manufacturers recommend replacing filters every six months. A clogged filter reduces water pressure below the minimum threshold needed to trigger the fill valve, often around 20 PSI. If your home water pressure is naturally low, especially in older Dunedin homes with gravity-fed systems, this becomes even more critical.
Temperature Matters More Than You Think
Your freezer needs to be cold enough to freeze water quickly. The ideal setting is between -18°C and -23°C (0°F to -10°F). If your thermostat drifted up to -15°C, the ice might form, but too slowly. The ice maker has a timed cycle; if the water doesn’t freeze solid within that window, the ejection arm won’t push the cubes out. They’ll stay in the mold, melt slightly, and refreeze into a giant slab.
Use a standalone thermometer to verify the actual temperature, not just the digital display. Digital displays can lie if sensors are faulty. Also, ensure the freezer isn’t overloaded. Blocking the air vents with bags of frozen peas prevents cold air from circulating evenly. This creates warm spots near the ice maker, causing partial freezes and jams.
Inspect the Ice Maker Mechanism
If water flows and temperatures are correct, look at the machine itself. Unplug the freezer for safety, then pull out the ice bin. Remove the cover of the ice maker assembly. You’re looking for two things: a jammed ejector arm and dirty molds.
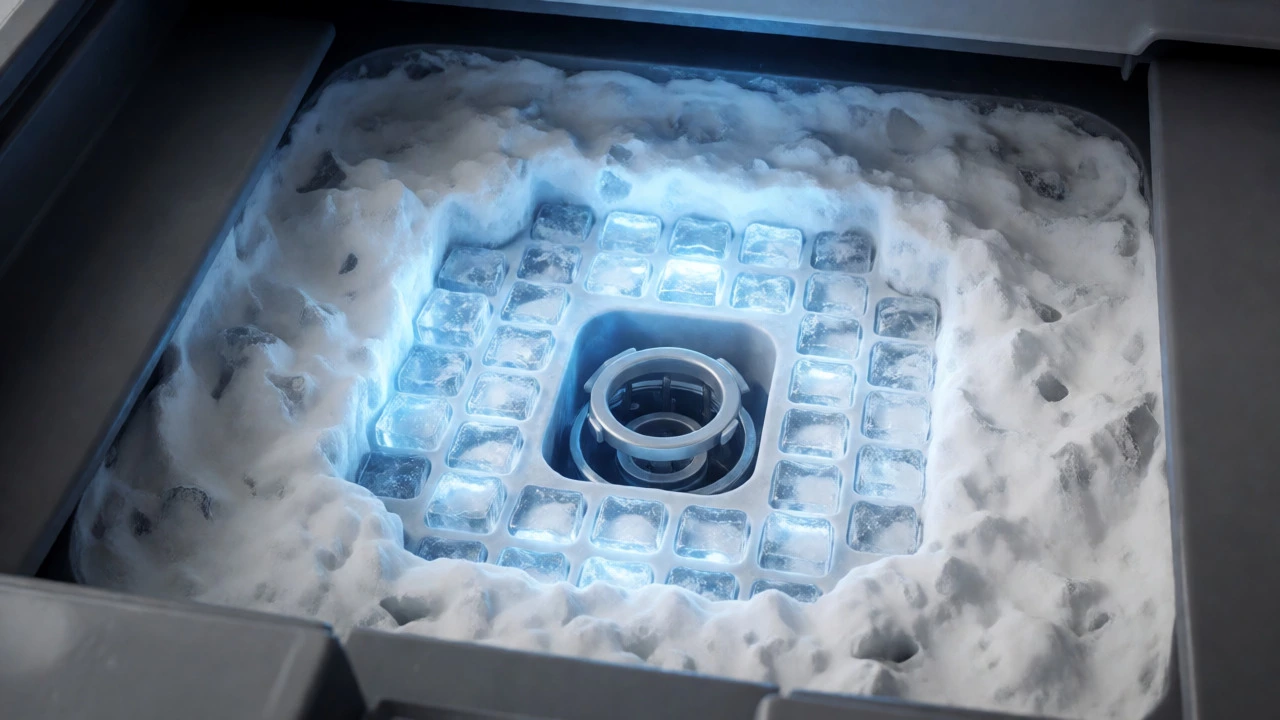
Sometimes, an ice cube gets stuck in the wrong position during ejection. The plastic arm tries to rotate but hits the cube, stalls, and gives up. Clear any stray cubes manually. Next, check the molds-the small trays where water sits. Over time, mineral deposits from hard water build up here. These white crusty layers insulate the water from the cooling element, preventing proper freezing. Clean them with warm water and vinegar. Do not use sharp objects to scrape them, as you can damage the heating element underneath.
Test the Water Inlet Valve
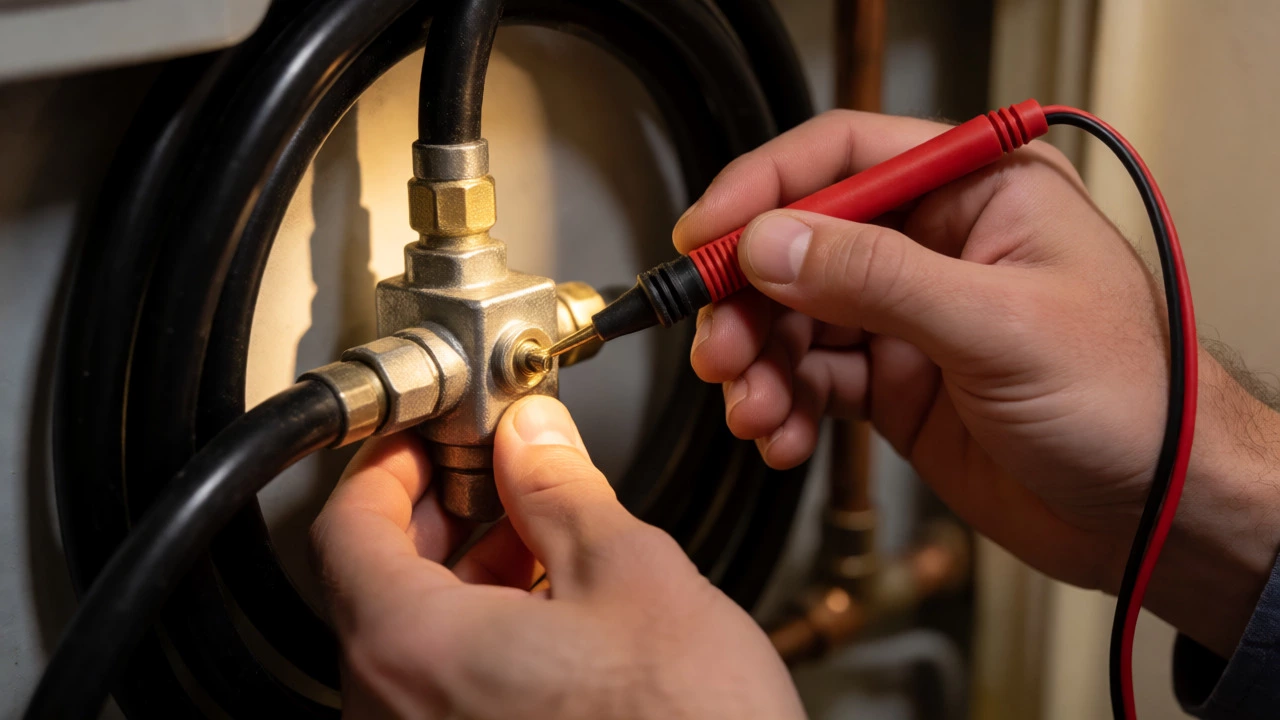
The Water Inlet Valve is an electrically operated solenoid that opens to let water into the ice maker when signaled by the control board. If this valve fails, no water enters the system, regardless of how good your water pressure is.
To test it, locate the valve (usually at the back of the fridge) and disconnect the power. Use a multimeter to check for continuity across the terminals. If the meter shows infinite resistance (open circuit), the coil is burnt out, and the valve needs replacement. This part typically costs between $40 and $80 NZD. It’s a cheap fix compared to a new appliance.
When to Call a Professional
If you’ve checked the water, cleaned the molds, verified the temperature, and tested the valve, but still no ice appears, the issue might be the main control board. This computer tells the ice maker when to fill and eject. If it’s dead, the ice maker stays silent. Control board repairs require specialized knowledge and parts sourcing, so this is where you call a pro.
| Symptom | Likely Cause | DIY Fixability |
|---|---|---|
| No ice at all, dry molds | Closed water valve or clogged filter | High |
| Ice clumped together | Freezer temp too high or door left ajar | Medium |
| Ice maker arm stuck | Jammed cube or broken gear | Medium |
| Leaking water under ice maker | Faulty water inlet valve seal | Low |
| Clicking sound but no action | Failed motor module | Low |
Preventing Future Breakdowns
Once you get your ice flowing again, keep it that way. Change your water filter religiously. Every six months, run a cup of vinegar through the ice maker cycle to dissolve mineral buildup. Avoid setting the freezer colder than necessary; extreme cold makes plastic components brittle and prone to cracking over time.
How long does it take for a freezer to start making ice after being plugged in?
Typically, it takes 6 to 12 hours for a newly installed or reset freezer to produce its first batch of ice. The freezer must reach its optimal operating temperature before the ice maker activates its fill cycle. Patience is key here; opening the door frequently slows down this process significantly.
Can I reset my ice maker myself?
Yes. Most modern ice makers have a reset button or a wire bail arm. Lift the arm to the 'off' position, wait 30 seconds, and lower it back to 'on'. For models without a bail, unplug the freezer for five minutes to reset the electronic control board. This often clears minor error codes caused by temporary jams.
Why is my ice maker leaking water?
Leaks usually indicate a worn-out water inlet valve seal or a cracked water line connection. If the leak comes from the ice maker unit itself, the drain hole might be clogged with ice shards, causing overflow during the harvest cycle. Check for cracks in the plastic housing if the leak persists after clearing the drain.
Does hard water affect ice makers?
Absolutely. Hard water contains high levels of calcium and magnesium, which leave scale deposits on the heating elements and water valves. This insulation effect slows down freezing and can eventually seize the moving parts. Installing a whole-house water softener or using a high-quality refrigerator filter mitigates this risk significantly.
Is it cheaper to repair or replace the ice maker?
Replacing the ice maker assembly itself usually costs between $150 and $300 NZD including labor, which is far less than buying a new freezer ($800+). However, if the main control board fails, repair costs can approach 50% of a new unit's price. In that case, consider the age of your appliance. If it's over 10 years old, replacement might offer better energy efficiency and reliability.