Fix Exhaust Fan: Simple DIY Guide to Get Your Fan Working Again
If your kitchen or bathroom fan is making a racket, blowing weak air, or just won’t turn on, you don’t have to call a pro right away. Most exhaust fan problems are caused by dust, a loose connection, or a worn motor – all things you can handle with a few tools and a little patience.
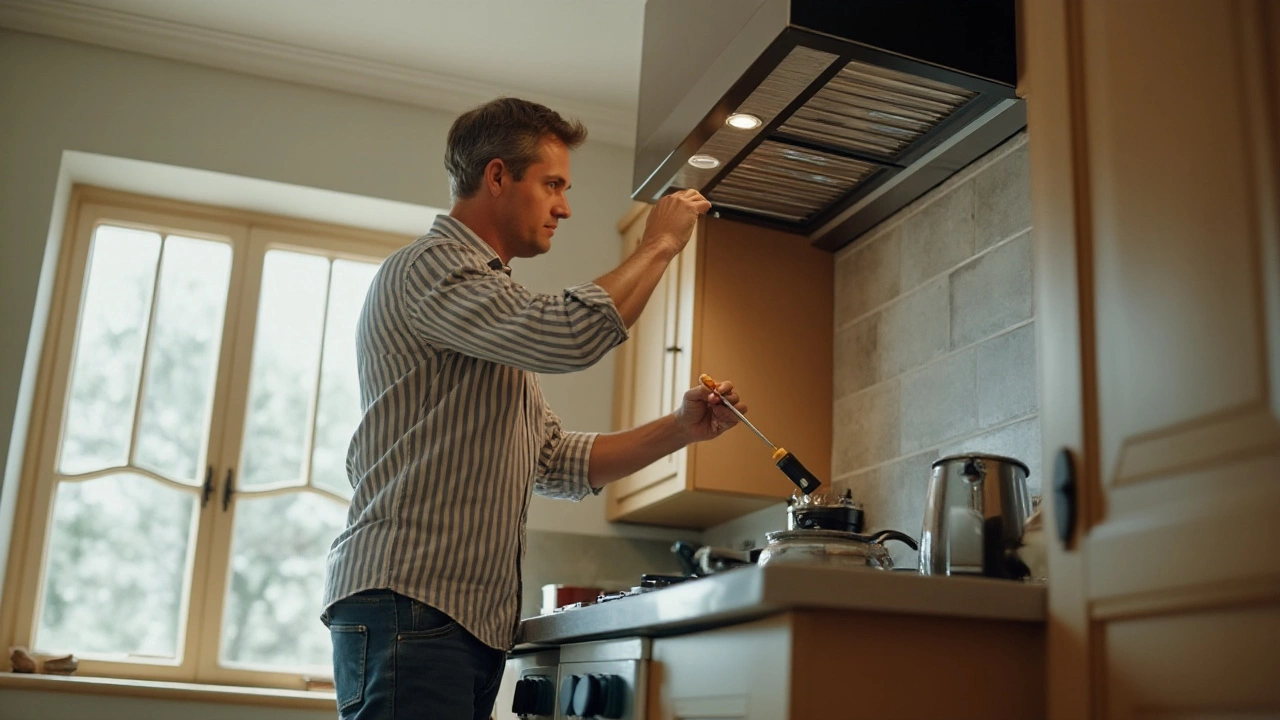
Step 1: Stay Safe and Gather the Basics
First things first – turn off the power at the breaker. Even though most fans run on low voltage, it’s better to be safe than sorry. Grab a screwdriver, a flashlight, a soft brush, and a vacuum with a narrow nozzle. If you suspect a wiring issue, keep a multimeter handy.
Once the power is off, remove the fan cover. Most covers snap or screw off. Pop it off, and you’ll see the blades and the motor housing. This is where the dust builds up.
Step 2: Clean, Inspect, and Test
Use the brush and vacuum to clean the blades and the motor fan. A film of grease or lint can slow the fan down and make it noisy. While you’re at it, check the wiring connections. Look for loose screws or corroded terminals – tighten anything that feels loose.
After cleaning, restore power (just for a quick test) and see if the fan runs smoother. If it still won’t start, turn the power off again and move to the motor check.
Touch the motor shaft – it should spin freely. If it feels gritty or sticks, the bearings may be worn. In most cases, a worn motor means you’ll need to replace the fan unit, but sometimes lubricating the bearings with a few drops of light oil can revive it.
Step 3: Replace the Motor or Whole Unit
When cleaning isn’t enough, you have two options: replace just the motor or swap the entire fan. Replacing the motor is cheaper but requires you to match the size, voltage, and mounting style. Look for the model number on the existing motor and order a compatible replacement.
To replace the motor, disconnect the wiring, unscrew the motor housing, and slide the old motor out. Slip the new one in, reconnect the wires (match colour‑coded conductors), and tighten the screws. If you’re swapping the whole fan, follow the manufacturer’s mounting guide – it’s usually the same screw pattern you removed earlier.
Step 4: Re‑assemble and Test
Put the cover back on, secure any screws, and turn the breaker back on. Run the fan for a minute and listen. You should hear a steadier, quieter flow of air. If the fan still struggles, double‑check the wiring connections and make sure the motor is properly seated.
Finally, give the fan a quick visual inspection after a few minutes of use. Look for any wobble or excess heat. If everything feels solid, you’ve successfully fixed your exhaust fan.
Remember, most exhaust fan issues are caused by simple things like dust or loose wires. By cleaning, tightening, and testing before you replace, you’ll save money and avoid unnecessary trips to the electrician. Keep a small “fan fix kit” in your toolbox – a screwdriver set, brush, and a spare motor can make future repairs a breeze.
Nov 29, 2024
Fixing Your Exhaust Fan: A Step-by-Step Guide
0 Comments
If you're facing issues with your exhaust fan, you might be wondering if it can be repaired. This article delves into the common problems faced by exhaust fans and offers practical solutions to fix them. From diagnosing motor issues to tackling unusual noises and cleaning buildup, this guide provides DIY tips and safety precautions to help restore your fan's performance. Whether you're handy with tools or new to repairs, you'll find useful advice to bring your fan back to life.
Read More