Extractor Fan Replacement Made Simple
If your kitchen or bathroom fan is noisy, weak, or not turning on at all, it’s probably time for a replacement. Swapping out an extractor fan isn’t rocket science – with a few tools and some basic safety steps you can have fresh air flowing again in under an hour.
What You’ll Need Before You Start
First, gather the essentials: a screwdriver set (Phillips and flat‑head), a drill with a small bit, a ladder or sturdy step stool, a new fan that matches the size of the old one, and some electrical tape. If the old fan was wired to a wall switch, you’ll also need a voltage tester to make sure the power is off.
Tip: Keep a photo of the original wiring before you disconnect anything. A quick snap on your phone saves you from guessing later.
Step‑by‑Step Replacement Process
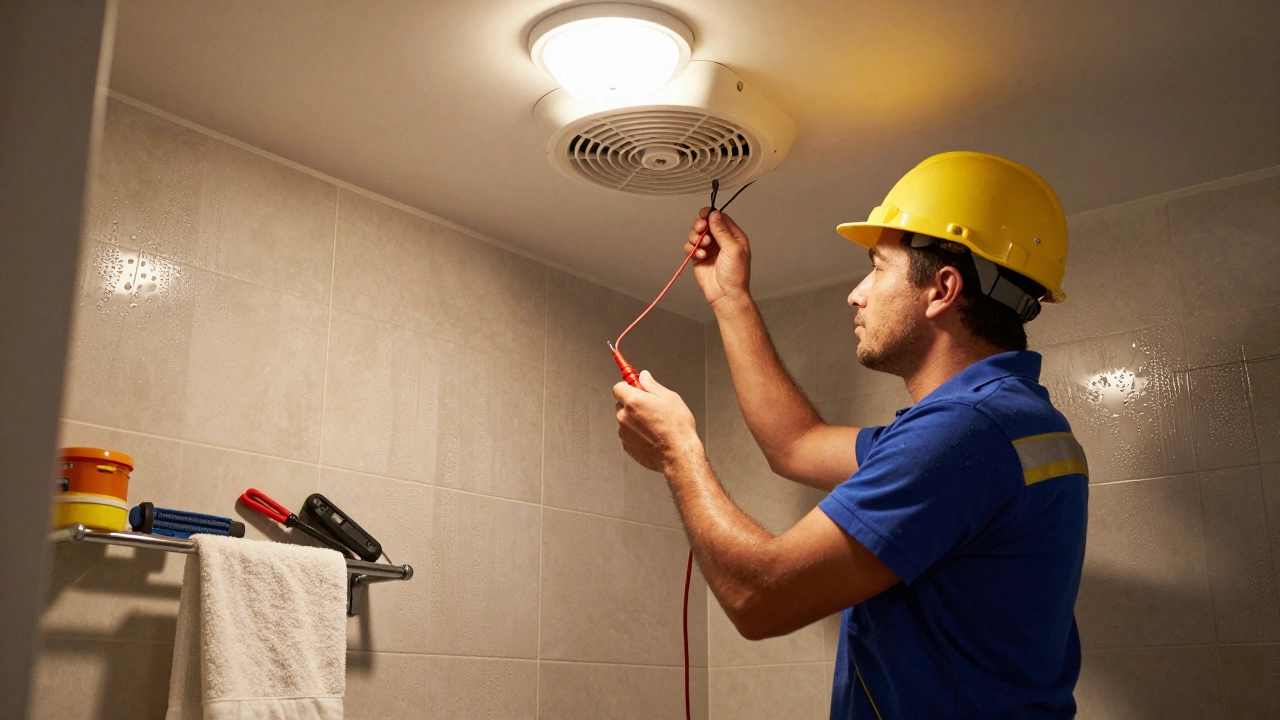
1. Turn off the power. Locate the circuit breaker for the fan and flip it off. Double‑check with the voltage tester that no electricity is flowing.
2. Remove the old fan. Unscrew the mounting brackets or clips that hold the unit in place. Gently pull the fan away from the vent to expose the wiring.
3. Disconnect the wires. Typically, you’ll see a black (live), white (neutral), and green or bare (ground) wire. Loosen the wire nuts and separate each wire, noting their positions.
4. Attach the new fan. Connect the new fan’s wires to the house wiring, matching colour to colour. Secure each connection with a wire nut and wrap with electrical tape for extra safety.
5. Mount the fan. Align the new unit with the mounting brackets, screw it in tightly, and seal any gaps with a bit of silicone sealant to keep moisture out.
6. Test it out. Turn the breaker back on and flip the switch. If the fan runs smoothly and quietly, you’re done. If it stalls or smells burnt, double‑check the wiring or call a professional.
Most homeowners can finish these steps without requiring an electrician, especially when the fan is wired to a standard switch. However, if you encounter a junction box with multiple cables, or if the wiring looks unfamiliar, it’s safest to let a qualified technician handle it.
When you’re uncertain, Wells Appliance Repairs can step in. Their local technicians have the tools and experience to replace any extractor fan quickly, so you don’t waste time troubleshooting yourself.
Remember to clean the new fan’s blades and the vent cover regularly. A quick wipe every few months keeps the motor running efficiently and extends the fan’s life.
Replacing an extractor fan yourself saves money and gives you the satisfaction of fixing a home issue. Follow the steps, stay safe, and enjoy fresh, odor‑free air in no time.
Feb 23, 2026
Do I Need an Electrician to Replace an Extractor Fan?
0 Comments
Replacing an extractor fan isn't always a simple DIY job. In New Zealand, wired fans require a licensed electrician for safety and legal reasons. Learn when you can do it yourself and when you absolutely shouldn't.
Read MoreApr 4, 2025

Are Extractor Fans Easy to Replace?
0 Comments
Extractor fans are essential for keeping your kitchen or bathroom fresh and odor-free. Whether your fan is broken or you're upgrading, replacing it doesn't have to be daunting. Understanding the basics of electricity and having some handy skills can make the process go smoothly. This guide offers practical tips and insights into replacing an extractor fan safely and effectively.
Read More