Microwave DIY Safety & Repair Checker
Select your microwave's symptom to determine if this is a safe DIY job or requires a professional technician.
You open the door, and your microwave is dead. No light, no hum, just silence. Or maybe it runs but doesn't heat a thing. Your first instinct might be to grab a screwdriver and save that $150 service call fee. But here's the kicker: microwaves are arguably the most dangerous household appliance for DIY repairs. Why? Because they hold a lethal charge even when unplugged.
This isn't just scaremongering. The internal components of a microwave operate at voltages far higher than your wall outlet. Before you crack that casing, you need to understand what you're dealing with, where the risks lie, and which fixes are actually within reach for a non-professional.
The Hidden Danger: High Voltage Capacitors
Most people assume that unplugging an appliance makes it safe. With a toaster or a blender, that's true. With a microwave, it's a myth. Inside every microwave sits a high-voltage capacitor, a component designed to store electrical energy to boost the power going to the magnetron.
Think of the capacitor like a water tank in a gravity-fed shower system. Even after you turn off the main tap (unplug the microwave), the tank remains full. If you touch the wrong terminals while discharging it incorrectly, that stored energy dumps through your body instantly. We aren't talking about a static shock from a carpet; we're talking about thousands of volts capable of stopping your heart.
| Appliance Component | Typical Operating Voltage | Residual Charge Risk |
|---|---|---|
| Toaster Heating Element | 230V AC | Low (Dissipates quickly) |
| Washing Machine Motor | 230V AC | Low |
| Microwave Magnetron Circuit | 4,000V - 5,000V DC | Extreme (Can retain charge for days) |
When DIY Makes Sense (And When It Doesn't)
Not all microwave problems require a technician. Some issues are cosmetic or mechanical and pose zero electrical risk. Others involve the high-voltage circuit and demand respect-or professional help.
Safe to Fix Yourself:
- Door Switches: If the microwave doesn't start when you close the door, it's often a faulty interlock switch. These are low-voltage components located behind the control panel.
- Turntable Motor: If the plate stops spinning but the food still heats, the motor is likely burnt out. This is a simple plug-and-play replacement.
- Cavity Liner: Peeling paint or chipped enamel inside the cooking chamber can cause arcing (sparks). Replacing the liner or cleaning it thoroughly is safe work.
- Fuse (External): Some models have an accessible fuse on the back or under a cover. If the unit is completely dead, checking this is step one.
Risky or Professional Only:
- Magnetron: This is the engine of the microwave. It generates the waves. If it fails, the fix involves handling high-voltage components.
- High-Voltage Diode/Capacitor: These are part of the voltage multiplier circuit. Touching them without proper discharge procedures is dangerous.
- Transformer: Heavy, expensive, and directly connected to mains and high-voltage lines.
The Golden Rule: Discharging the Capacitor
If you decide to tackle a repair involving the interior electronics, you must discharge the capacitor. Do not skip this. Do not assume it's empty because the microwave hasn't been used in weeks. Capacitors can leak slowly, retaining a fatal charge for months.
Here is the safe way to do it. You will need an insulated handle screwdriver (rated for at least 600V) and a pair of needle-nose pliers. Never use bare hands or standard plastic-handled tools rated only for low voltage.
- Unplug the microwave from the wall socket.
- Remove the outer cabinet screws and slide the cover off. Be careful of sharp metal edges.
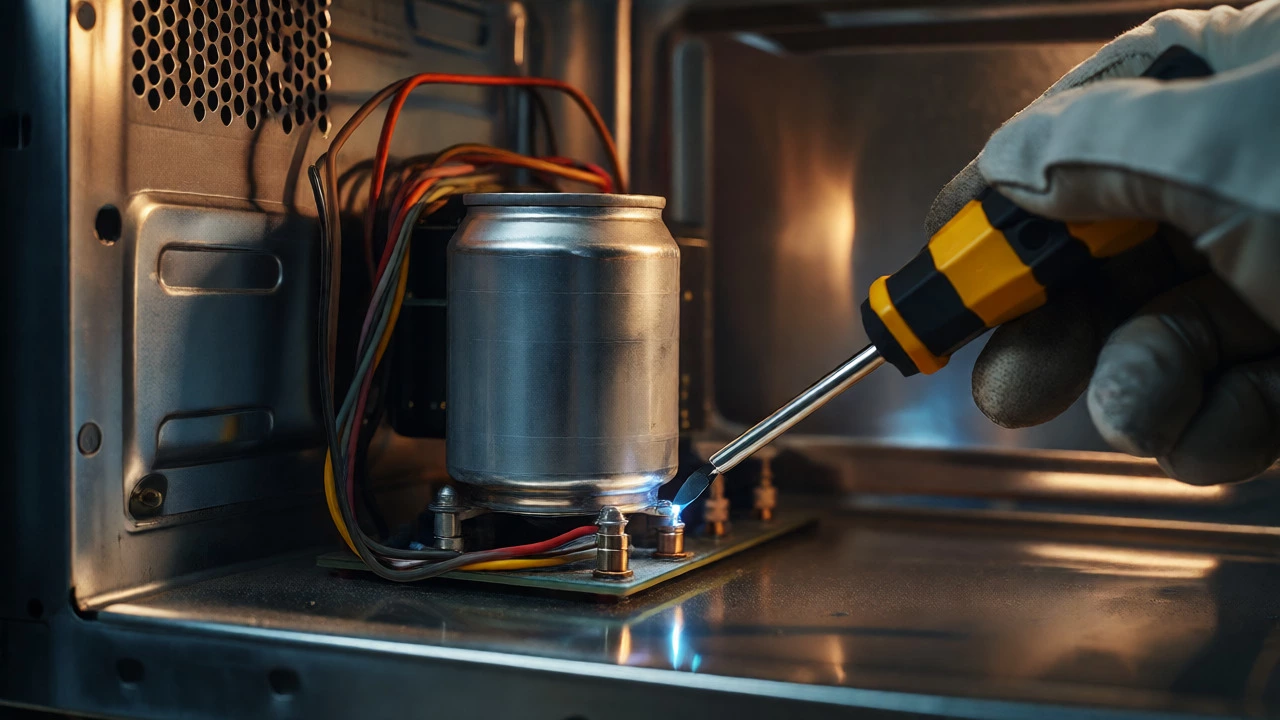
- Locate the high-voltage capacitor. It usually looks like a silver cylinder, roughly the size of a soda can.
- Take your insulated screwdriver. Insert the tip into one terminal of the capacitor. While keeping contact there, touch the other terminal with the same shaft. You might hear a loud 'pop' or see a spark. That is the energy releasing.
- Repeat this process across both pairs of terminals if there are more than two.
- Use a multimeter to verify the voltage is near zero before touching any wires.
Pro tip: Wear rubber-soled shoes and stand on a dry wooden floor. Avoid working on concrete if possible, as moisture can create a path to ground through your body.
Common Symptoms and Likely Culprits
Diagnosing a microwave is mostly about matching symptoms to parts. Here’s a quick cheat sheet based on common failures seen in workshops across Dunedin and beyond.
| Symptom | Likely Cause | DIY Difficulty | Safety Level |
|---|---|---|---|
| No power, no lights, no sound | Blown Fuse or Door Switch | Easy | Low |
| Lights on, fan runs, no heat | Failed Magnetron or HV Diode | Hard | High |
| Loud humming, then shuts off | Overheating Transformer or Bad Capacitor | Medium | High |
| Sparking/Arcing inside cavity | Chipped Waveguide Cover or Dirty Interior | Easy | Low |
| Turntable not moving | Broken Coupler or Motor | Easy | Low |
The Cost-Benefit Analysis
Let's talk money. A new mid-range countertop microwave costs between $80 and $150 NZD. A basic repair kit (door switches, fuse) might cost $15. However, replacing a magnetron or transformer can run $60-$90 for the part alone, plus tax and shipping.
If your microwave is over seven years old, consider the efficiency loss. Older units consume more electricity and may have degraded seals that let radiation leak (though minimal). If the repair quote exceeds 50% of the price of a new unit, buy a new one. Technology has improved; newer models are quieter and more energy-efficient.
However, if you have a built-in microwave integrated into your kitchen cabinetry, replacement becomes a carpentry project too. In that case, repairing the existing unit-even if it costs $100-often makes financial sense compared to ripping out cabinets and installing a new frame.
Tools You Actually Need
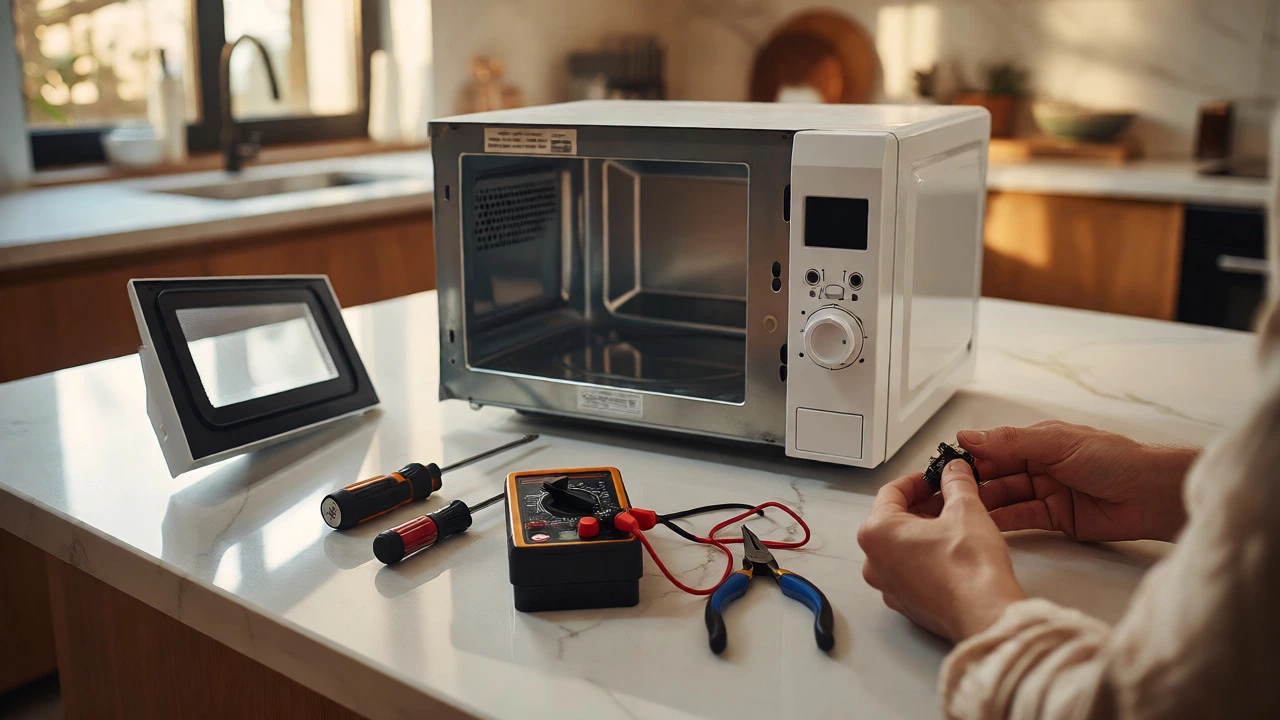
You don't need a workshop full of gear. For 90% of DIY jobs, you need three things:
- Phillips Head Screwdriver: Most microwaves use Phillips screws for the cabinet.
- Insulated Screwdriver: Specifically for discharging capacitors. Check the rating on the handle.
- Multimeter: To check continuity on fuses and switches. Set it to resistance mode (Ohms) or continuity beep mode.
Do not use a hammer or pry bar to force panels open. Microwaves are filled with sensors and thin metal tabs that bend easily. Patience beats force every time.
Final Verdict: Should You Do It?
If the problem is external-like a broken handle, a stuck door latch, or a dirty waveguide cover-fix it yourself. It’s cheap, easy, and satisfying.
If the problem is internal heating failure, ask yourself: Am I comfortable working around high voltage? Do I have the right insulated tools? Can I afford to make a mistake that kills the appliance entirely?
If you hesitated answering those questions, call a pro. There is no shame in paying for expertise when the alternative is a trip to the emergency room. Safety isn't just about protecting the appliance; it's about protecting yourself.
How long does a capacitor stay charged?
A high-voltage capacitor in a microwave can retain a dangerous charge for several days, sometimes even weeks, depending on the quality of the component and leakage rates. Never assume it is discharged simply because the appliance has been unplugged for a few hours.
Can I replace the magnetron myself?
Yes, technically. The magnetron itself is a sealed unit. However, accessing it requires removing the outer cabinet and disconnecting high-voltage leads. You must safely discharge the capacitor before touching these leads. If you are uncomfortable with high-voltage safety procedures, hire a technician.
Why is my microwave sparking?
Sparking is usually caused by food debris or grease buildup on the waveguide cover (the mica piece inside the cavity) or chipped enamel on the interior walls. Clean the area thoroughly. If the mica cover is burnt, replace it. If the metal wall is rusted or pitted, the microwave may need a new cavity liner or replacement.
Is it worth fixing an old microwave?
For countertop models older than 7-10 years, generally no. Parts become scarce, and energy efficiency drops significantly. For built-in models where installation costs are high, repairing is often more economical than replacing the entire unit and modifying cabinetry.
What happens if I don't discharge the capacitor?
If you accidentally bridge the terminals with a tool or your hand while the capacitor is charged, you will receive a severe electric shock. This can cause muscle contractions, burns, cardiac arrest, or death. Always discharge the capacitor before beginning any internal work.