Electric Oven Element Resistance Calculator
Before calling a technician, use this tool to calculate what your multimeter reading should be for a healthy element. Compare this against your actual measurement to diagnose issues.
Enter voltage and wattage to see the expected resistance range.
Expected Resistance:
R = V² / W
Where R is Resistance in Ohms (Ω), V is Voltage, and W is Wattage.
Multimeter Diagnosis Guide:
- Reading ~-- Ω: Element is likely GOOD.
- Reading OL or Infinity: Open Circuit. Element is DEAD.
- Reading Near 0 Ω: Short Circuit. Check for contact with oven wall.
- Reading >50% Higher: Degraded Element. Replace soon.
Safety & Troubleshooting Tips
- Safety First: Always disconnect power at the breaker before testing.
- Visual Check: Look for blisters, cracks, or dark spots on the sheathing.
- Cold Spot Test: If one side heats and the other doesn't, the element is partially failed.
- Loose Connections: Tighten terminal screws securely. Loose wires cause arcing and premature failure.
- Thermal Cycling: Repeated heating/cooling causes micro-fractures over time.
- DIY Friendly: Most replacements take <30 mins with a screwdriver and nut driver.
There is nothing quite as frustrating as preheating your electric oven for a Sunday roast, only to find the food still raw in the center an hour later. You turn the dial up, wait longer, and check again. Still cold. Before you call a technician or spend hundreds on a new unit, you need to answer one critical question: is my electric oven element bad?
The heating element is the heart of your cooking experience. When it fails, your oven doesn't just cook poorly; it stops cooking entirely. But how do you know if the element itself is dead, or if the problem lies elsewhere, like the thermostat or the power supply? This guide walks you through the exact signs, visual checks, and multimeter tests that will tell you if your element needs replacing.
Key Takeaways
- Visual Inspection: Look for blisters, cracks, or dark spots on the element surface.
- Uneven Heating: If food burns on one side but stays raw on the other, the element may be partially failed.
- Multimeter Test: A reading of infinity (open circuit) confirms a broken element; a low resistance indicates a short.
- Safety First: Always disconnect power before testing or handling elements.
- Cost Efficiency: Replacing an element costs $30-$80 in parts, far less than a new oven.
The Anatomy of Your Oven's Heat Source
To diagnose the problem, you first need to understand what you are looking at. An electric oven heating element is essentially a high-resistance wire encased in metal sheathing. When electricity flows through this wire, it generates heat via Joule heating. Most modern ovens have two main types of elements: the bake element (usually at the bottom) and the broil element (at the top). Some convection models also include a third circular element around the fan motor.
These components are designed to withstand temperatures exceeding 400°F (200°C), but they are not indestructible. Over time, thermal cycling-heating up and cooling down repeatedly-causes the metal to expand and contract. Eventually, this stress creates micro-fractures in the sheathing or breaks the internal wire. Once the circuit is broken, electricity cannot flow, and no heat is produced.
Signs Your Bake Element Has Failed
The most common complaint from homeowners is that the oven simply won't get hot enough. However, "not hot enough" can mean different things depending on which element is failing. Here is how to distinguish between a total failure and a partial one.
If your oven turns on, the light comes on, and the fan spins, but the interior remains room temperature after 15 minutes, the bake element is likely completely dead. The electrical path is severed, so no current reaches the heating coil. In contrast, if the oven heats up but never reaches the set temperature-for example, it stalls at 250°F when set to 350°F-the element might be partially shorted or degraded. It’s working, but inefficiently.
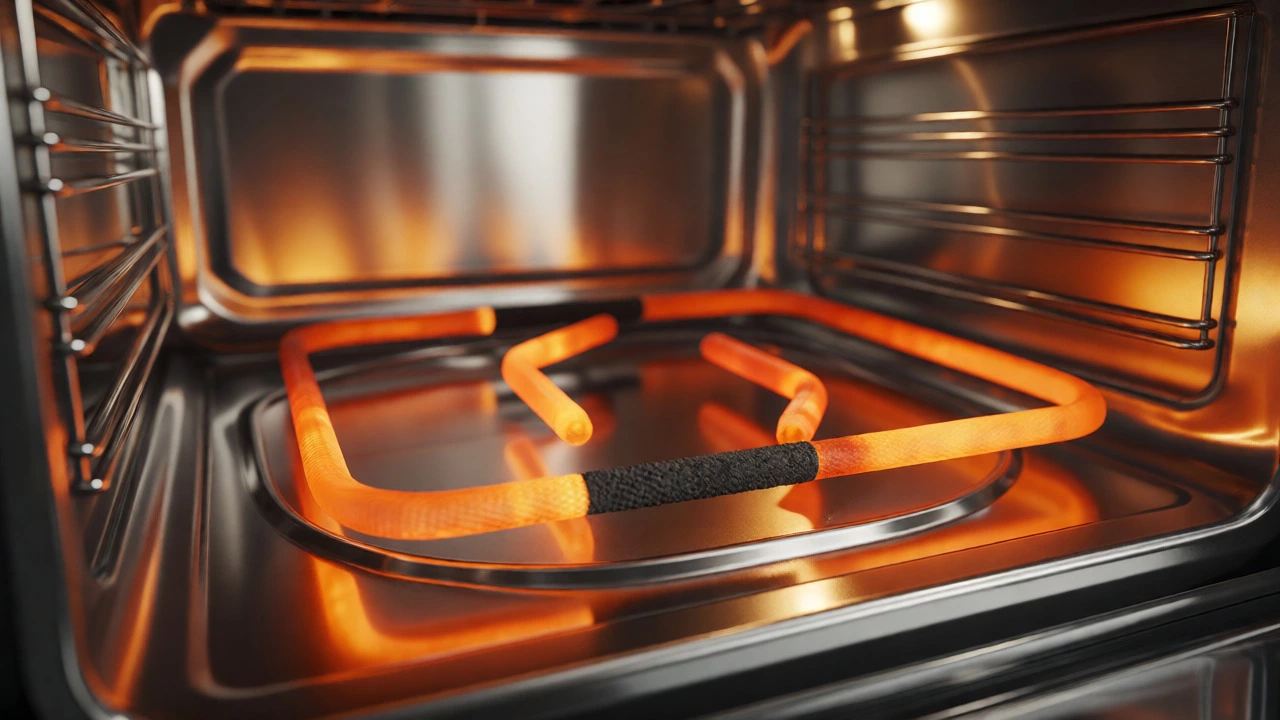
Another subtle sign is uneven baking. If your cookies burn on the bottom but remain pale on top, the bake element may have lost its ability to radiate heat evenly across its length. This often happens when a section of the element has burned out while the rest continues to glow red. You might see a dull, non-glowing spot on the coil while the rest shines bright orange.
Spotting Broil Element Problems
The broil element sits near the ceiling of the oven cavity. Because it operates at higher wattages and closer proximity to food, it tends to fail more frequently than the bake element. If you try to broil a steak and it takes forever to sear, or if it never browns at all, suspect the broil element.
A specific symptom unique to broilers is the "cold spot" phenomenon. Since broiling relies on intense radiant heat from above, any break in the element results in immediate loss of function in that zone. Unlike the bake element, which heats the entire cavity air, the broil element requires direct line-of-sight contact with the food. If the element looks intact visually but produces no heat, it could be an internal break invisible to the naked eye, requiring a multimeter test to confirm.
Visual Inspection: What to Look For
Before grabbing tools, use your eyes. Turn off the oven and let it cool completely. Open the door and look closely at both the top and bottom elements. You are looking for physical damage.
- Blisters or Bubbles: These indicate moisture got inside the sheathing, causing steam expansion during heating.
- Cracks or Breaks: Sometimes the metal casing splits, exposing the inner wire.
- Dark Discoloration: While some darkening is normal over years of use, localized black spots suggest overheating or arcing.
- Sagging: A severely burnt element may lose structural integrity and sag downward, potentially touching the oven floor or walls.
If you see obvious physical damage, stop there. The element is definitely bad. No amount of electrical testing will fix a cracked sheath. Replace it immediately.
Using a Multimeter to Confirm Failure
Visual cues aren't always enough. Many failures are internal. To be certain, you need a digital multimeter. This tool measures electrical resistance, measured in ohms (Ω). A healthy heating element should show a specific range of resistance based on its wattage and voltage rating.
Here is the step-by-step process:
- Disconnect Power: Unplug the oven or flip the circuit breaker. Never test with live power.
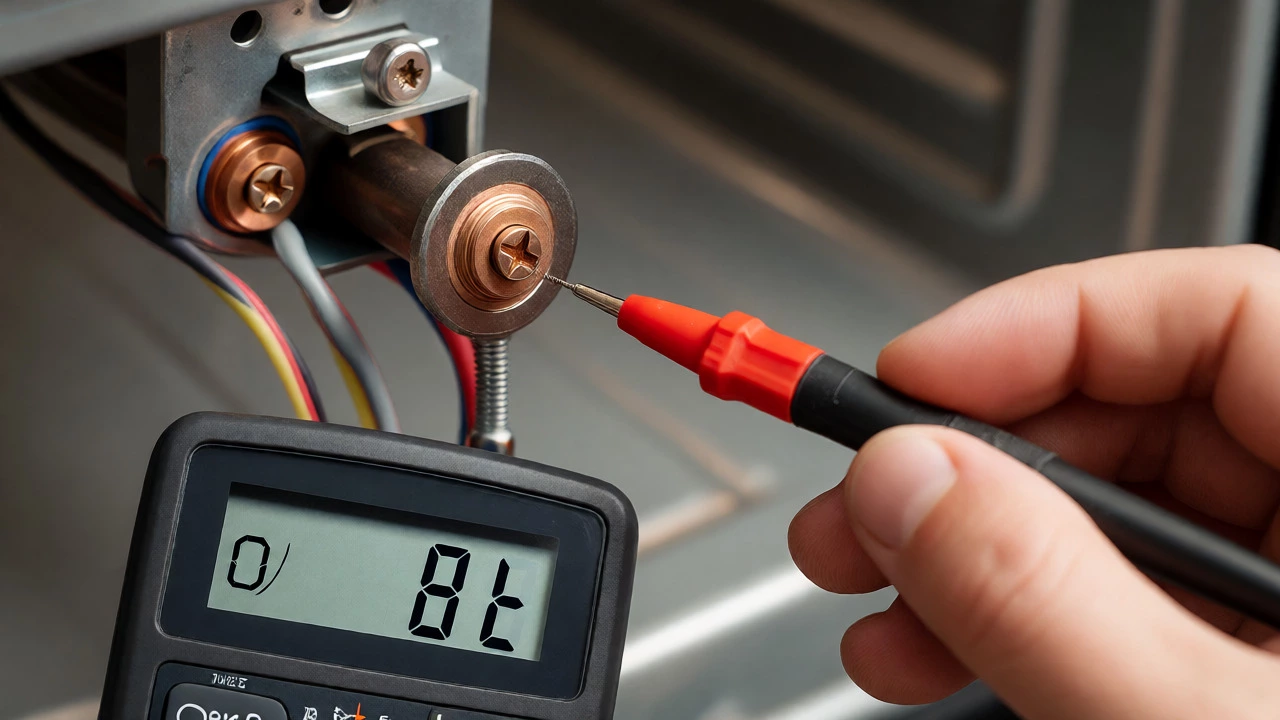
- Access the Terminals: Remove the oven racks and unscrew the mounting brackets holding the element. Pull the element forward gently to expose the two terminal screws where the wires connect.
- Set Multimeter: Turn your device to the lowest Ohms setting (usually 200Ω).
- Test Continuity: Place one probe on each terminal screw. Ensure the probes touch bare metal, not paint or insulation.
- Read the Result:
- Infinity (OL or 1): The circuit is open. The wire is broken. The element is dead.
- Near Zero (0-1 Ω): Possible short circuit to ground. Check if the element touches the oven wall.
- Specific Range (e.g., 16-50 Ω): The element is likely good. Compare against manufacturer specs, but generally, a bake element reads between 16Ω and 30Ω, while broil elements read lower due to higher wattage.
If you get an "Open Loop" reading, replace the part. If you get a valid resistance reading, the element is electrically sound, and you should investigate the thermostat or control board next.
Common Misconceptions About Oven Elements
Many people assume that if the element glows red, it is working perfectly. This is false. An element can glow brightly but fail to transfer heat efficiently if the sheathing is corroded or if there is poor contact with the mounting terminals. Conversely, an element might not glow visibly in daylight but still produce significant heat.
Another myth is that cleaning sprays ruin elements. While harsh chemicals can accelerate corrosion, the primary killer is age and thermal shock. Cleaning the oven while it is hot can cause rapid cooling, leading to cracks. Always clean when the oven is cool.
| Symptom | Likely Culprit | Verification Method |
|---|---|---|
| Oven does not heat at all | Bake Element or Thermal Fuse | Multimeter continuity test on element |
| Oven heats slowly | Degraded Element or Thermostat | Check resistance value vs. spec sheet |
| Broiler works, Bake does not | Bake Element | Visual inspection + Continuity test |
| Fan runs, but no heat | Heating Element Relay or Element | Check voltage at element terminals |
| Element glows but oven cold | Poor Contact or Broken Sheath | Inspect mounting points and sheathing |
Replacing the Element: Is It DIY-Friendly?
You don't need to be a professional to swap out an oven element. In most cases, it is a straightforward job that takes under 30 minutes. You will need a Phillips-head screwdriver and possibly a nut driver. The key is matching the replacement part exactly. Elements are not universal; they vary by shape, size, voltage, and wattage.
Take the old element to a local appliance parts store or measure it carefully. Note the number of turns, the diameter, and the location of the mounting holes. Installing a mismatched element can lead to poor fitment, short circuits, or inadequate heating performance. Once installed, ensure the wires are securely tightened. Loose connections cause arcing, which destroys new elements quickly.
When to Call a Professional
If your multimeter shows the element is fine, but the oven still won't heat, the issue might be deeper. Faulty thermostats, blown thermal fuses, or defective electronic control boards require more advanced diagnostics. If you are uncomfortable working with mains electricity, or if the oven is under warranty, hire a certified technician. Attempting complex repairs without proper knowledge can void warranties and create safety hazards.
Remember, safety is paramount. Always treat every wire as live until proven otherwise. If you smell burning plastic or see sparks, cut the power immediately and seek help.
Can I drive my car if my oven element is bad?
Yes, obviously. The oven element has no impact on vehicle mechanics. However, if you are asking if you can continue using the oven, you can technically use the broiler if only the bake element is broken, but cooking efficiency will be severely compromised.
How much does it cost to replace an electric oven element?
The part itself typically costs between $30 and $80 USD. If you hire a professional, labor charges usually add another $100 to $150, bringing the total to roughly $130-$230. DIY replacement saves the labor cost entirely.
Why did my new oven element burn out so quickly?
This is often caused by loose wiring connections. If the terminal screws are not tight, electricity arcs across the gap, generating excessive heat that melts the element's connection point. Another cause is using a generic part with incorrect specifications for your model.
Do all electric ovens have two elements?
Most conventional electric ovens have a bake element at the bottom and a broil element at the top. Convection ovens add a third element around the fan. Some compact or toaster ovens may only have one or two elements combined into a single assembly.
Is it dangerous to leave a bad element in the oven?
Generally, no. A broken element is an open circuit, meaning no electricity flows, so it won't get hot. However, if the sheathing is cracked and exposes live wires, there is a risk of electrical shock if touched while powered. Always disconnect power before inspecting damaged elements.