Bathroom Extractor Fan Maintenance Planner
Service Frequency Calculator
Answer the questions below to determine how often you should clean your fan.
Recommended Interval:
Every 12 Months
Maintenance Checklist
- 1. Safety First: Turn off breaker & test voltage. Pending
- 2. Remove Cover: Unclip/screw off grille carefully. Pending
- 3. Clean Blades: Wash impeller or vacuum housing. Pending
- 4. Check Ductwork: Inspect for blockages/kinks. Pending
- 5. Lubricate: Oil motor if ports exist (no WD-40). Pending
- 6. Reassemble & Test: Ensure no wobble before power on. Pending
You know that sound. It’s the low-grade drone of your bathroom fan, or worse, the grinding rattle that sounds like it’s about to give up entirely. Most of us ignore our bathroom extractor fan until it stops working altogether. But here is the truth: these fans are workhorses. They pull moisture, odors, and pollutants out of your home every single day. If you skip their maintenance, they don’t just get noisy; they stop extracting properly. That means mold growth on your ceiling and damp walls. The good news? Servicing one is rarely a job for a professional. With a screwdriver, a vacuum, and ten minutes, you can restore quiet efficiency.
Why Your Fan Needs Attention Now
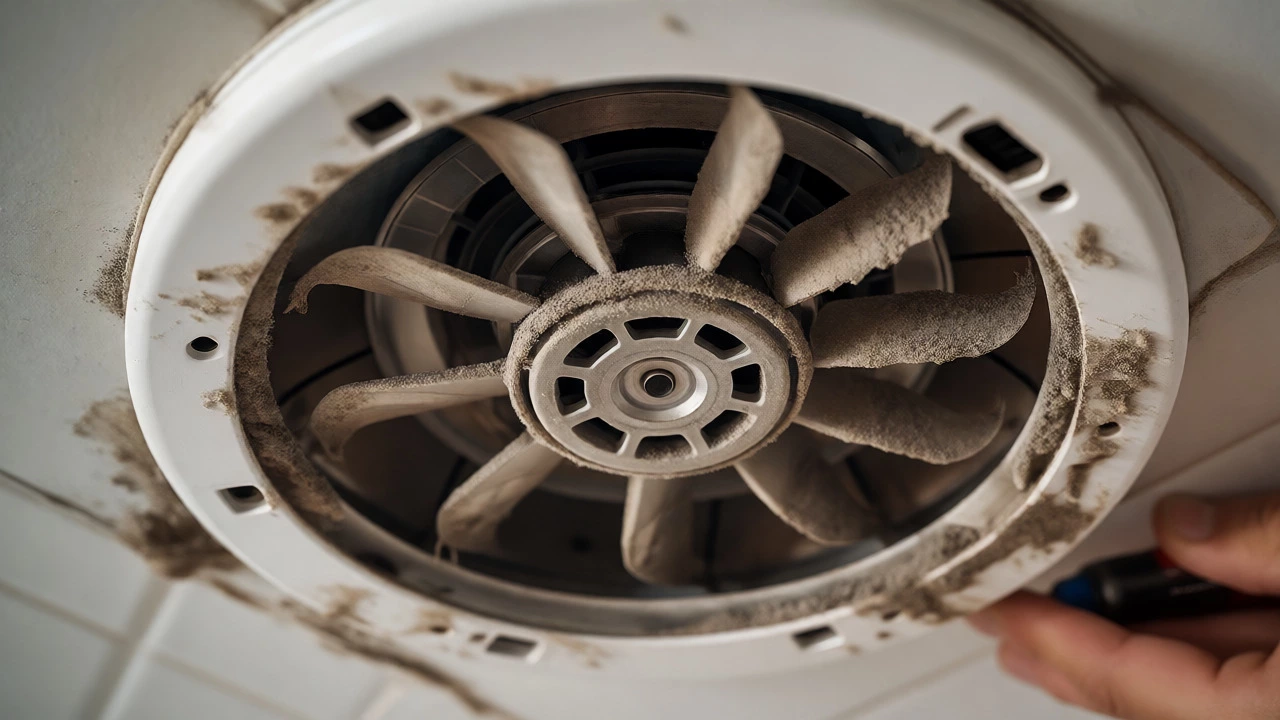
Think about what passes through that little box in your ceiling. Steam from hot showers, hairspray particles, dust from towels, and yes, dead skin cells. Over time, this mixture turns into a sticky grime that coats the blades and motor housing. This buildup does two bad things. First, it unbalances the blades, causing vibration and noise. Second, it insulates the motor, causing it to overheat and burn out prematurely. In New Zealand’s humid climate, especially in older homes with poor insulation, this moisture load is significant. A clean fan moves air efficiently. A dirty one fights against its own weight.
Safety First: Power Down Completely
Before you grab a ladder, go to your switchboard. Turn off the circuit breaker that controls the bathroom lighting and fan. Do not rely on the wall switch alone. Fans are often wired directly into the light fixture circuit, and residual current can still pose a risk if you’re poking around inside the unit. Use a non-contact voltage tester to confirm the power is truly off. If you aren’t comfortable identifying circuits, label them carefully before proceeding. Electricity doesn’t care if you’re in a hurry.
Removing the Cover and Grille
Most modern fans have a plastic cover that clips or screws onto the mounting bracket. Older models might have a metal grille held by spring clips. Gently pry the cover away. If it feels stuck, check for hidden screws-sometimes they are tucked behind decorative caps. Once the cover is off, set it aside in a safe place where it won’t crack. You’ll likely see a layer of gray fuzz immediately. This is the first sign your fan needs a deep clean. Don’t let it scare you; it’s normal.
Cleaning the Blades and Housing
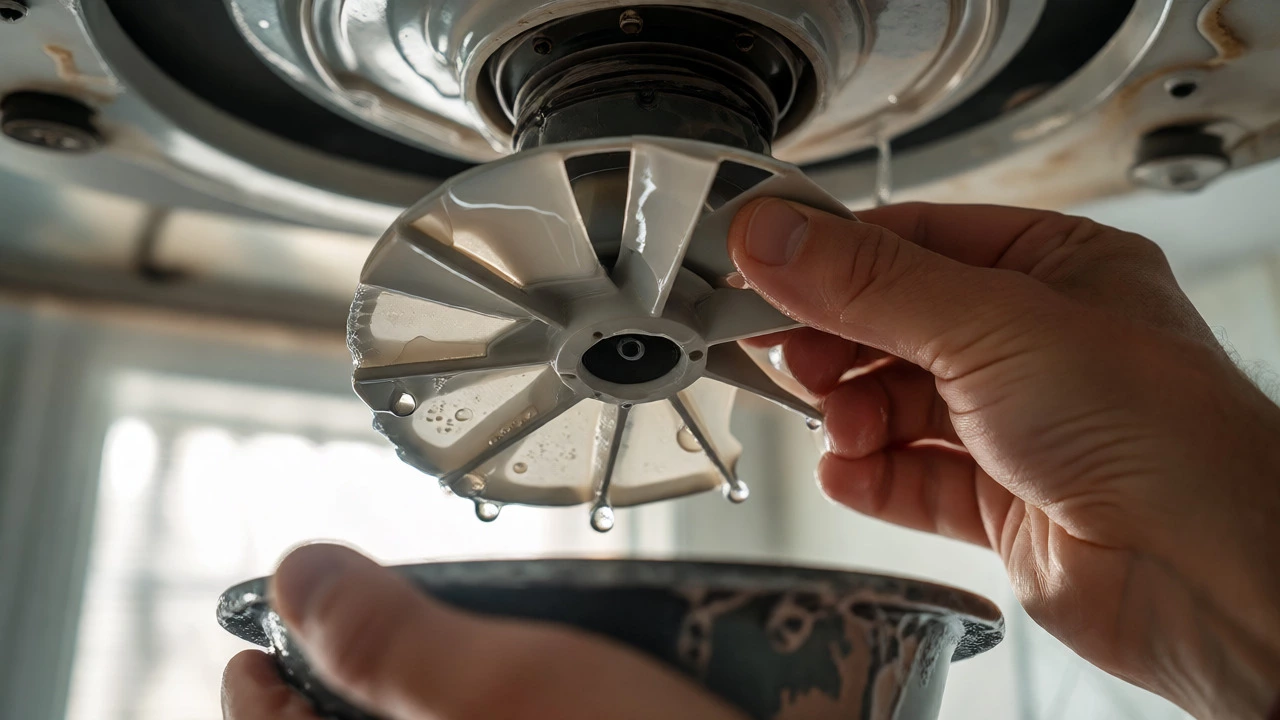
This is the core of the service. You need to remove the impeller (the fan blade assembly) if possible. On many models, the impeller slides off the motor shaft after removing a small circlip or unscrewing a central nut. Check your specific model manual if unsure. Once removed, wash the impeller in warm soapy water. A soft brush helps scrub away the sticky residue without scratching the plastic. Dry it completely before reassembly.
If the impeller is fixed to the motor, do not force it. Instead, use a vacuum cleaner with a brush attachment to suck out loose dust. For stubborn grime, dip a cotton swab in isopropyl alcohol and gently wipe the blades. Avoid spraying liquid directly into the motor housing. You want to clean the accessible parts without flooding the electronics.
| Component | Best Cleaning Method | What to Avoid |
|---|---|---|
| Plastic Cover | Warm soapy water, dry thoroughly | Hot boiling water (can warp plastic) |
| Fan Blades | Vacuum brush, soft cloth, alcohol wipes | Abrasive scouring pads |
| Motor Housing | Dry vacuum nozzle, compressed air (carefully) | Water spray, wet cloths |
| Filter Mesh | Soak in vinegar solution, rinse, dry | Putting back while damp |
Checking the Ductwork
Here is where many homeowners miss the mark. Cleaning the fan unit isn’t enough if the duct leading outside is blocked. Inspect the flexible aluminum or rigid PVC duct connected to the fan. Is it crushed? Is there a bird nest at the external vent? Squeeze the flexible duct gently to break up any internal debris, then vacuum it out if accessible. Ensure the external flap opens freely when the fan runs. If the flap is rusted shut or weighed down by dirt, the fan works twice as hard to push air out. Lubricate the hinge with a silicone-based spray if necessary.
Lubricating the Motor (If Applicable)
Not all fans have serviceable motors. Many cheap units are sealed for life. However, higher-quality models often have oil ports on the motor casing. Look for small rubber plugs or holes labeled “Oil.” If present, add one or two drops of lightweight machine oil (like sewing machine oil). Do not use WD-40; it evaporates quickly and attracts more dust. Spin the motor shaft by hand to distribute the oil. If your motor is sealed and making grinding noises despite being clean, the bearings may be worn. At that point, replacement is usually cheaper than repair.
Reassembly and Testing
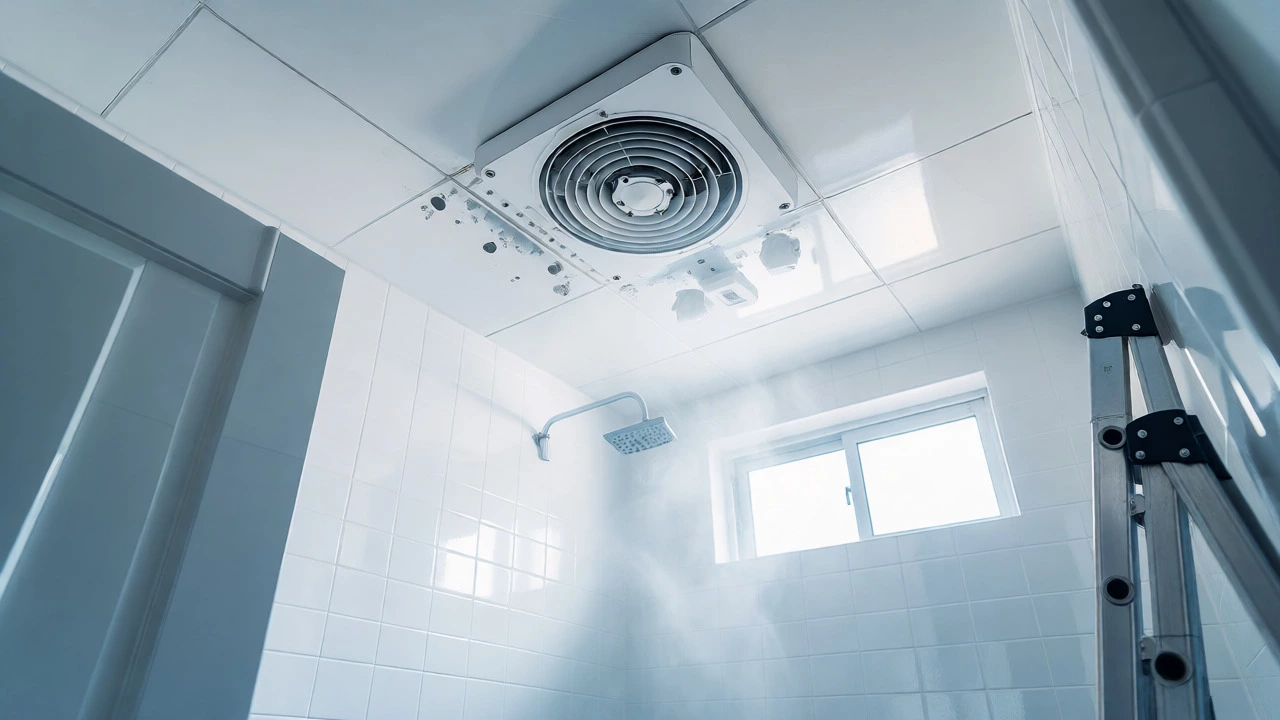
Put everything back together. Ensure the impeller sits straight on the shaft. A wobbly blade will cause immediate noise. Snap the cover back into place securely. Turn the power back on at the switchboard. Switch on the fan. Listen closely. It should run smoothly with a consistent hum. If you hear clicking, something is touching the housing. If it remains loud, the motor itself might be failing.
Maintenance Schedule for Long Life
How often should you do this? For most households, once a year is sufficient. If you have long hot showers, pets, or live in a particularly dusty area, aim for every six months. Regular maintenance prevents the buildup from becoming cement-like. It also saves you money. A new fan costs between $50 and $150 plus installation labor. A ten-minute clean costs nothing but time.
Troubleshooting Common Post-Service Issues
If the fan still makes noise after cleaning, check for loose screws on the mounting bracket. Vibration often comes from the unit rattling against the joists, not the motor itself. Tighten all fasteners. If the fan doesn’t turn on at all, double-check the wiring connections inside the junction box. Loose wires are a common culprit after reassembly. If the light works but the fan doesn’t, the capacitor might be blown. This is a simple part to replace if you are handy with electronics, but otherwise, call an electrician.
How often should I clean my bathroom extractor fan?
For most homes, a thorough clean once a year is recommended. However, if you notice reduced airflow, increased noise, or visible dust buildup on the grille, clean it sooner. Households with heavy humidity usage or pets may benefit from cleaning every six months.
Can I use WD-40 to lubricate my fan motor?
No, WD-40 is primarily a solvent and penetrant, not a long-term lubricant. It evaporates quickly and can attract more dust, worsening the problem over time. Use a few drops of lightweight machine oil or sewing machine oil specifically designed for small motors.
My fan is still noisy after cleaning. What should I do?
First, ensure the unit is tightly secured to the ceiling joists; loose brackets cause vibration. If the mounting is secure, the motor bearings may be worn out. If the fan is old or inexpensive, replacing the entire unit is often more cost-effective than attempting a motor rebuild.
Do I need to disconnect the fan from the duct before cleaning?
You do not necessarily need to disconnect it, but inspecting the duct connection is crucial. Check for blockages, kinks, or disconnections in the flexible ducting. If the duct is severely clogged, you may need to detach it to flush it out or replace it.
Is it safe to spray water inside the fan motor?
Never spray water directly into the motor housing. Water can short-circuit the electrical components and corrode the windings. Clean the exterior and blades with a damp cloth or alcohol, but keep the motor core dry. Use a vacuum for internal dust removal.