
Ever turned on your electric hob, set your pan down, waited for the sizzle—and got nothing? That moment of silent frustration is familiar in kitchens everywhere. A dead hob element isn’t just annoying; it can throw your dinner plans into chaos. But do you really need to call in the cavalry every time one burns out? Not necessarily. Knowing how to swap out a blown hob element can save you time, money, and maybe a little dignity.
Why Hob Elements Stop Working—and Why Most Can Be Replaced
Electric hob elements aren’t magical, though it sometimes feels that way when they glow red and cook up a storm. They’re simply resistive coils or plates that turn electricity into heat. But like any hardworking part, they wear out—or burn out. Burn marks, cracks, or even a persistent cold spot all scream trouble. Sometimes, just one ring on a multi-zone hob fails while others work fine. This points directly to a faulty element rather than a power issue or whole-hob disaster.
Now, here’s the good news: most modern electric hobs are designed with serviceability in mind. Swapping elements is common practice, especially in brands like Bosch, Hotpoint, and Neff. Elements are usually separate units from the controls and the glass or metal top, making them fairly easy to access—even for a cautious DIYer. Not all hobs are created equal though. If you’re dealing with a sealed induction hob or a fused glass model, these are a different beast (and usually not DIY-friendly). If your hob is of the regular ceramic or coil style, you’re probably in luck. Before grabbing a screwdriver, remember that electricity and mistakes don’t mix. Safety always comes first.
What You Need Before Starting: Tools, Parts, and Safety Basics
Tackling a hob repair feels much less intimidating when you’ve got the right gear on hand. Here’s what you shouldn’t do without:
- A new element compatible with your hob model (check the specs—voltage, wattage, shape, and size matter)
- Philips and/or flat-head screwdrivers
- Pliers (needle-nosed are your best bet for tricky connectors)
- An insulated socket wrench (for certain models)
- Work gloves (elements get sharp edges after use)
- Voltage tester or multimeter
Step zero before lifting a finger: kill the power. Find your fuse box and shut off the circuit for your kitchen hob. No excuses—cooking up a shock isn’t a recipe for a good day. Always double-check with your voltage tester to make sure the hob is cool and dead. While you're prepping, snap a photo of the wiring before you touch anything. Phones are great for remembering where every wire should go later. One trick lots of DIYers use is labeling each wire with tape before disconnecting. You'll thank yourself when you’re plugging things back in.
| Tool or Item | Purpose |
|---|---|
| Replacement Element | Exact match for your hob |
| Screwdriver | Remove panels and fasteners |
| Pliers | Disconnect and reconnect wires |
| Multimeter | Test for live current |
| Work Gloves | Protect your hands from cuts |
Step-by-Step Guide: Swapping Out an Electric Hob Element
Here’s where you get hands-on. The exact steps depend on how your hob is built, but the rough playbook goes like this:
- Turn off and unplug. Not just the hob itself—the full circuit at your fuse box. Electric hob repairs offer no forgiveness for mistakes.
- Remove the hob from its countertop or housing. Most slide out with a bit of leverage, but watch out for fragile glass tops.
- Unscrew the base panel or remove holding clips to reveal the wiring and elements themselves.
- Spot the failed element. Look for burnt spots, obvious breaks, or a section that doesn’t look like its neighbors.
- Take a clear, close photo of the wire connections—you’ll need a perfect match when reassembling.
- Disconnect wiring from the faulty element. If clips or connectors are tight, use pliers (gently!) to loosen them.
- Undo screws, clips, or nuts holding the element in place. Some models have spring arms or metal cages around them.
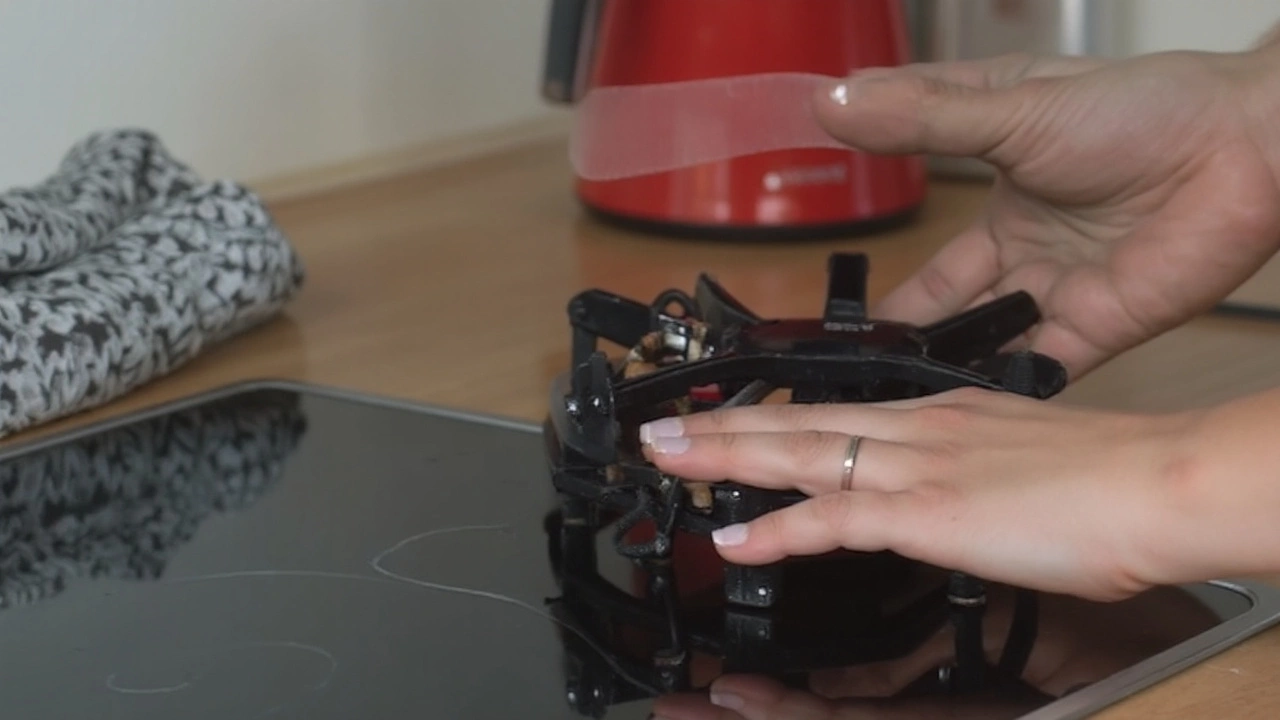
- Carefully lift out the old element and compare it with the new one to double-check fit and spec.
- Drop the new element in and secure it with the original holders.
- Reconnect wires in the same order as before, using your photo and labels to avoid mix-ups.
- Reattach the bottom panel or other coverings, then slot the hob back into the counter.
- Restore power at the fuse box. Test each ring one by one—you want that red glow back or a gentle heat if it’s a solid plate element.
Stay patient, don’t force anything if it seems stuck, and if you ever see frayed wires, charring, or cracked insulation, stop and call a professional. Repairing wires is a separate skill, and not worth the risk at home.
Common Problems, Mistakes, and How to Dodge Them
Even simple jobs can take a wrong turn if you’re not watching out for the classic pitfalls. Here’s where DIYers get tripped up, and how you can get it right the first time:
- Plugging in the wrong element type. Just because two elements “fit” doesn’t mean they’ll work. Always match wattage, resistance and connector layout. Using the wrong spec can blow fuses—or worse, start a fire.
- Forgetting the photos. In action, all the connectors look similar. Snap a picture before you move a single wire, and label tricky ones with tape while removing. Saves so much headache when reassembling.
- Skipping the voltage test. Some circuits stay live due to faulty breakers. Never trust your memory—test for dead wires every time.
- Over-tightening fittings. Screw threads in hobs are often soft aluminum. Crank them too hard, and you could strip out the holes, making future repairs a pain.
- Reversing the order of elements. On multi-ring hobs, different zones sometimes require different watt or resistance ratings. Keep them in the same spots as when you started.
- Pinching or trapping wires. When reassembling, make sure wires are routed just as they were, free from sharp edges and metal contact. This helps avoid shorts and future meltdowns.
If you see signs of deeper trouble—like scorch marks around wiring, persistent fuse tripping, or a hob that won’t turn on at all—don’t keep going. Sometimes elements fail for a reason, and pushing through puts your safety at risk. These are moments for a pro to step in.

When to DIY and When to Call in the Pros—Plus Tips for Keeping Elements Healthy
Changing out a faulty hob element is doable, as long as you’re dealing with a traditional electric model (not a sealed induction glass top, which needs special tools and knowledge). Many repair-savvy folks report knocking out this task in under an hour once they’ve done it once or twice. If your hob is in warranty, though, double-check the fine print—cracking it open might void that pretty quickly.
Some jobs are best left alone. If:
- Your hob’s wiring looks unlike any you’ve seen online, or the element is welded instead of screwed in.
- The panel feels “live” even with power supposed to be off.
- You see water damage, leaked insulation, or melted wires inside the housing.
Hand it off to a trusted repair pro. Electrocution or fire is a price no one wants to pay for a hot meal.
Looking to keep all your hob elements in good shape and delay those repairs for as long as possible? Here are some proven habits:
- Don’t let pots overflow—boil-overs corrode elements and connectors.
- Wipe away spills as soon as they happen (once it’s cooled!).
- Never slam down cookware—rough impact can snap supports or loosen connections.
- If you spot discoloration or uneven heating, investigate early before the element dies for good.
For those who enjoy the numbers, replacements are a pretty common job—over 150,000 hob element parts are sold annually in the UK alone, and more during winter. Average replacement time by a seasoned pro: 35 minutes. Typical cost for a part: £18-£45, much cheaper than a full hob replacement or calling a repair service for something you can tackle with a bit of care.
Bottom line—if you’re handy, patient, and careful, replacing an electric hob element is a solid, wallet-friendly repair. The right tools, a little caution, and a smart approach can bring your hob back to life and keep your cooking game on point. Dinner plans: saved.