Extractor Fan Motor Replacement Checklist
Common Issues After Replacement
| Symptom | Likely Cause | Quick Fix |
|---|---|---|
| Fan doesn't turn on | Loose connection / Blown fuse | Recheck terminals; test outlet |
| Hums but doesn't spin | Capacitor issue / Seized bearing | Spin blade by hand; replace capacitor |
| Vibrates loudly | Motor unseated / Unbalanced blade | Re-seat bolts; clean impeller |
| Burning smell | Wrong spec / Friction | Turn off; verify voltage/RPM match |
Job Complete!
You have successfully followed the safety and replacement protocols. Remember to dispose of the old motor responsibly.
There is nothing quite like the sound of a extractor fan that sounds like a dying lawnmower or simply refuses to spin. It’s annoying, it smells bad, and honestly, it makes cooking feel like a chore. Before you call a technician or rush out to buy a brand-new unit, take a breath. In most cases, the problem isn’t the whole system-it’s just the motor. And here is the good news: replacing that motor is often a straightforward DIY job that takes less than an hour.
I’ve seen plenty of homeowners in Dunedin tear their hoods apart unnecessarily because they didn’t know where to look. The key is understanding how your specific unit works. Whether you have a slimline under-cabinet model, a chimney-style hood, or a built-in downdraft vent, the core principle remains the same: power goes to the motor, the motor spins the impeller, and the impeller sucks out smoke and steam. If the airflow stops but the lights still work, you likely have a motor failure. Let’s walk through exactly how to fix it without breaking your bank account or your back.
Is It Really the Motor? Diagnosing the Problem
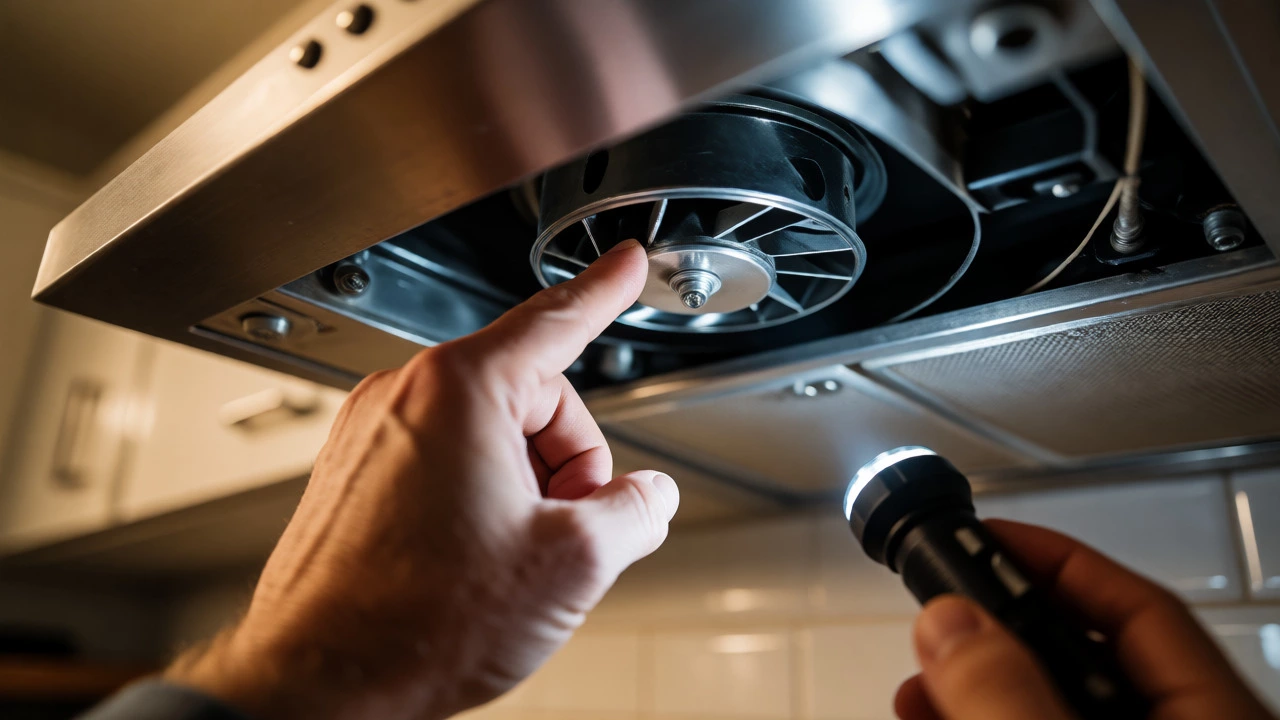
Don’t start buying parts yet. First, we need to be sure the motor is actually dead. Sometimes, what feels like a broken motor is just a clogged filter or a stuck blade. Grab a torch and look inside the housing. Is the impeller (the fan blade assembly) free to move? Give it a gentle push with your finger while the power is off. If it’s stiff or gritty, clean it first. Grease buildup can seize up even a healthy motor.
If the blades spin freely by hand but don’t move when you flip the switch, check the capacitor if your model has one. Some older fans use a small cylindrical component called a run capacitor to help the motor start. If this fails, the motor might hum but not turn. However, on most modern residential extractors, especially those sold in New Zealand after 2015, the motors are sealed units. If the blades are clean and free, but there is no movement and no humming sound, the motor windings are likely burnt out. Time to replace it.
Gathering Your Tools and Parts
You don’t need a truckload of tools. Most extractor fans are held together by standard screws and clips. Here is what you’ll typically need:
- A Phillips-head screwdriver (and maybe a flathead for prying covers).
- A multimeter (optional, but great for checking voltage if you’re unsure).
- Wire strippers or small scissors.
- Electrical tape or wire connectors (choc blocks).
- The replacement motor.
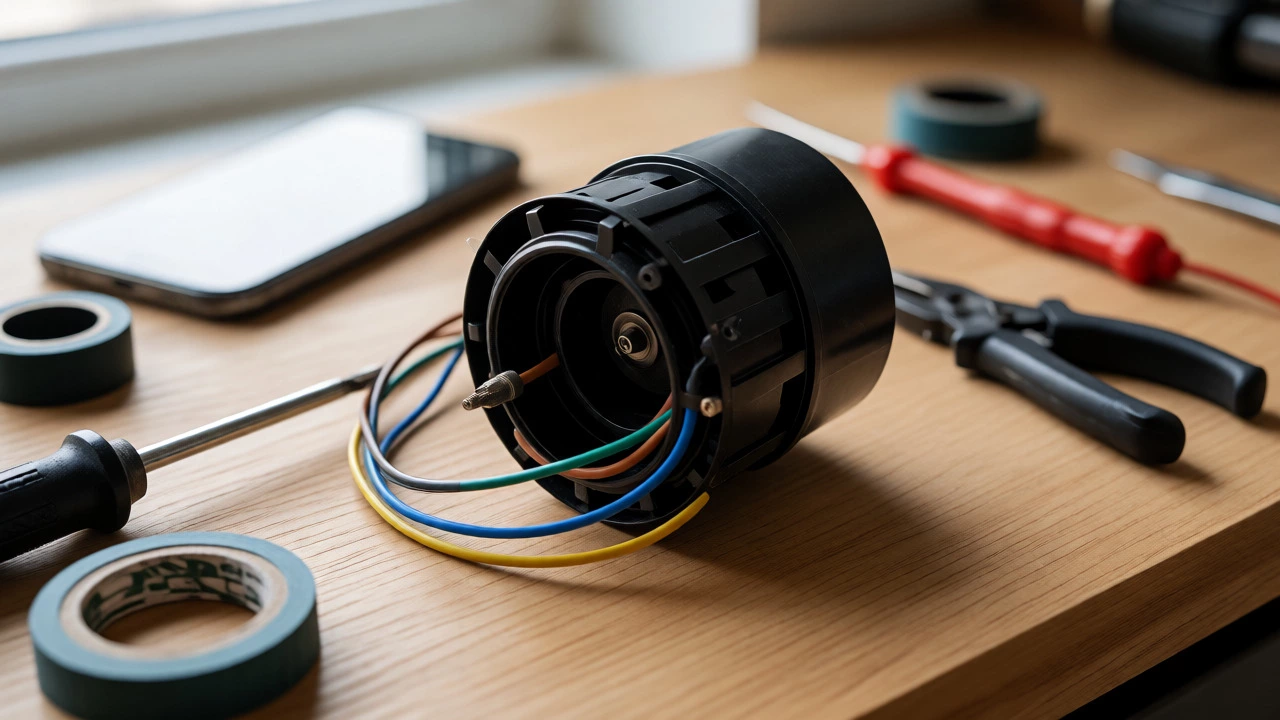
Talking about the replacement motor-this is the tricky part. You cannot just grab any motor from the hardware store. Extractor fan motors vary wildly in size, voltage, and mounting style. The smartest move is to remove the old motor first, then take it to a local appliance spares shop or search online using the exact model number of your fan. Look for the label on the side or back of the unit. Write down the brand, model, and serial number. If you can’t find an exact match, bring the old motor to the counter so they can match the shaft length, mounting holes, and electrical specs.
Safety First: Power Down!
This sounds obvious, but I can’t stress it enough: kill the power. Don’t just turn off the light switch on the wall. Go to your switchboard and flip the breaker for the kitchen circuit. Test it by trying to turn on the fan. If it doesn’t buzz, you’re safe. Working with live electricity is a quick way to end your weekend plans prematurely.
Step-by-Step: Replacing the Motor
Once the power is off, let’s get into the guts of the machine. The process varies slightly depending on whether you have an under-cabinet, chimney, or integrated fan, but the logic is consistent.
1. Remove the Filters and Covers
Start by taking out the grease filters. These are usually metal mesh panels that slide or clip out. Set them aside; they’ll need cleaning later anyway. Next, remove the outer casing or cover plate. On many models, this involves unscrewing two or four visible screws at the bottom or sides. If the cover seems stuck, check for hidden screws behind labels or decorative trim. Gently pry it off-plastic clips break easily if you force them.
2. Access the Motor Housing
With the cover off, you should see the motor assembly mounted to the chassis. Take a photo now. Seriously, do it. When you’re putting things back together, having a reference image saves hours of guessing which wire goes where. Note how the wires connect to the terminal block or directly to the motor.
3. Disconnect the Wiring
Most motors connect via a plug-and-play connector or screw terminals. If it’s a plug, just squeeze the tab and pull it out. If it’s screw terminals, loosen the screws carefully. Label each wire with masking tape if you didn’t take a photo. Common colors in NZ appliances are brown (live), blue (neutral), and green/yellow (earth). But never assume-always verify against your photo.
4. Unmount the Old Motor
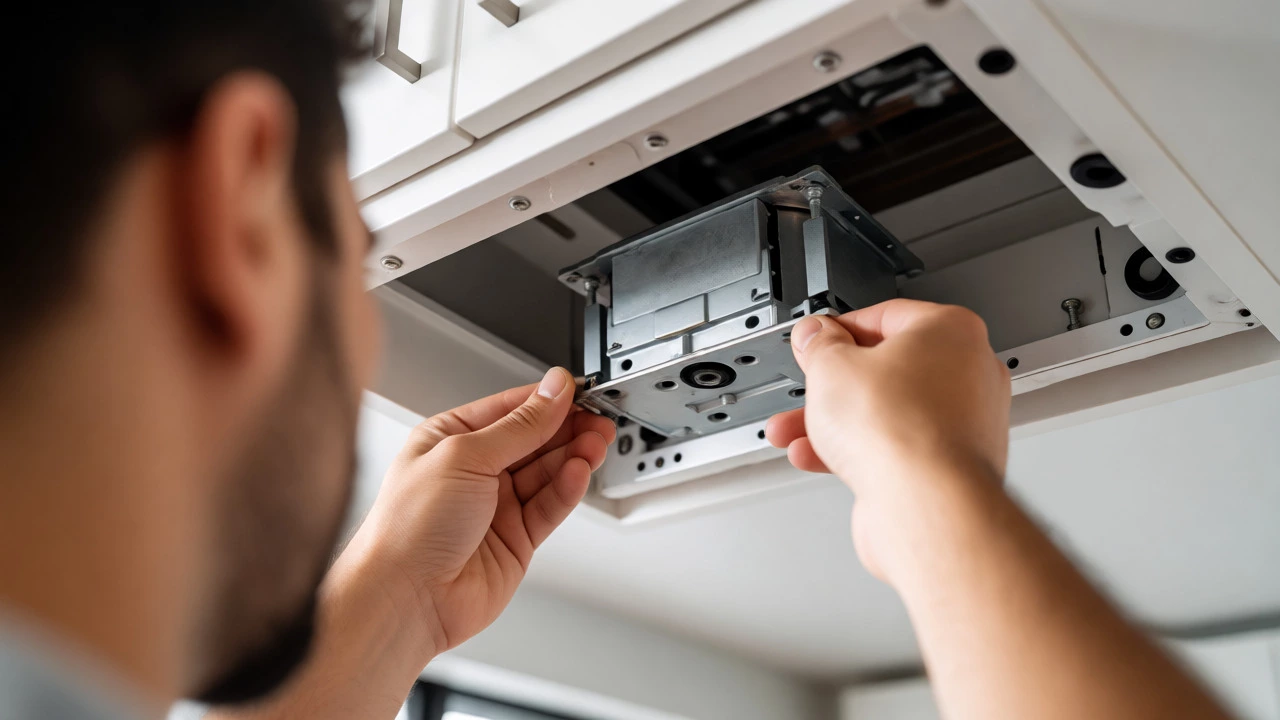
The motor is usually held in place by two or three bolts. Use your screwdriver or a socket wrench to remove them. Support the motor with one hand as you remove the last bolt so it doesn’t drop and damage the wiring or the housing. Once loose, slide the motor out. Pay attention to how it sits. Does it rest on rubber grommets? Are there brackets involved? Keep these small parts in a cup so they don’t vanish into the carpet.
5. Install the New Motor
Reverse the steps. Slide the new motor into position. Align the mounting holes. Bolt it down securely-but don’t overtighten, as you could crack the plastic housing or strip the threads. Reconnect the wires exactly as they were. Double-check your connections. A loose neutral wire can cause weird flickering or overheating.
6. Reassemble and Test
Put the cover back on. Screw it tight. Reinstall the grease filters. Now, go to the switchboard and turn the power back on. Flip the fan switch. Did it spin? Did it sound smooth? If yes, congratulations! You just saved yourself $150-$250 in labor costs. If it hums but doesn’t spin, double-check the wiring connections. If it does nothing, check the fuse or the switch itself.
Troubleshooting Common Issues After Replacement
What if it doesn’t work right away? Don’t panic. Here are the most common culprits:
| Symptom | Likely Cause | Quick Fix |
|---|---|---|
| Fan doesn't turn on at all | Loose wire connection or blown fuse | Recheck terminal screws; test outlet with another device |
| Fan hums but doesn't spin | Capacitor issue (if applicable) or seized bearing | Spin blade by hand while powered; replace capacitor |
| Fan runs but vibrates loudly | Motor not seated correctly or unbalanced blade | Re-seat motor bolts; clean impeller blades |
| Burning smell | Wrong motor spec or friction | Turn off immediately; verify motor voltage/RPM matches old one |
When to Call a Professional
While this is a beginner-friendly task, there are limits. If your extractor fan is hardwired into a complex junction box that you can’t access safely, or if you suspect a fault in the main control board rather than the motor, it might be time to call in a licensed electrician or appliance specialist. Also, if your home is older and the wiring looks frayed or brittle, don’t risk it. Safety always beats saving a few dollars.
Also, consider the age of the unit. If your extractor fan is over 10 years old and the plastic housing is yellowed and brittle, replacing the motor might just be delaying the inevitable. Sometimes, a new energy-efficient model pays for itself in reduced noise and better airflow. But if the housing is solid and the ducting is clear, a motor swap is absolutely worth doing.
Can I replace the motor myself if I’m not handy?
Yes, provided you follow safety protocols. The mechanical aspect is simple-unscrew, swap, reconnect. The only hurdle is finding the correct part. If you are comfortable using a screwdriver and identifying wires, you can do this. If you are nervous about electricity, hire a pro for the final wiring check.
How much does a replacement extractor fan motor cost?
In New Zealand, generic motors typically range from $40 to $90 NZD depending on the brand and type. Branded OEM parts from manufacturers like Fisher & Paykel or Bosch can cost between $80 and $150 NZD. Always compare shipping costs, as some suppliers charge more for delivery than the part itself.
Why did my new motor burn out quickly?
This usually happens if the wrong motor was installed. Check the RPM (revolutions per minute) and amperage ratings. If the new motor draws more power than the original circuit can handle, or if the impeller is too heavy for the new motor's torque, it will overheat. Ensure the specifications match exactly.
Do I need to clean the ducting when changing the motor?
It is highly recommended. If the motor failed due to strain, there might be a blockage further down the duct line. Removing the motor gives you easy access to inspect the internal fan chamber. Clean out accumulated grease and dust to ensure the new motor doesn’t face the same resistance.
Are all extractor fan motors universal?
No. While some basic axial fans share similar dimensions, most kitchen extractors use proprietary mounts. Shaft diameter, length, and mounting bracket spacing vary significantly between brands. Never assume compatibility without measuring or matching part numbers.