Water Heater Element Tester
Heating Element Test
Enter your multimeter readings to check if your water heater's heating element is functioning properly.
Test Results
If your electric water heater keeps tripping the circuit breaker, it’s not just annoying-it’s a sign something’s seriously wrong. You reset it, it works for a day, then it trips again. This isn’t normal. Water heaters are built to last 8-12 years, but when they keep cutting power, something inside is failing. The good news? You can often fix it yourself without calling a pro-unless it’s time to replace the whole unit.
Why Does Your Water Heater Keep Tripping?
A tripping breaker means the heater is drawing too much current. That usually happens because of one of three things: a short circuit, an overloaded system, or a component drawing power even when it shouldn’t. Electric water heaters use two heating elements (upper and lower) and two thermostats. When any of these parts go bad, they can cause a ground fault or draw excessive amps, forcing the breaker to shut off for safety.
Here’s what’s most likely causing the problem:
- A faulty upper or lower heating element
- A broken thermostat that won’t turn off
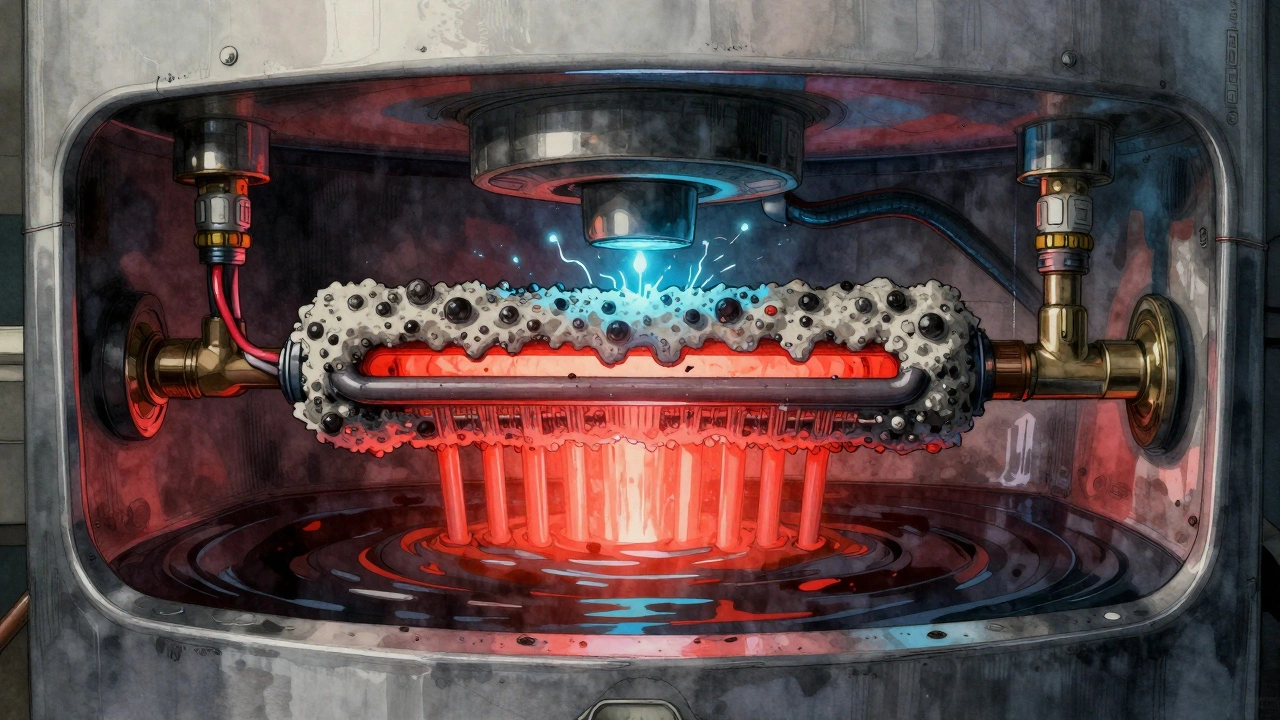
- Mineral buildup causing the element to overheat
- A bad temperature and pressure (T&P) valve
- Wiring that’s frayed or touching the tank
Gas water heaters don’t usually trip breakers because they run on gas, not electricity. If you’ve got a gas unit and it’s cutting power, the issue is probably with the electronic ignition or control panel-not the heater itself.
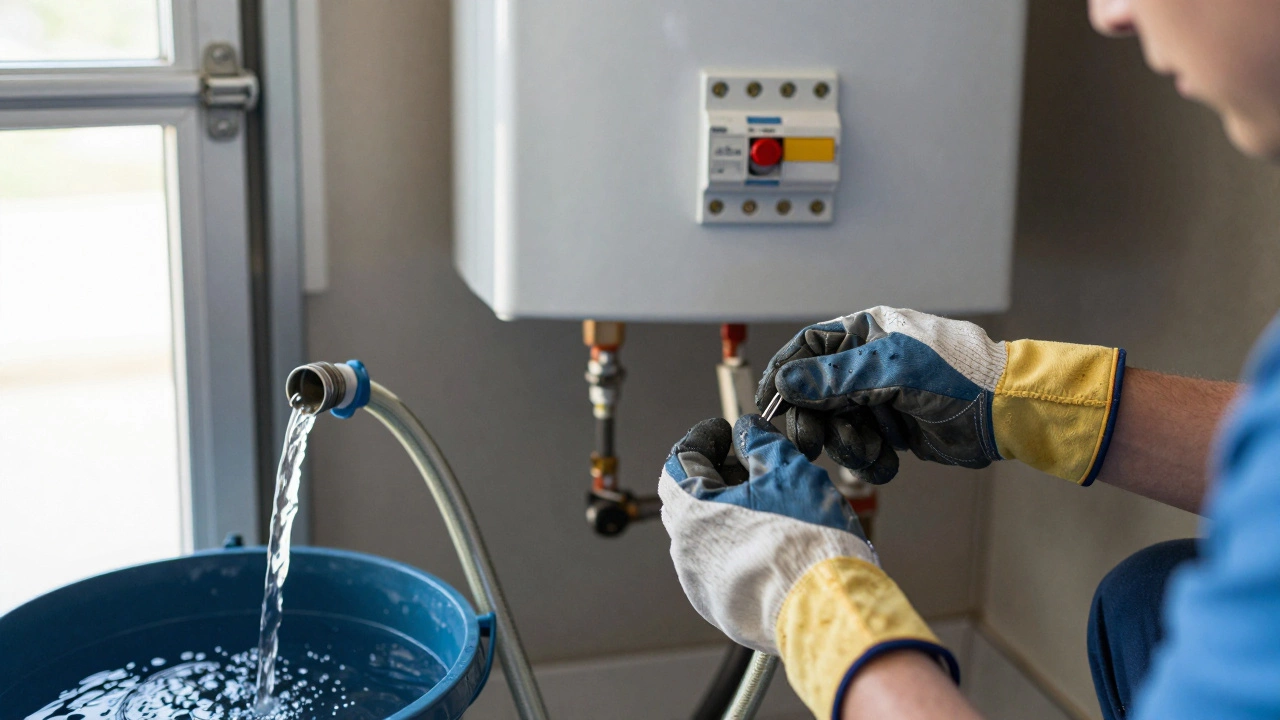
Step 1: Turn Off Power and Water
Before you touch anything, safety comes first. Turn off the circuit breaker that powers the water heater. Then shut off the cold water supply valve at the top of the unit. Let the tank cool down for a few hours. You don’t want to burn yourself or get shocked.
Step 2: Drain Some Water
Attach a garden hose to the drain valve at the bottom of the tank and run it to a floor drain or outside. Open the valve and let about 2 gallons drain out. This reduces pressure and makes it easier to remove the access panels and elements. Don’t drain the whole tank unless you’re replacing it.
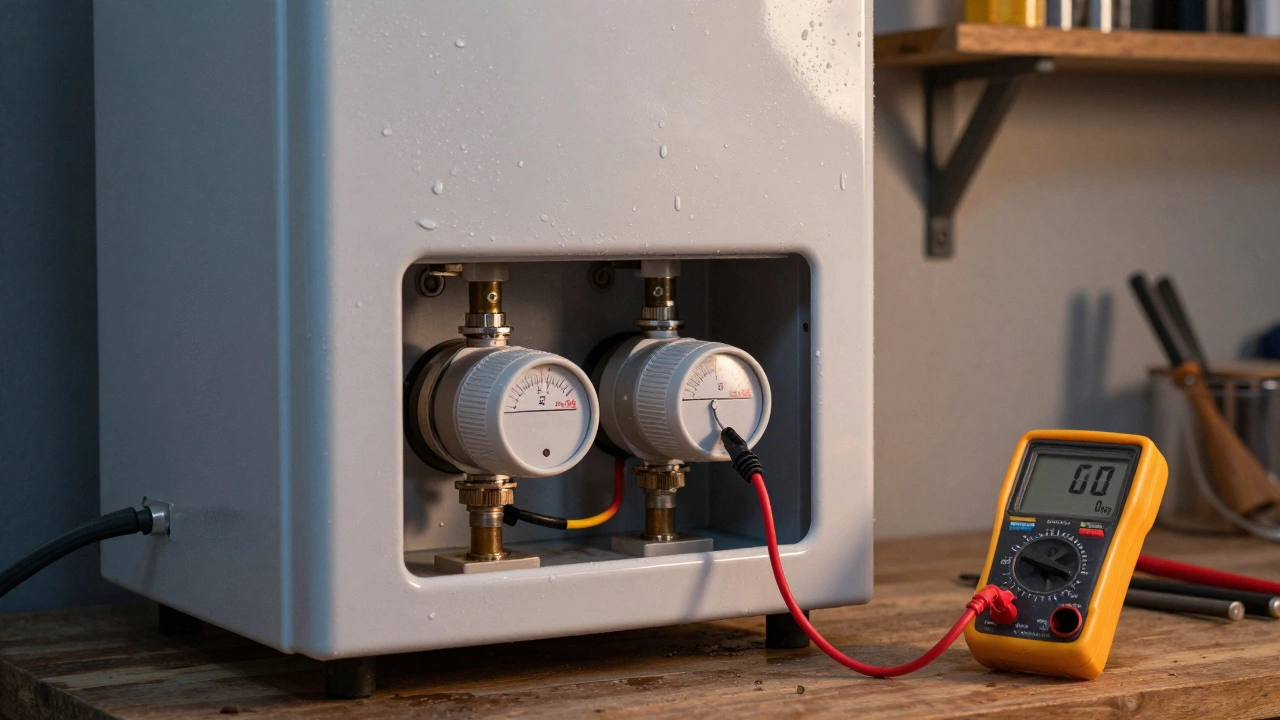
Step 3: Check the Heating Elements
Remove the access panels on the side of the tank. You’ll see two insulated covers-one for the upper element, one for the lower. Behind each is a thermostat and a heating element.
Use a multimeter to test for continuity. Set it to ohms (Ω). Touch one probe to each terminal on the element. A good element reads between 10-16 ohms. If it reads 0 or infinite (OL), it’s dead.
Now test for a ground fault. Put one probe on a terminal and the other on the metal tank. If the meter shows any reading at all-even a few ohms-that element is shorted to ground. That’s why the breaker trips. Replace it.
Most home centers sell replacement elements for $20-$40. Make sure you get the right wattage and size (usually 3500W or 4500W, 11.5” or 12.5” length). Turn off the power again before swapping them out.
Step 4: Test the Thermostats
Even if the elements look fine, a stuck thermostat can keep power flowing nonstop. Test each one by turning the dial to its lowest setting. Then use the multimeter to check for continuity between the input and output terminals. If there’s continuity when it should be off, the thermostat is stuck closed.
Replace both thermostats at the same time. They’re cheap ($15-$25 each) and often fail together. Wiring them back in is simple-just match the colors. Red to red, black to black. Don’t mix them up.
Step 5: Flush Out Mineral Buildup
Hard water is the silent killer of water heaters. In places like Dunedin, where water is naturally hard, lime and magnesium build up on the elements over time. This insulation causes the element to overheat, work harder, and draw more current.
Flush the tank thoroughly. Open the drain valve and let water run until it’s clear. You can add a cup of white vinegar to the tank before draining to help dissolve scale. Let it sit for an hour, then drain again. This won’t fix a broken element, but it’ll prevent future trips.
Step 6: Check the Wiring and Grounding
Older homes sometimes have outdated wiring. Look at the power cable running to the heater. Is the insulation cracked? Are the wires loose in the junction box? Tighten all connections. If the wire looks brittle or you smell burning plastic, replace the whole cable.
Also, make sure the tank is properly grounded. There should be a bare copper wire connected from the heater’s grounding lug to your home’s grounding system. If it’s missing, install one. A bad ground can cause leakage current that trips the breaker.
When to Call a Pro (or Replace It)
If you’ve replaced both elements and thermostats, flushed the tank, checked the wiring-and it still trips-you’ve got a bigger problem. The tank itself might be corroded inside, causing electrical leakage. Or the breaker is too small for the load.
Most electric water heaters need a 30-amp double-pole breaker. If yours is a 20-amp, it’s undersized. Replace it with the correct size. But if the tank is over 10 years old and you’re replacing parts, you’re just delaying the inevitable.
At that point, it’s smarter to replace the whole unit. A new 50-gallon electric heater costs $800-$1,200 installed. But it’ll save you money on energy bills and stop the headaches. Look for models with self-cleaning elements or smart thermostats-they last longer and rarely trip.
Prevent It from Happening Again
- Flush the tank every 6-12 months
- Set the thermostat to 120°F (49°C). Higher temps = more strain
- Install a water softener if you have hard water
- Check the breaker size-never use a higher amp than the heater’s rating
- Replace the anode rod every 3-5 years. It protects the tank from corrosion
These steps won’t stop every failure-but they’ll cut your chances of a tripping heater in half.