Freezer Troubleshooting Wizard
Select a step to begin diagnosis:
Step 1: The Basics
Before opening panels, rule out simple errors.
- Is the unit plugged in securely?
- Did you check the circuit breaker?
- Is the thermostat set to "Off" or a warm setting?
Step 2: Airflow & Vents
Cold air needs to circulate to cool the food.
- Are vents inside blocked by boxes of food?
- Is the evaporator fan silent while compressor runs?
Step 3: The Dollar Bill Test
A bad seal lets warm air in, causing frost and high temps.
- Close the freezer door on a dollar bill.
- Try to pull the bill out.
- If it slides out easily without resistance, the seal is bad.
Step 4: Dirty Condenser Coils
Coils act as a radiator. Dust blocks heat release, causing overheating.
- Locate coils (back grille or bottom kickplate).
- Vacuum dust and pet hair gently.
Step 5: Ice Buildup (Defrost System)
If you see thick ice behind the rear panel, the auto-defrost has failed.
- Unplug and manually defrost for 24 hours.
- Problem returns after a few weeks?
Step 6: Compressor & Refrigerant
The serious stuff. Usually requires a pro.
- Loud clicking noise but no hum? (Start Relay/Compressor)
- Oil stains near copper lines? (Refrigerant Leak)
Estimated Repair Cost
Keep checking steps above.
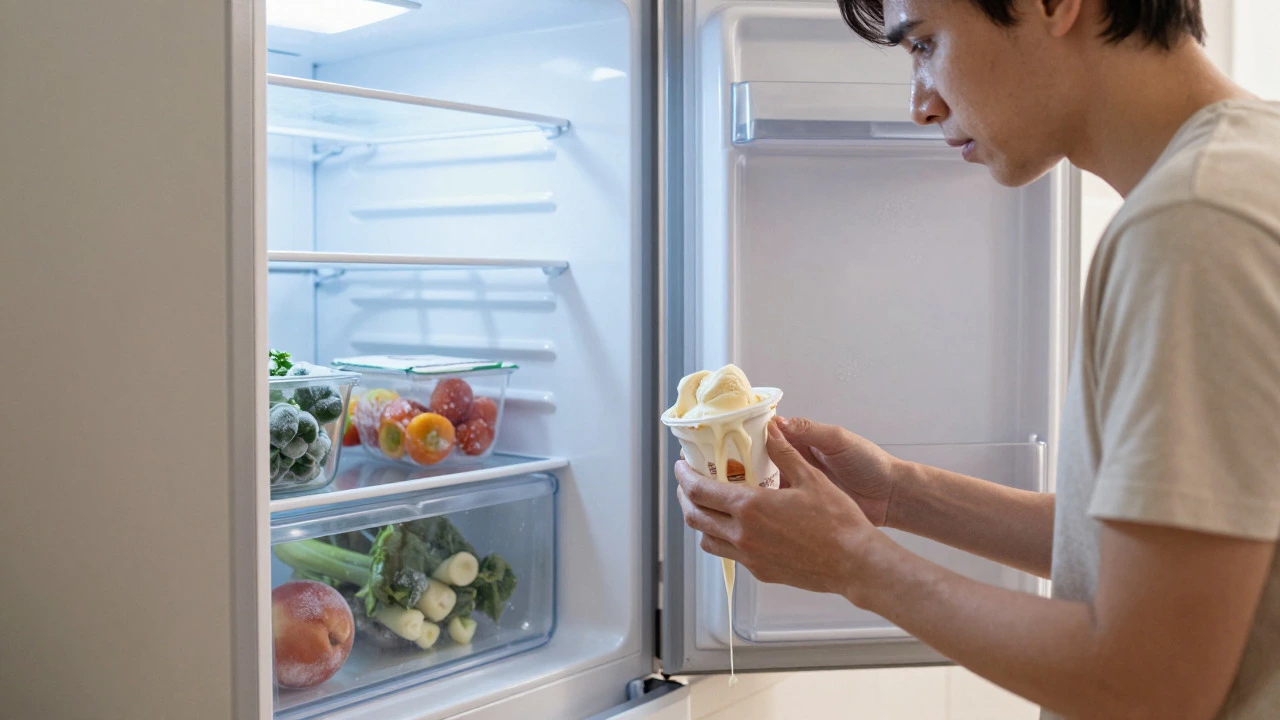
There is nothing quite as panic-inducing as opening your freezer a household appliance designed to keep food at temperatures below freezing to preserve it and realizing the ice cream has turned into soup. It happens to the best of us. Maybe you noticed frost buildup that looks suspicious, or perhaps the temperature display shows a number that’s way too high. Before you call a technician and pay hundreds of dollars for a diagnostic visit, there are several things you can check yourself. Most freezer issues are not catastrophic failures; they are often simple maintenance oversights or minor component glitches.
In this guide, we will walk through the most common reasons why your freezer stops cooling and how to fix them. We’ll start with the easiest checks-things you can do in five minutes-and move toward more complex repairs involving electrical components. By the end, you should know exactly whether you need a screwdriver, a multimeter, or a professional repair service.
The Quick Summary: What to Check First
- Power Supply: Ensure the unit is plugged in and the circuit breaker hasn’t tripped.
- Temperature Settings: Verify the thermostat isn’t accidentally set to "Off" or a warm setting.
- Airflow: Make sure vents inside the freezer aren’t blocked by food packages.
- Condenser Coils: Clean dust and pet hair from the coils located at the back or bottom.
- Door Seal: Check for gaps in the gasket that let warm air in.
1. Check the Basics: Power and Settings
It sounds obvious, but before you tear apart the back panel, rule out the simplest possibilities. Is the freezer actually receiving power? Look for interior lights. If the light doesn’t turn on when you open the door, the issue might be electrical rather than mechanical. Check the outlet by plugging in a lamp or phone charger. If the outlet is dead, check your home’s circuit breaker box. Sometimes, a surge can trip the breaker without you noticing.
If the light works but the compressor (the humming part at the back) is silent, check the temperature control dial. Did someone bump it? Some models have a "Vacation Mode" or "Defrost" setting that temporarily shuts off the cooling system. Turn the dial to the coldest setting and wait an hour. If the compressor kicks on and starts humming, you’re likely good to go.
2. The Silent Killer: Dirty Condenser Coils
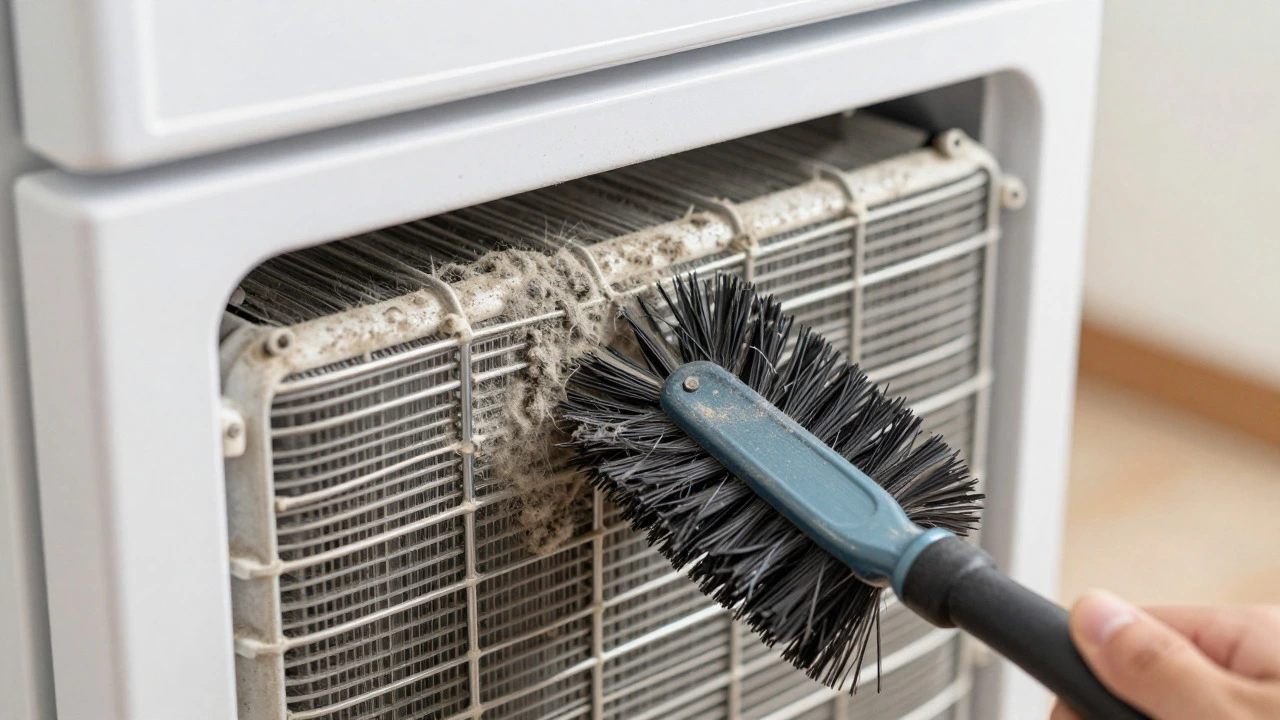
If the basics are fine, the next most common culprit is dirty condenser coils tubing located at the back or bottom of the freezer that releases heat from the refrigerant. These coils act like a radiator for your car. They absorb heat from inside the freezer and release it into the room. When they get clogged with dust, lint, and pet hair, they can’t dissipate heat efficiently. The compressor has to work harder and longer, eventually overheating and shutting down to protect itself. This results in a freezer that warms up.
To fix this, you need to locate the coils. On older models, they are usually behind a grille at the back of the unit. On newer, freestanding freezers, they are often hidden behind a kickplate at the bottom front. You’ll need to unplug the freezer first. Use a coil brush or a vacuum cleaner with a hose attachment to gently remove the debris. Be careful not to bend the delicate aluminum fins. Cleaning these coils once or twice a year can extend the life of your appliance significantly and improve energy efficiency.
| Symptom | What It Means |
|---|---|
| Compressor runs constantly | The unit is struggling to reach the set temperature due to poor heat exchange. |
| Warm air around the base/back | This is normal, but if it’s excessively hot, the coils may be blocked. |
| Freezer temperature fluctuates | Inefficient cooling leads to inconsistent internal temperatures. |
| Higher electricity bill | The compressor working overtime consumes more power. |
3. Airflow Issues: Blocked Vents and Fan Motors
Cold air needs to circulate. Inside your freezer, there are vents that allow cold air generated by the evaporator coils to flow into the main compartment. If you’ve stacked boxes of frozen vegetables directly in front of these vents, you’ve created a bottleneck. The cold air can’t get out, and the thermostat thinks the freezer is already cold enough, so it shuts off the compressor. Rearrange your food to ensure clear paths for airflow.
If rearranging food doesn’t help, listen closely. Do you hear a whirring sound? That’s the evaporator fan motor a small fan inside the freezer compartment that circulates cold air. If the fan is silent while the compressor is running, the fan motor might be broken, or ice might be blocking the blades. In frost-free freezers, a failed defrost system can cause ice to build up on the evaporator coils, jamming the fan. If you see thick ice buildup behind the rear panel inside the freezer, this is likely your problem.
4. The Defrost System: Why Ice Builds Up
Frost-free freezers use a defrost system a mechanism consisting of a heater, timer, and thermostat that periodically melts frost on the evaporator coils to prevent ice accumulation. This system includes three key parts: the defrost heater, the defrost thermostat, and the defrost timer (or control board). If any of these fail, frost builds up on the evaporator coils. Eventually, the ice becomes so thick that it blocks airflow entirely, causing the freezer to stop cooling.
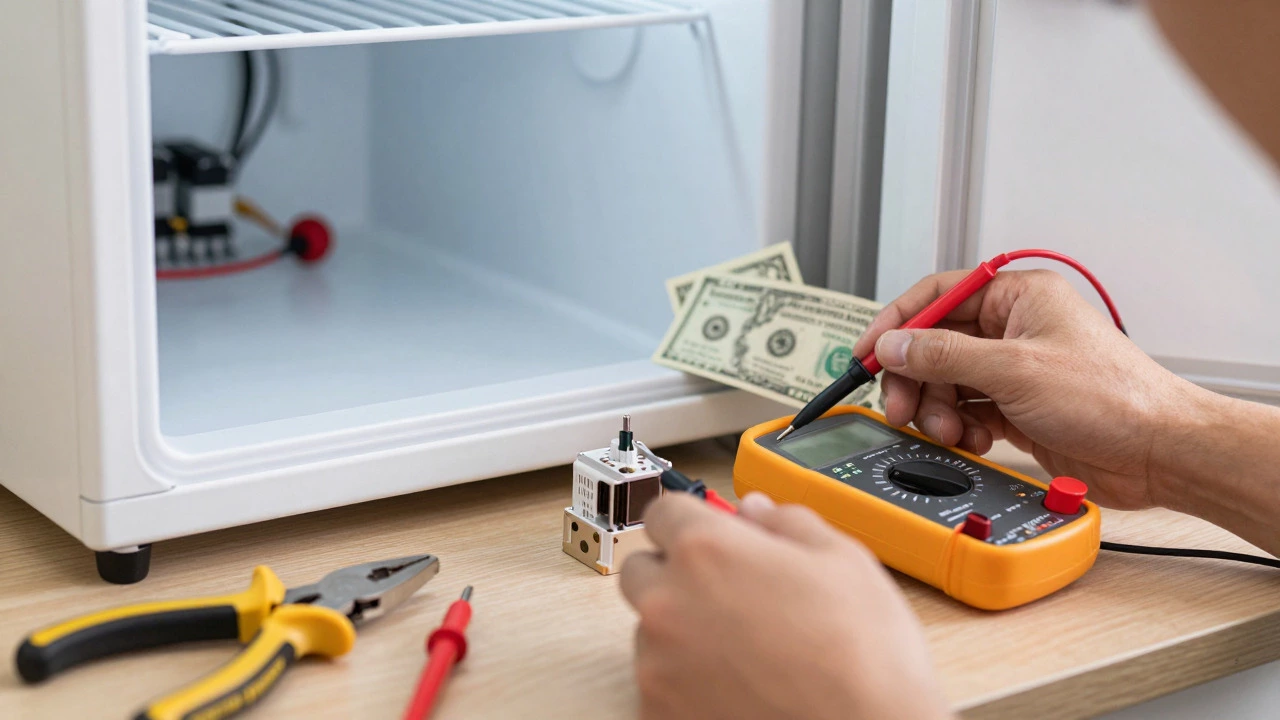
You can test this by manually defrosting the unit. Unplug the freezer, leave the doors open, and let it sit for 24 hours until all ice melts. Then plug it back in. If the freezer cools properly for a few weeks before the problem returns, one of the defrost components has failed. Diagnosing which one requires a multimeter to check for continuity in the heater and thermostat. If the heater has no continuity, it’s burnt out and needs replacement. If the thermostat opens and closes incorrectly, it needs swapping. Modern electronic control boards can also fail to send the signal to start the defrost cycle.
5. Door Seals and Gaskets
A compromised door seal allows warm, moist air to enter the freezer. This moisture turns into frost, and the warm air raises the internal temperature. To check the seal, close the door on a dollar bill. If you can pull the bill out easily without resistance, the gasket is worn or misaligned. You can often clean the gasket with warm soapy water to remove grime that prevents a tight seal. If the rubber is cracked or brittle, you’ll need to replace the gasket. This is a relatively inexpensive DIY fix that can save your compressor from overworking.
6. Refrigerant Leaks and Compressor Failure
If you’ve checked all the above and the freezer still isn’t cooling, you might be dealing with a serious issue: a refrigerant leak or a failed compressor. Refrigerant is the chemical that absorbs heat. If there’s a leak, there’s not enough fluid to cool the unit. You might notice oil stains near the back of the unit where the copper lines connect. Fixing a refrigerant leak requires specialized tools and EPA certification; it’s not a typical DIY job.
A failed compressor will usually make a loud clicking noise as it tries to start but then shuts off. If the compressor is hot to the touch but not running, the start relay or overload protector might be faulty. These are small, inexpensive parts that can sometimes be replaced. However, if the compressor itself is dead, the cost of replacement often exceeds the value of the appliance, making a new purchase the smarter financial decision.
When to Call a Professional
While many freezer issues are fixable with basic tools, some scenarios warrant calling a pro. If you’re uncomfortable working with electricity, if the repair involves handling refrigerant, or if the compressor has failed, hire a certified appliance repair technician. They have the diagnostic equipment to pinpoint electrical faults quickly and the access to genuine replacement parts.
Remember, prevention is cheaper than repair. Keep those condenser coils clean, ensure proper ventilation around the unit, and don’t overload the freezer. A little maintenance goes a long way in keeping your food frozen and your wallet intact.
How much does it cost to fix a freezer that is not cooling?
The cost varies widely depending on the issue. Simple fixes like cleaning coils or replacing a door gasket cost $0-$50. Replacing a defrost heater or fan motor typically costs between $150 and $300 including labor. If the compressor needs replacement, expect to pay $400-$800, which may not be worth it for older units.
Can I use a hairdryer to speed up defrosting?
Yes, but be careful. Use a hairdryer on a low or medium setting to melt ice on the evaporator coils. Keep the dryer moving to avoid melting the plastic liner or damaging the coils. Never use a knife or sharp object to chip away ice, as this can puncture the refrigerant lines.
Why is my freezer making a buzzing noise but not cooling?
A buzzing noise often indicates a failing compressor or a bad start relay. The compressor is trying to engage but can’t, resulting in vibration and noise. This usually requires professional diagnosis and potentially a costly repair.
Is it safe to eat food if the freezer wasn't cooling for a day?
If the freezer was full and rarely opened, food may still be safe if it contains ice crystals or is at 40°F (4°C) or below. Discard perishables like meat, poultry, and dairy if they have been above 40°F for more than two hours. When in doubt, throw it out.
How often should I clean the condenser coils?
It is recommended to clean condenser coils every six months. If you have pets that shed heavily or live in a dusty environment, you may need to clean them quarterly to maintain efficient cooling performance.