Electric Hob Diagnostic Assistant
Follow the steps below to identify whether your "burnt" hob needs a deep clean, a component replacement, or professional attention.
1. Visual Inspection
What does the surface look like?
2. Heating Behavior
How does the zone behave when turned on?
3. Electrical Check (If comfortable)
Have you tested the element with a multimeter? (Set to Continuity/Ohms)
4. Repair Feasibility
Diagnosis & Advice
Complete the steps to see personalized recommendations based on the article's repair guide.
Deep Cleaning Ceramic Hobs
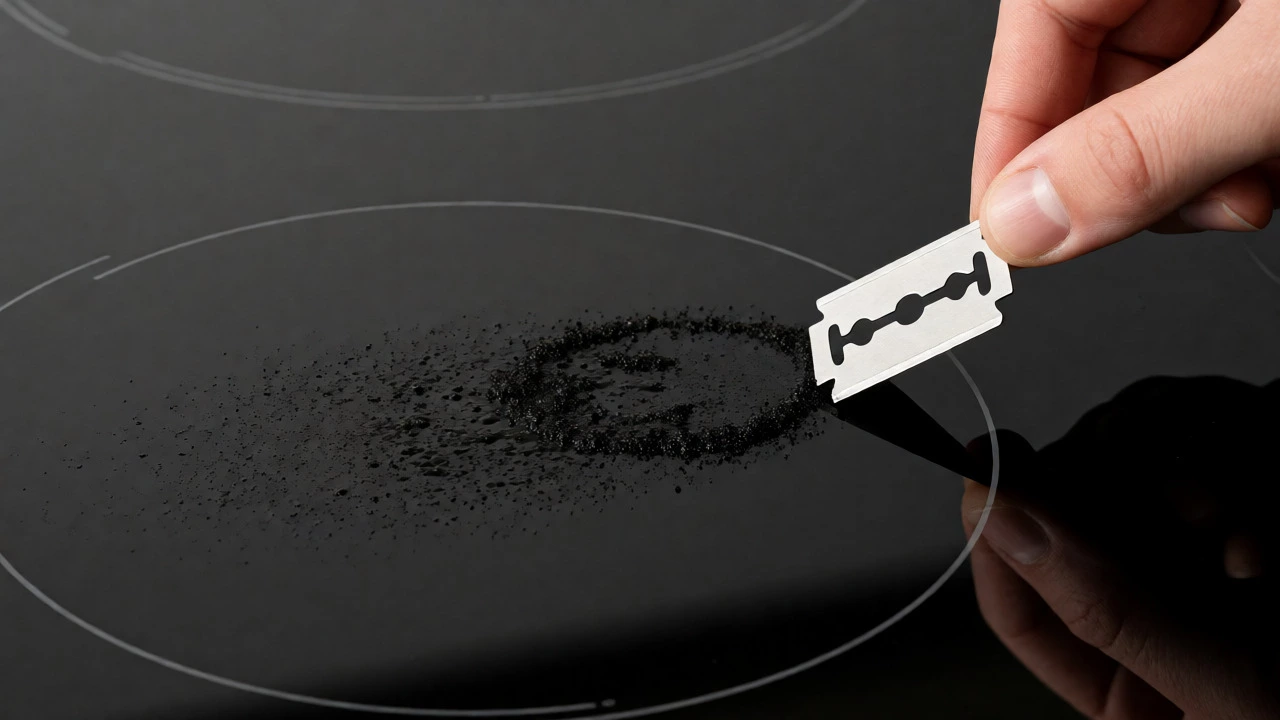
- Scrape: Use a razor blade at 30° angle on wet surface.
- Paste: Apply baking soda/water paste for 15 mins.
- Polish: Wipe with microfiber and use glass-ceramic polish.
- Avoid: Steel wool or abrasive scouring pads.
Component Testing Values
| Component | Good Reading |
|---|---|
| Radiant Element | Beep / 20–50 Ω |
| Thermal Cutout | Beep / < 1 Ω |
| Control Switch | Beep when ON |
Call a Professional If:
- Main control board errors/flickering display.
- Hob is integrated with shared complex wiring.
- Repair cost > 50% of new unit price.
- You are uncomfortable handling mains electricity.
You turn on the electric hob, expecting sizzling oil and quick meals, but instead you get a stubborn black mark or a zone that refuses to heat up. It’s frustrating, especially when dinner is waiting. Before you panic and call a technician for a hefty bill, take a breath. Most issues labeled as "burnt" aren't fatal. They are often surface scorch marks from spilled sugar or a failed component like a heating element that has reached the end of its life.
This guide walks you through exactly how to diagnose whether your hob is dirty, damaged, or dead. We’ll cover cleaning techniques for glass-ceramic surfaces, how to test electrical components, and when it’s actually time to swap out parts. You don’t need to be an engineer; you just need a multimeter, some patience, and the right information.
Is It Actually Broken or Just Dirty?
The first step in any appliance repair is ruling out the obvious. A "burnt" appearance on a modern ceramic hob is rarely structural damage. It is usually carbonized food residue. Sugar, starches, and oils bake onto the glass surface at high temperatures, creating a dark patch that looks alarming but is purely cosmetic.
Grab a razor blade scraper (the kind used for window glass) and a specialized ceramic hob cleaner. Do not use abrasive scouring pads; they will scratch the glass, making future stains harder to remove. Hold the blade at a 30-degree angle and gently scrape the burnt area. If the black stuff comes off, your problem is solved. Clean the surface with a damp cloth and dry it thoroughly. If the mark persists after scraping, check if the discoloration is under the glass. This indicates internal overheating, which points to a hardware issue rather than a cleaning one.
Safety First: Disconnect Power
Electricity doesn’t forgive mistakes. Before touching anything behind the panel, you must isolate the power source. For plug-in hobs, simply unplug them from the wall socket. For built-in units wired directly into the home’s circuit, you need to find the correct breaker in your consumer unit (fuse box). Turn it off and verify it’s dead.
Use a non-contact voltage tester or a multimeter set to AC voltage to confirm there is no current running to the terminal block. Touch the probes to the live and neutral terminals. If the meter reads zero volts, you are safe to proceed. Never assume the switch on the hob cuts all power; many switches only break the live wire, leaving other components energized.
Diagnosing Non-Heating Zones
If a specific cooking zone won’t heat up, the culprit is likely the radiant heating element or the switch controlling it. Radiant elements are those glowing red coils under the glass. When they fail, they often look intact visually but have broken internally due to thermal stress.
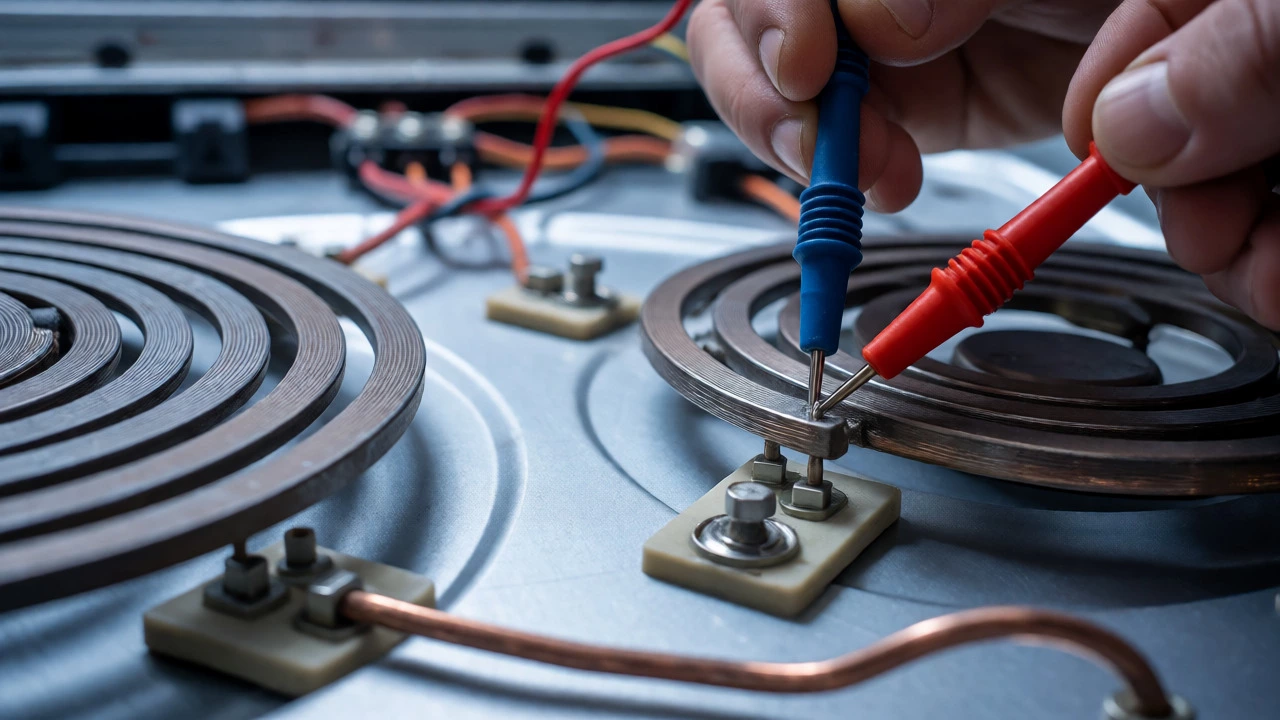
To test this, you need a multimeter. Set it to continuity mode (often indicated by a diode symbol or a sound wave icon). Access the back of the hob by removing the screws securing the top plate or the base tray, depending on your model. Locate the terminals for the faulty zone. Place one probe on each terminal of the heating element. If the meter beeps or shows near-zero resistance (typically between 20 and 50 ohms for standard zones), the element is good. If it shows infinite resistance (OL or 1), the filament is broken. The element needs replacing.
| Component | Expected Reading (Continuity) | Expected Reading (Resistance) | Failure Sign |
|---|---|---|---|
| Radiant Element | Beep / Continuity | 20-50 Ohms | No Heat, Visual Glow Absent |
| Dual Circuit Element | Beep on both circuits | Varies by size | Only half heats up |
| Thermal Cutout | Beep (if cool) | < 1 Ohm | Trips repeatedly, no heat |
| Control Switch | Beep when ON | N/A | Intermittent heating |
Checking the Thermal Fuse and Cutouts
Many electric hobs have safety devices called thermal cutouts or fuses. These are designed to shut off power to a zone if it gets too hot, preventing fires. If your hob heats up briefly then stops, or doesn’t heat at all despite having power, these might have tripped.
These small cylindrical components are usually attached to the underside of the glass or the heating element bracket. Test them with your multimeter just like the heating element. A working fuse should show continuity. If it’s blown, it means the system overheated previously. Replacing a thermal fuse is cheap, but you must figure out why it blew. Did someone leave a pot boiling dry? Is the fan cooling the electronics blocked? Ignoring the root cause will just blow the new fuse.
Replacing the Heating Element
Once you’ve confirmed the heating element is dead, buying a replacement is straightforward. You need the exact model number of your hob. This is usually found on a sticker underneath the unit or inside the oven door frame if it’s part of a range. Search online using this number plus "heating element."
When installing the new part, pay close attention to the mounting brackets and spring clips. Old elements often lose their tension, causing poor contact with the glass. Ensure the new element sits flat against the glass surface. Gaps here create air pockets, leading to uneven heating and potential cracking of the ceramic top. Use ceramic-specific grease on the contact points if recommended by the manufacturer to improve heat transfer.
Cleaning Burnt Glass-Ceramic Surfaces
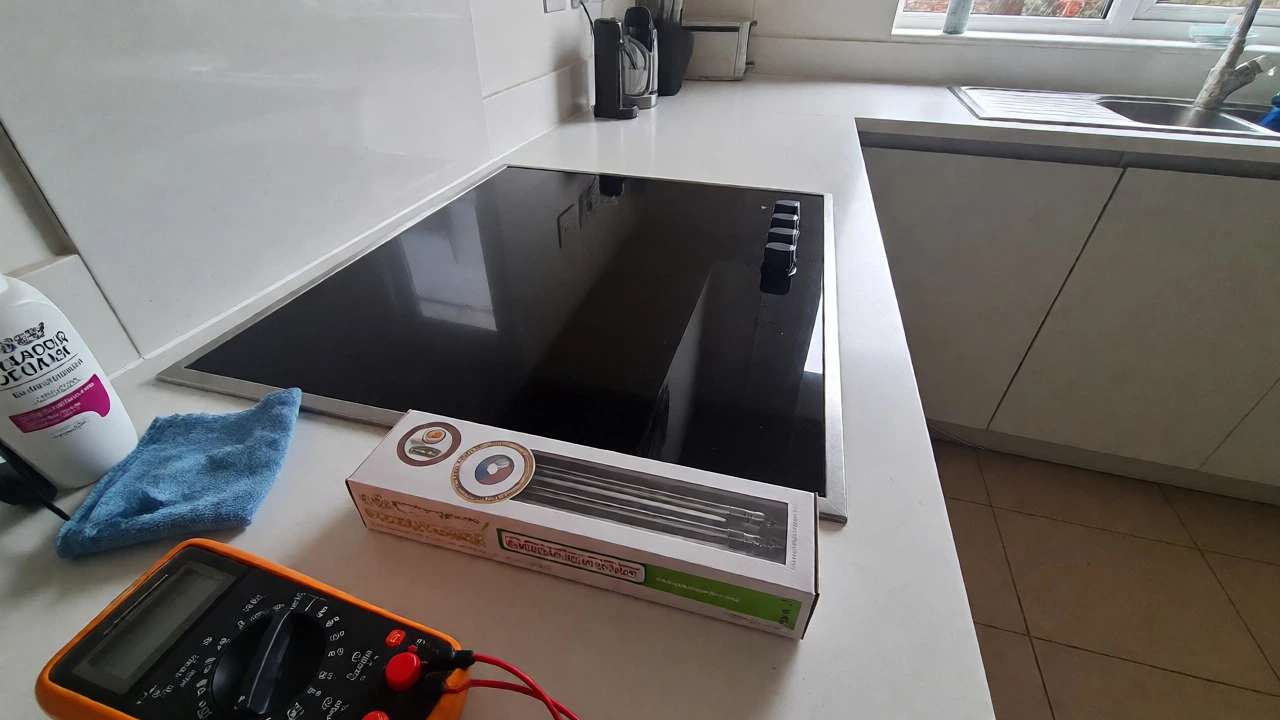
If your hob works fine but looks terrible, deep cleaning can restore its shine. Standard dish soap won’t cut through baked-on carbon. You need a two-step process: mechanical removal followed by chemical polishing.
- Scrape: Use a fresh razor blade. Keep the surface slightly wet with cleaner to lubricate the blade and prevent scratching.
- Apply Paste: Mix baking soda and water to form a thick paste. Apply it to remaining stains and let it sit for 15 minutes. The mild abrasiveness helps lift stubborn grime.
- Polish: Wipe away the paste with a soft microfiber cloth. Finish with a dedicated glass-ceramic polish to fill microscopic scratches and repel future spills.
Avoid using steel wool or harsh scrubbing powders. They create micro-scratches that trap dirt, making the hob look grey and dull over time. Regular maintenance prevents the "burnt" look from returning quickly.
When to Call a Professional
Some repairs are DIY-friendly, others are not. If the issue lies within the main control board-the electronic brain of the hob-diagnosis becomes complex. Symptoms include random error codes, zones turning on by themselves, or display flickering. Replacing a control board requires precise wiring knowledge and sometimes software resets.
Additionally, if your hob is integrated into a larger kitchen setup with shared wiring, messing with connections can void warranties or trip RCDs (Residual Current Devices) in your house. If you’re uncomfortable handling mains electricity or if the cost of parts approaches 50% of a new hob’s price, consider hiring a certified appliance engineer.
Frequently Asked Questions
Can I fix a cracked electric hob myself?
Technically yes, but it’s difficult. You must remove the entire glass top, which involves disconnecting multiple heating elements and sensors. New glass panels are expensive, and improper sealing can lead to moisture ingress and electrical faults. It’s often more cost-effective to replace the whole hob unless it’s a high-end luxury brand.
Why does my electric hob smell like burning plastic?
This usually indicates overheating insulation on wires or a failing motor in the cooling fan. Check if the fan spins freely. If dust and grease have jammed it, clean it out. If the smell persists even when cool, inspect wiring harnesses for melted insulation near the heating elements.
How long do electric hob heating elements last?
With normal household use, radiant elements typically last 8 to 10 years. However, aggressive cleaning, dropping heavy pots, or frequent rapid temperature changes can shorten this lifespan significantly. Dual-zone elements may fail partially before dying completely.
Is it safe to use a hob with a cracked glass top?
It is risky. Moisture from cooking can seep into the crack and reach electrical components, causing short circuits or shocks. Additionally, the structural integrity is compromised, meaning further impact could shatter the glass entirely. Stop using the affected zone immediately.
What causes white spots on my ceramic hob?
White spots are usually limescale deposits from hard water or aluminum transfer from pans. Unlike black burns, these require acidic cleaners like vinegar or citric acid to dissolve. Rubbing alcohol can also help remove metallic streaks.