
If your oven isn’t getting hot or your cookies are coming out half-baked, odds are the heating element might be toast. Fixing this isn't rocket science, but you want to know if it’s really worth the effort and money before you dive in. Some heating elements die after just a few years if you bake a lot; others work forever. You can usually spot a bad element if it’s not glowing red, there’s visible damage, or your food won’t cook evenly.
Here’s the first thing to check: set your oven to bake and stare through the window. Is the element lighting up fully and evenly? If you notice cold spots, burn marks, or if the oven trips your breaker, the element could be shot. There’s no point guessing—let’s break down what happens next, what it’ll cost, and if this is a job you honestly want to tackle yourself.
- How to Tell If Your Oven's Heating Element Is Bad
- What a Replacement Actually Costs
- DIY vs. Hiring a Pro: Which Way to Go?
- Tools and Tips for a Safe Replacement
- When Replacing Doesn't Make Sense
- Simple Ways to Maximize Your Oven’s Lifespan
How to Tell If Your Oven's Heating Element Is Bad
A busted heating element is the leading reason why an electric oven stops doing its job. The question is, how do you know it's not just a glitch or something else?
Look for these telltale signs your oven repair really comes down to a heating element problem:
- No Heat, or Uneven Heat: Set your oven to bake and peek through the window. If the heating element doesn’t glow red or only gets hot in some spots, it’s most likely done for.
- Visible Damage: Sometimes, you’ll actually see cracks, blistering, burnt spots, or sections that just look off-color compared to the rest of the coil.
- Slow Preheat or Incomplete Cooking: If your oven seems to take forever to warm up or your food comes out half-raw in spots, the element can’t keep up anymore.
- Breaker Trips or Funny Smells: A dead or shorting element can trip your circuit breaker or make your kitchen stink like burning metal.
The fastest way to be sure? Turn the oven off, unplug it, and give the element a light wiggle (once it’s cool). Sometimes, a bad element feels loose or even comes apart right in your hand.
Need harder proof? Get a cheap multimeter from any hardware store. Set the multimeter to the ohms (Ω) setting, touch one probe to each end of the heating element, and check the number. A good element usually reads somewhere between 10 and 50 ohms. Zero or infinity means it’s fried.
| Sign | What It Means |
|---|---|
| Element doesn’t glow | Bad element or no power |
| Spotty or uneven glow | Partial failure, time to replace |
| Visible cracks/burns | Physical damage—replace it ASAP |
| Breaker trips | Element is shorting out |
| Cool to the touch (when on) | No current, dead element |
Most oven brands—Whirlpool, GE, Samsung—use similar signs when their elements fail. If you see or smell anything weird coming out of your oven after trying these checks, just don’t turn it on again until you’ve figured it out. Safety comes first.
What a Replacement Actually Costs
Let’s get straight to it—fixing a busted heating element isn’t always as expensive as most people think. You can score a basic heating element for a regular home oven for anywhere from $20 to $60 online. If you have a high-end or specialty oven, the price might jump up closer to $100. But that’s just the part itself.
If you’re calling in a pro for oven repair, labor usually adds another $80 to $150, depending on where you live and the company you choose. So, if you hire it out, you could be looking at a total cost between $100 and $250. Compare that to a new electric oven, which easily runs you $600 or more, and the difference is obvious.
Want some real numbers? Here’s a quick breakdown to help you see the typical costs:
| Item | Low End | High End |
|---|---|---|
| Replacement Heating Element (Part Only) | $20 | $100 |
| Professional Labor | $80 | $150 |
| Total (DIY) | $20 | $100 |
| Total (Pro Install) | $100 | $250 |
Keep in mind, some stores charge crazy prices for parts, so compare online first. Most ovens use elements that are easy to match—just google your oven model and you’ll find the exact part number in seconds.
Lastly, don’t forget to factor in a couple bucks for a screwdriver or nut driver if you don’t already have one. If you do the job yourself, you’ll save big, but make sure you’re comfortable with unplugging and working around electrical stuff. More on that later.
DIY vs. Hiring a Pro: Which Way to Go?
So you’ve figured out your oven’s heating element is cooked. Should you grab your toolbox, or let a professional handle it? Here’s the deal: replacing a heating element in most electric ovens isn’t some mysterious task. Usually, you only need a screwdriver and maybe some gloves if you’re dealing with sharp metal edges. Most elements are held in place by two screws and plug-in wires at the back—pretty basic stuff. Lots of people finish this repair in under 30 minutes.
Before you start, flip your oven’s breaker off. This kills the power so you don’t shock yourself. Double check by turning the oven on (it should stay cold and dark). Snap some quick photos of how the wires are hooked up before removing the old element. That way, you can plug the new one in the same exact way.
- If your oven’s model is unusual, hard to access, or has hidden wires, things can get tricky fast. If that sounds like your situation, maybe hand it off to a pro.
- Some brands—like high-end European models—require special elements you can’t grab at the local hardware store. That can mean more labor and waiting for parts from overseas.
Most repair shops will charge you $100 to $200 for a standard electric oven fix, parts and labor included. If you do it yourself, the part usually costs $20 to $60. So if you’re pretty good with a screwdriver and know how to stay safe around electricity, DIY makes a lot of sense. But if you’ve never done any repairs, or your oven is still under warranty, a pro can save you headaches. And if something goes wrong, you’ll want that service call paperwork as backup.
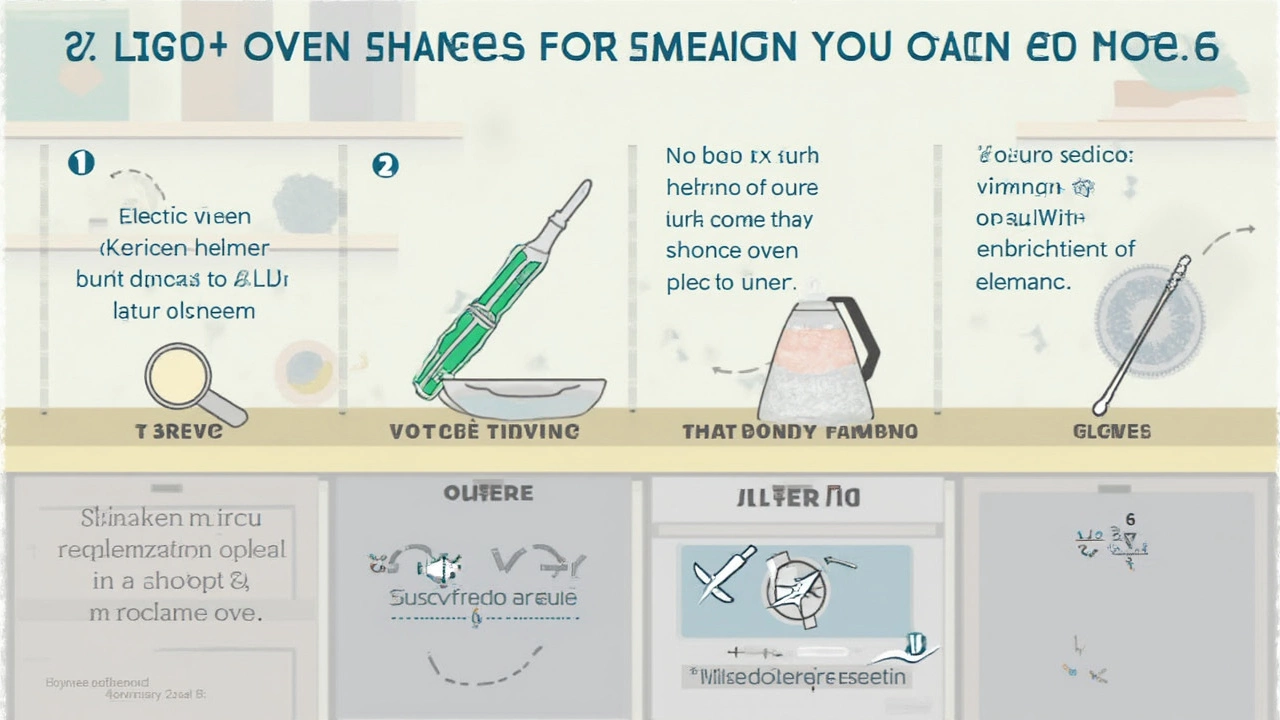
Tools and Tips for a Safe Replacement
Before you touch anything, safety comes first—always unplug your oven or flip the circuit breaker. Ovens pack enough juice to zap you, so treat this step like gospel. Most heating elements in electric ovens are pretty easy to get to: pop open the oven door and you’ll spot the element attached with a couple of screws or bolts at the back. The tools you’ll need are basic, and you probably have them around the house:
- Phillips or flathead screwdriver (check what matches your screws)
- Socket wrench (if your element’s bolts need it)
- A flashlight—makes it a lot easier to see inside the oven
- Work gloves (the old element can be sharp or greasy)
Here’s the quick-and-dirty way to swap out the heating element in your electric oven:
- Unplug the oven or kill the power at the breaker panel.
- Remove the oven racks for space to work.
- Take a photo of how the wires connect to the element. Seriously, you’ll thank yourself later.
- Unscrew or unbolt the old element from the back wall.
- Gently pull it forward. There’ll be wires attached—don’t yank them loose.
- Disconnect the wires. Slide them onto the new element’s terminals (use needle-nose pliers if it’s a tight fit).
- Reattach the screws or bolts, double-check the connections, and replace the racks.
- Plug the oven back in or flip the breaker on. Test for heat.
Always buy the right replacement part for your oven model. Using a generic or incorrect one can cause bigger problems—some even void your warranty. If any wires look burnt or corroded, don’t just slap in a new element. Wiring issues can be a fire risk—best to call in a pro if you spot damage like that. And if the new element still doesn’t heat up, the problem probably isn’t the element at all (could be a bad thermostat or control board).
When Replacing Doesn't Make Sense
Sometimes swapping out a faulty heating element isn’t the smartest option. It usually comes down to age, cost, and overall oven condition.
If your oven is over fifteen years old, repairs start to be a gamble. According to data from appliance repair companies, major parts like the control board or thermostat often fail soon after an element issue. So, even if you slap in a new part today, another one might quit tomorrow.
Here’s a quick way to know if you should pass on the repair:
- The oven is older than 12–15 years.
- You’ve had other recent breakdowns.
- Part costs or labor fees go over half the price of a new oven.
- Replacement parts are tough to find or not available for your model.
- Your energy bill has climbed even when you’re not cooking more.
| Situation | Replacement Worth It? | Why |
|---|---|---|
| Heating element: $40, oven age: 3 yrs | Yes | Low cost, oven is young |
| Heating element: $120 + $150 labor, oven age: 14 yrs | No | High cost, old oven |
| Oven repeatedly trips breaker | No | Likely bigger electrical problem |
| Oven lost multiple features (timer, broiler, etc.) | No | Signals deeper issues |
The most important thing to remember: If repairs add up to more than 50% of a new unit, skip the oven repair and put your money toward an upgrade. Modern ovens are more energy-efficient anyway, and you’ll save on utility bills long-term.
One more tip—don’t overlook warranty status. If your oven is less than a year or two old, it might still be covered. Check before you spend a dime.
Simple Ways to Maximize Your Oven’s Lifespan
Regular little habits go a long way when you want to keep your oven running for years. Most folks don’t realize just how much cooking grime and old spills stress those parts, especially the heating element. A dirty oven forces the element to work harder, which means it will wear out way faster.
Here’s what makes the biggest difference:
- Wipe up spills ASAP: Letting food crust over the element makes it run hotter and shortens its life. After using the oven, let it cool and wipe out fresh spills with a damp cloth.
- Deep clean every few months: Do a solid clean with basic baking soda and water or use an oven-specific cleaner. Skip harsh chemicals that corrode metal parts.
- Check the seals: If your oven door doesn’t close snug, heat escapes, making everything work harder. Gasket replacements are cheap and make a real difference.
- Don’t overload your oven: Shoving in too many dishes blocks airflow and causes uneven heating, which puts strain on the element and controls.
- Use the self-clean cycle sparingly: Self-clean gets insanely hot and can actually age your oven or trip the thermostat. Once or twice a year at most is plenty.
- Watch the burners: For ovens with stovetops, keep burner coils and drip pans clean. Grease buildup can spark a short.
- Listen for odd sounds: Weird buzzing or popping when heating up can mean the element’s about to quit. Catch these early and you’ll often avoid a full breakdown.
If you’re wondering how long a well-kept oven actually lasts, check out this table based on reported lifespans from appliance surveys:
| Appliance Part | Average Lifespan (Years) |
|---|---|
| Heating Element | 8-12 |
| Control Panel | 10-15 |
| Oven Door Gasket | 5-7 |
| Interior Finish | 10-20 |
Most ovens will keep going strong for ten years or more if you look after them. Go easy, keep it clean, watch for small problems, and you’ll probably dodge the big repair bills.