Electric Oven Circuit Safety Checker
Ensure your kitchen circuit can handle your new oven before you buy or install. Enter the specifications below.
1. New Oven Specifications
2. Safety Assessment
Estimated Current Draw
Circuit Capacity
Next Steps:
- Verify voltage is 230V AC.
- Confirm wire gauge matches breaker rating.
Earth (Green/Yellow) | Neutral (Blue) | Live (Brown)
You stare at the dead oven in your kitchen. The heating element is shot, the door seal is cracked, or maybe it just looks like it belongs in a museum from the 1980s. The quote from the local handyman makes you wince. It’s easier to pay someone else than to risk electrocuting yourself, right? Not necessarily. Replacing an electric oven is one of those rare home improvement tasks that sits perfectly in the "DIY sweet spot." It requires patience and basic tools, but it doesn't demand a degree in electrical engineering. If you can change a lightbulb without blowing a fuse, you have the baseline skill set. But before you grab a screwdriver, you need to know exactly what you're getting into.
Is It Actually a Replacement or Just a Repair?
Before you head to the store, ask yourself: do you actually need a new oven? Often, the problem isn't the whole unit. Electric Oven is a kitchen appliance that uses electricity to generate heat for cooking. Unlike gas ovens, they rely on resistive heating elements and thermostats. These parts are cheap and easy to swap. A faulty thermostat costs around $50-$100 NZD. A new heating element might be $80. Compare that to a new oven costing $800-$3,000+. Check the obvious stuff first. Is the clock working? If yes, power is reaching the unit. Try resetting the circuit breaker. If the fan works but no heat comes out, it's likely the element. Only if the control board is fried or the cabinet itself is rusted through should you consider full replacement.
The Safety First Rule: Electricity Doesn't Negotiate
This is the part where people get hurt. Or worse, cause a fire three months later because they didn't tighten a terminal properly. In New Zealand, our electrical standards (AS/NZS 3000) are strict for a reason. When you replace an oven, you are dealing with 230V AC power. That is enough to stop your heart. Here is the non-negotiable rule: Never work on live wires.
- Turn off the breaker: Go to your switchboard. Find the specific breaker labeled "Oven" or "Kitchen Power." Flip it off.
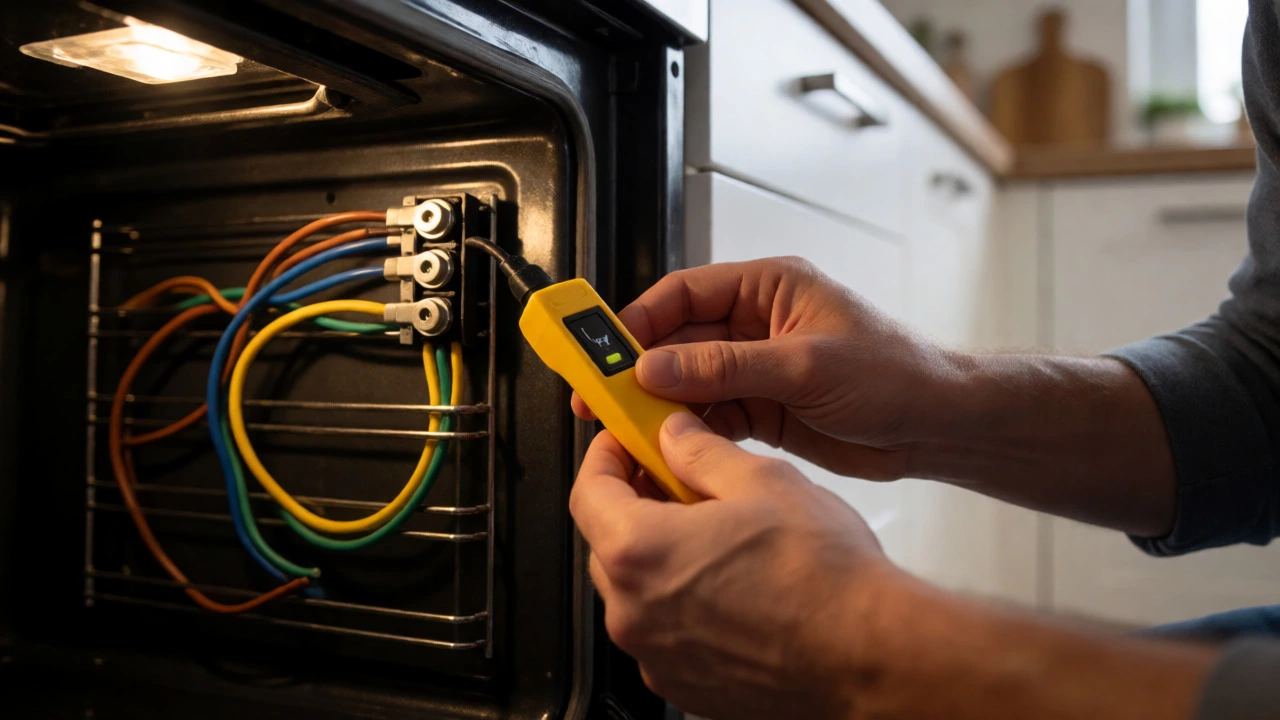
- Test it: Don't trust the label. Labels lie. Use a voltage tester on the terminals inside the oven cavity (after removing the back panel) to confirm zero volts.
- Lock it out: If possible, tape over the breaker so nobody accidentally flips it back on while you're behind the stove.
If you see burnt wires, melted plastic, or signs of previous amateur wiring, call a licensed electrician. Do not try to fix bad history with new tape.
Tools and Prep Work
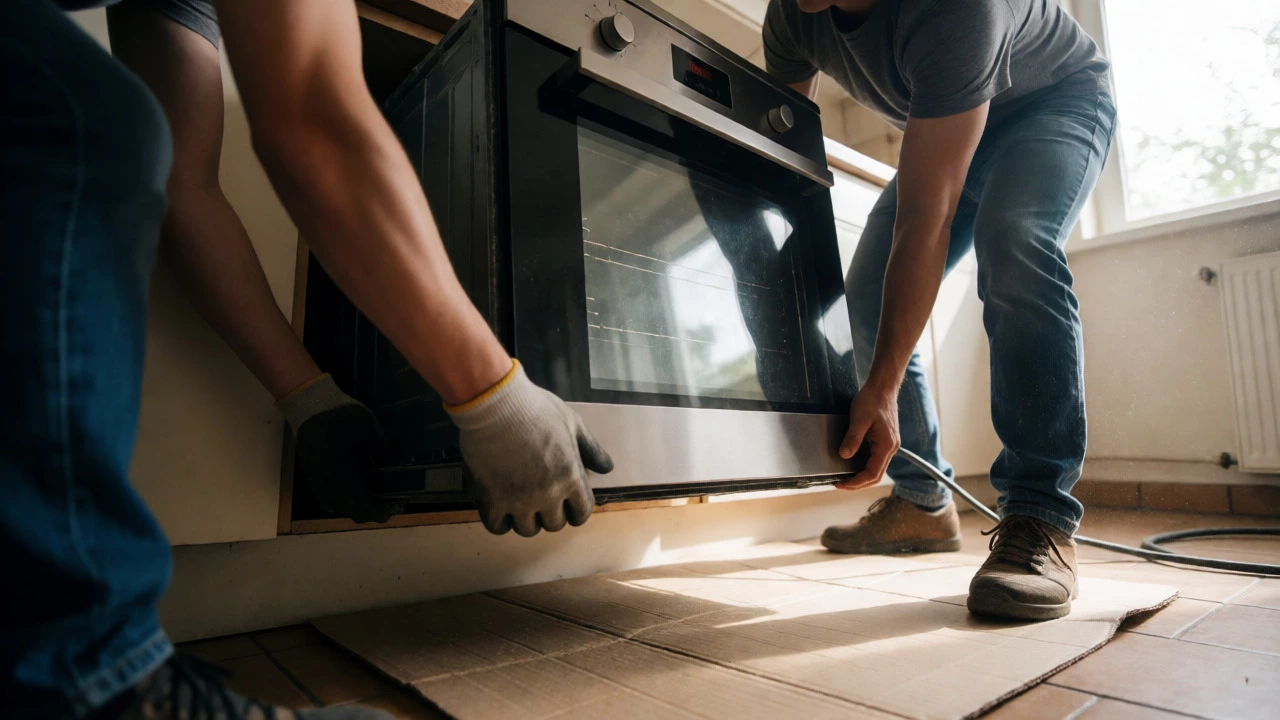
You don't need a truckload of gear, but having the right bits saves frustration. Ovens are heavy. A standard built-in single oven weighs between 40kg and 60kg. Built-under models can be lighter, but still awkward. You will need two people-one to lift, one to guide.
| Tool | Purpose | Tip |
|---|---|---|
| Voltage Tester | Confirming power is off | Non-contact testers are safer for beginners |
| Screwdrivers (Phillips & Flat) | Removing panels and terminals | Magnetic tip helps keep screws from falling |
| Adjustable Wrench | Loosening cable glands | Ensure jaws are clean to avoid stripping nuts |
| Work Gloves | Protecting hands from sharp metal edges | Oven cavities often have hidden sharp burrs |
| Cardboard/Rug | Protecting floor during removal | Prevents scratches on tiles or vinyl |
Step-by-Step Removal Process
Start by pulling the oven out. Most built-in ovens are held in place by two screws at the top corners of the frame, accessible when the door is open. Remove these carefully. Once unscrewed, gently slide the oven forward. It will come out about 10cm, then hit the cables. Stop there. Do not yank it further.
Locate the access panel at the back of the oven cavity (inside the wall space). This usually covers the junction box where the house wiring connects to the oven flex. Remove the cover. Take a photo of the existing wiring configuration. This is your cheat sheet. Label the wires if they aren't color-coded correctly (Live, Neutral, Earth).
Disconnect the earth wire first (green/yellow), then the neutral (blue), then the live (brown). Keep them separated so they don't touch each other or the metal casing. Now, pull the old oven completely out. Watch out for scuff marks on the kitchen cabinets; use cardboard to protect them.
Wiring the New Oven: Getting It Right
New ovens often come with a different plug or require hardwiring. In NZ, most high-power ovens (over 2kW) should be hardwired directly into a dedicated spur or ring main connection, rather than using a plug socket. Why? Because plugs can overheat under sustained high load.
Check the rating plate on your new oven. It will state the total wattage. Divide this by 230 (volts) to get the amperage. For example, a 7000W oven draws roughly 30 Amps. Your existing cable must handle this. Older homes might have 2.5mm² cable rated for 20A. If your new oven needs more, you might need an electrician to upgrade the circuit. Do not guess this.
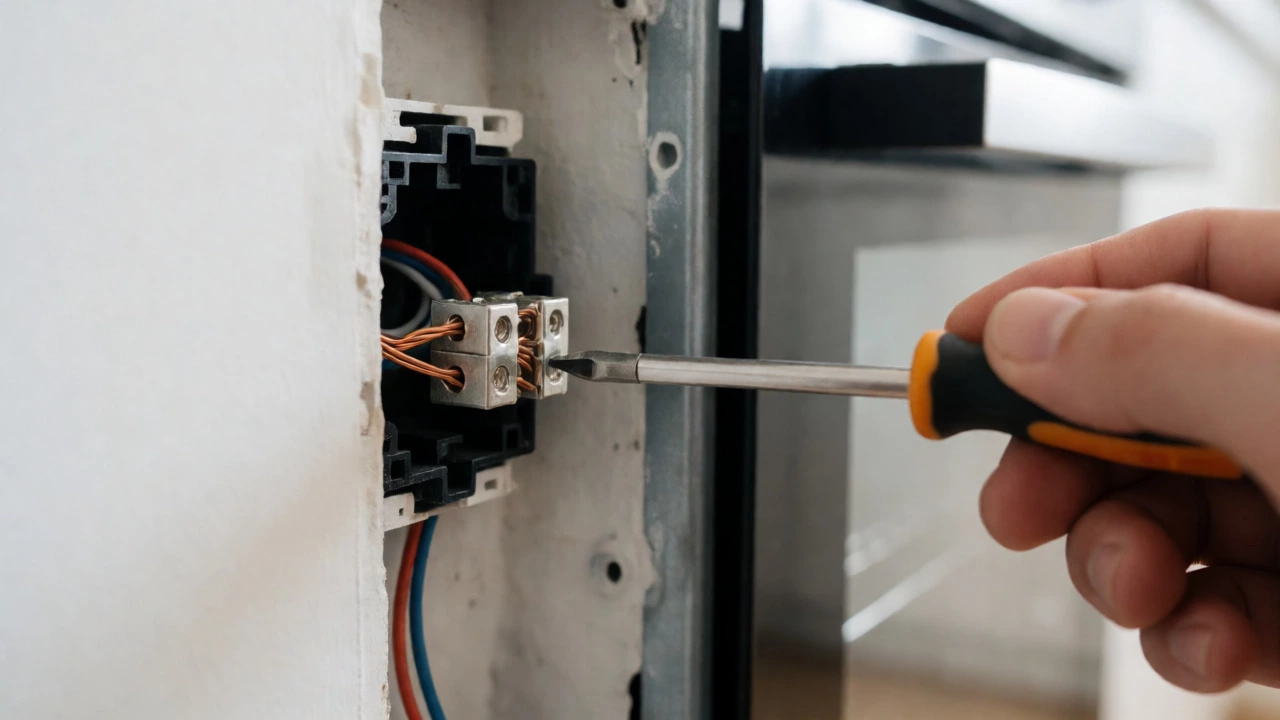
Connect the new wires to the new terminal block:
- Earth (Green/Yellow): Connect to the earth terminal (usually marked E or ⏚). Ensure the metal-to-metal contact is solid.
- Neutral (Blue): Connect to the N terminal.
- Live (Brown): Connect to the L terminal.
Tug each wire gently. They should not move. Loose connections create resistance, which creates heat, which creates fires. Tighten the strain relief clamp on the cable gland so the weight of the cable doesn't pull on the terminals.
Reinstalling and Testing
Slide the new oven back into the cavity. Feed the excess cable neatly into the wall void-don't pinch it against the back of the oven or the wall. Secure the mounting brackets or screws provided with the new unit. Reattach the rear access panel.
Before turning the breaker back on, double-check everything. No loose strands of copper sticking out. No blue touching brown. Once you are confident, flip the breaker. Turn on the oven. Set it to 180°C. Wait five minutes. Does the fan spin? Does the element glow red? Is the temperature rising? If yes, congratulations. You just saved hundreds of dollars.
When to Call a Pro
DIY isn't always the answer. Call a registered electrician if:
- Your kitchen lacks a dedicated oven circuit.
- The existing wiring is cloth-insulated or very old rubber.
- You see signs of arcing (black marks) in the junction box.
- You are uncomfortable handling 230V mains electricity.
- The new oven requires a higher amperage than your current setup supports.
In New Zealand, only licensed electricians can legally perform certain electrical alterations, though homeowners can generally replace like-for-like appliances. However, if you modify the circuit, you need a Certificate of Compliance (CoC). An unlicensed job might fail your insurance claim if something goes wrong.
Do I need a special socket for an electric oven?
Most modern electric ovens in New Zealand are hardwired directly into the wall rather than plugged into a standard 10A socket. This is because ovens draw significant power (often 20A+). Hardwiring prevents overheating at the plug points. Some smaller countertop ovens may use a standard plug, but check the manufacturer's instructions.
How much does it cost to hire an electrician to install an oven?
In Dunedin and across NZ, expect to pay between $150 and $300 NZD for a simple like-for-like replacement if the wiring is ready. If new cabling or a new circuit breaker is required, costs can rise to $500+. Always get a fixed-price quote beforehand.
Can I replace a built-in oven with a freestanding cooker myself?
Yes, but it involves more carpentry. You'll need to remove the surrounding cabinetry or trim to fit the wider freestanding unit. The electrical connection remains similar, but ensuring the unit is level and stable is critical for safety and door alignment.
What happens if I connect the live and neutral wires backwards?
For many resistive loads like ovens, the appliance will still work because AC current alternates. However, it is unsafe practice. Switches and fuses are designed to break the Live line. If reversed, the internal components may remain live even when the oven is switched off, posing a shock hazard during maintenance.
Do I need to wait after installing a new oven before using it?
No, you can test it immediately after wiring and securing it. However, manufacturers often recommend running the oven empty at 200°C for 30-60 minutes to burn off manufacturing oils and smells before cooking food.