Bathroom Extractor Fan Airflow Calculator
Room Dimensions & Preferences
Enter your bathroom dimensions to calculate the necessary air exchange rate.
Your Recommendations
Includes parts and labor estimates.
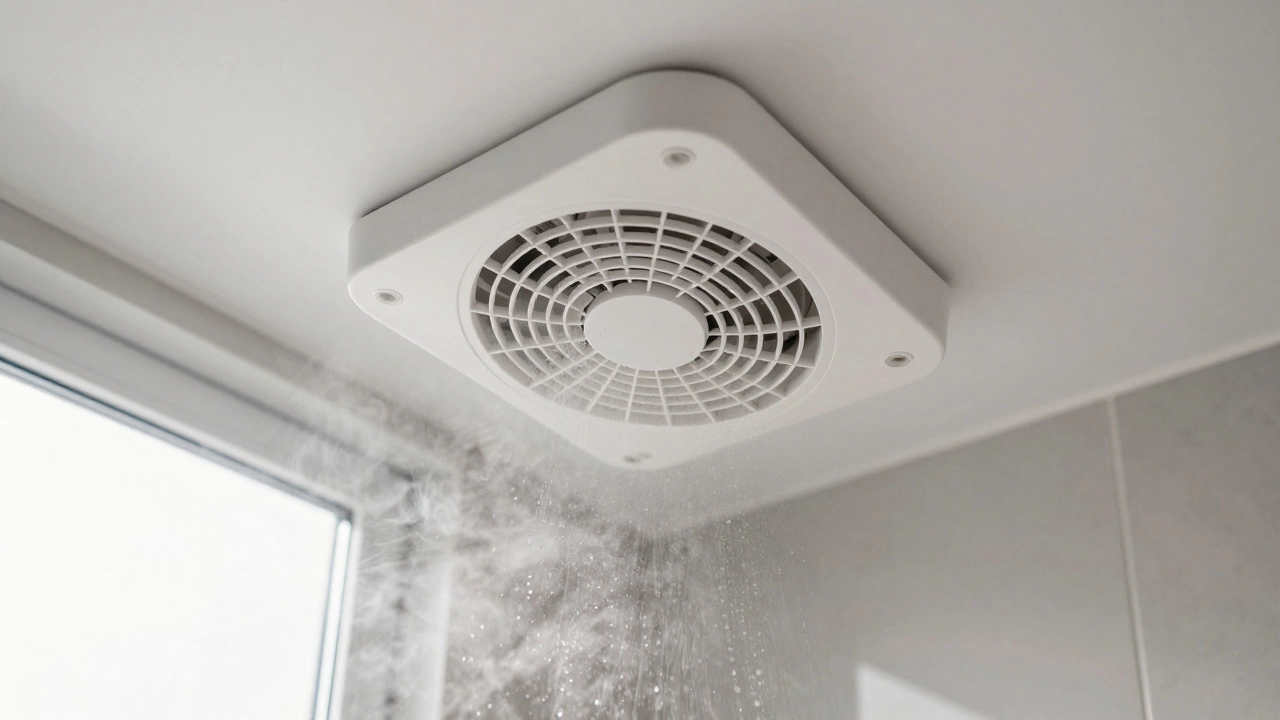
That humming noise in your bathroom isn’t just annoying; it’s a sign that your bathroom extractor fan is struggling. You’ve probably stood there after a hot shower, watching steam fog up the mirror while the fan whirs uselessly, wondering if you can fix this yourself. The short answer is: yes, replacing a bathroom extractor fan is generally easy for someone with basic DIY skills, but it comes with one major caveat-electricity.
If you’re comfortable turning off the power at the fuse box and handling simple wiring, this is a weekend project that saves you hundreds of dollars in labor costs. If the idea of touching wires makes your palms sweat, or if your current setup involves complex ductwork, calling a professional might be the smarter move. Let’s break down exactly what goes into swapping out an old unit, what tools you need, and how to avoid common pitfalls.
Assessing Your Current Setup
Before you buy anything, you need to look at what you have. Not all fans are created equal, and not all bathrooms have the same infrastructure. First, identify the type of fan you currently have. Most modern homes use a ceiling-mounted extractor fan, which sits flush with the plasterboard. Older properties might have a wall-mounted unit, often found near the top of the window or door frame.
Check the size of the cutout. Standard sizes are usually 150mm x 150mm or 200mm x 200mm square, or sometimes circular openings around 150mm in diameter. Measure this carefully because buying a fan that doesn’t fit the existing hole means cutting new plasterboard, which adds mess and complexity to the job. Also, check the ducting. Is it rigid PVC pipe, or flexible aluminum foil tubing? Rigid pipes are easier to connect to, while flexible ducts can kink over time, reducing airflow efficiency.
Another critical factor is the location of the switch. Does your fan run on a timer, a humidity sensor (hygrostat), or simply when you turn on the bathroom light? If you want to upgrade from a manual switch to a smart sensor, you’ll need to ensure there’s enough wiring capacity in your junction box to support the new control module.
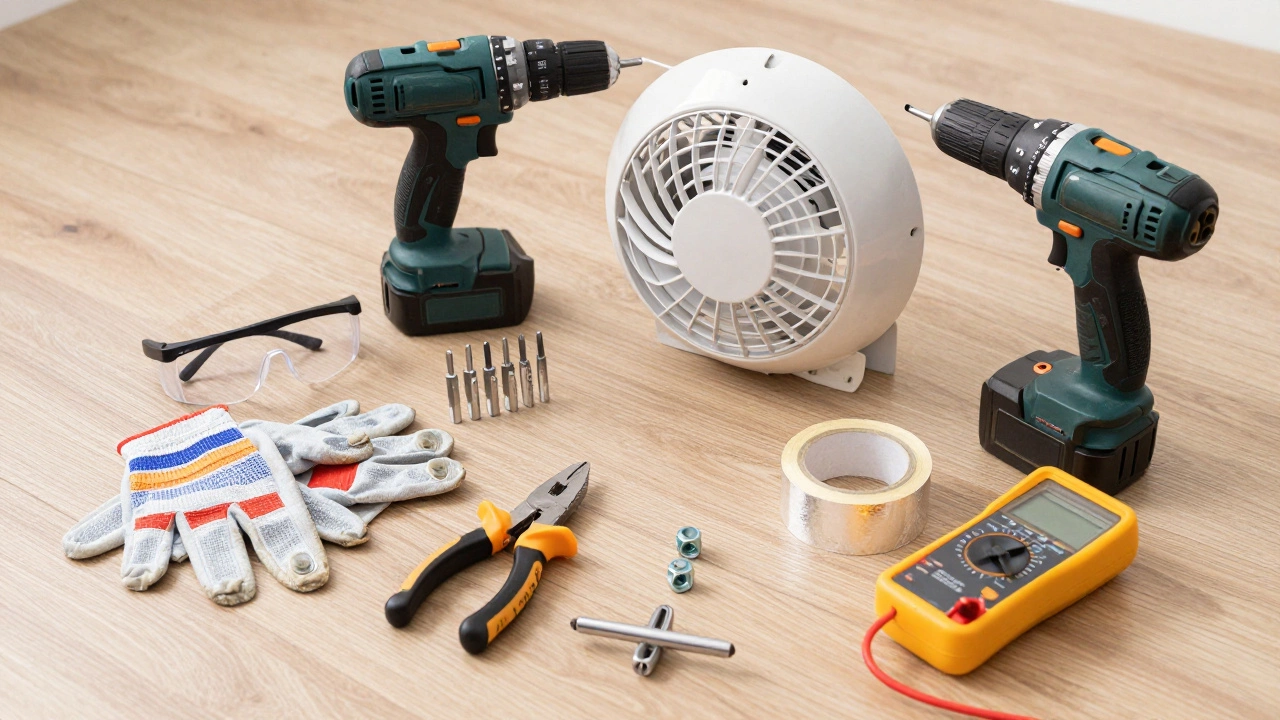
Tools and Materials You’ll Need
You don’t need a full workshop to do this, but having the right tools makes the process smoother and safer. Here is a checklist of what you should gather before starting:
- Safety Gear: Insulated gloves and safety glasses. Dust and debris will fall from the ceiling once you remove the old unit.
- Power Drill: With screwdriver bits for removing screws and potentially drilling new mounting holes if the bracket changes.
- Flathead Screwdriver: Useful for prying off the decorative grille without scratching it.
- Wire Strippers and Connectors: You’ll need Wago lever nuts or traditional twist-on connectors to join the live, neutral, and earth wires securely.
- Multimeter: This is non-negotiable. You must verify that the power is truly off before touching any wires.
- New Extractor Fan Unit: Ensure it matches your cutout size and has adequate airflow rate (measured in liters per second) for your bathroom’s volume.
- Duct Tape or Foil Tape: To seal any gaps in the ducting connections.
Avoid using standard plastic tape for ducting as it degrades quickly and fails to create an airtight seal. Foil tape is durable and resistant to moisture, which is essential in a bathroom environment.
Step-by-Step Replacement Process
Replacing the fan follows a logical sequence. Rushing through these steps can lead to electrical hazards or a poorly installed unit that leaks air back into the room.
- Turn Off the Power: Go to your consumer unit (fuse box) and switch off the circuit breaker for the bathroom. Do not rely on the wall switch. Use your multimeter to test the wires in the old fan’s housing to confirm there is no voltage. Safety first, always.
- Remove the Old Grille: Gently pry off the front cover. It’s usually held by friction clips or small screws. Set it aside safely.
- Disconnect Wiring: Identify the live (brown), neutral (blue), and earth (green/yellow) wires. Take a photo of the connections with your phone so you remember how they were arranged. Disconnect them carefully. Note that some older fans may have different color coding (black/red/yellow/green), so double-check with your multimeter if unsure.
- Detach the Motor Unit: The motor housing is typically secured to a metal or plastic mounting bracket with screws or spring clips. Unscrew or unclip the unit and lower it out of the ceiling cavity. Be gentle; you don’t want to drop heavy components onto your head.
- Prepare the New Fan: Check the new unit’s instructions. Some require you to attach the mounting bracket to the ceiling first, while others allow you to insert the motor and secure it later. If your new fan has a different bracket shape, you may need to drill new holes in the ceiling joists or plasterboard.
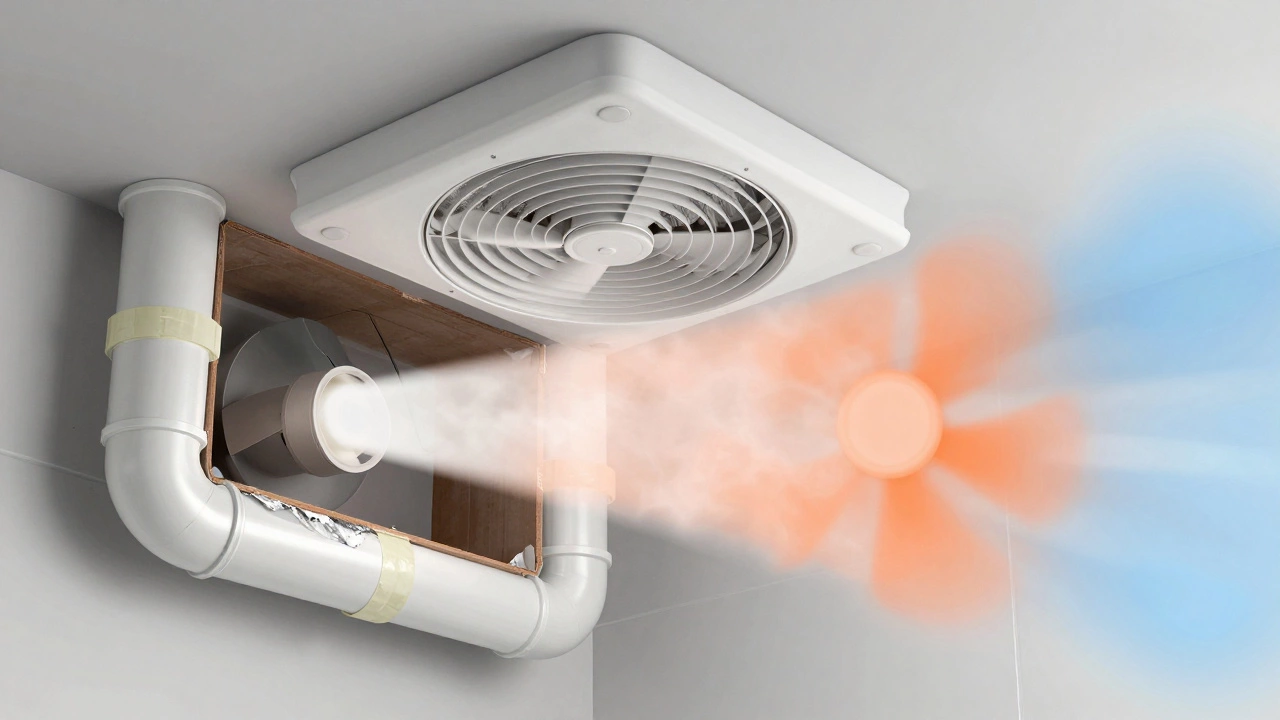
- Install the Ducting: Slide the new fan’s duct connector into the existing pipe. Secure it tightly with a hose clamp or foil tape to prevent air leakage. Air leaks reduce suction power and can cause condensation issues elsewhere in the house.
- Connect the Wires: Insert the new fan’s wires into the ceiling cables using your chosen connectors. Ensure no copper strands are exposed outside the connector, as this can cause short circuits. Tuck the wires neatly back into the junction box.
- Secure the Unit: Lift the new motor into place and attach it to the mounting bracket. Tighten all screws evenly to keep the fan level. An uneven fan can vibrate excessively, causing noise.
- Reattach the Grille: Snap the front cover back on. It should sit flush against the ceiling.
- Restore Power and Test: Turn the circuit breaker back on. Switch on the fan and listen for smooth operation. Check for any vibrations or unusual noises. If it’s silent and steady, you’re good to go.
Common Challenges and How to Overcome Them
Even though this is a straightforward task, a few hurdles can pop up. One common issue is finding that the existing ducting is too long or has sharp bends. Over time, flexible ducts sag and collect dust, restricting airflow. If you notice significant resistance when testing the new fan, consider replacing the flexible section with rigid PVC piping where possible. Straight runs of ductwork improve efficiency by up to 30%.
Another challenge is insufficient clearance in the roof space. If your attic or roof void is packed with insulation or pipes, maneuvering the new unit into place can be tricky. In such cases, choose a slim-profile fan model designed for low-ceiling applications. These units are shallower and easier to install in tight spaces.
Wiring mismatches are also frequent. If your old fan was wired directly to the light switch loop without a separate feed, you might need to run a new cable from the consumer unit if you want independent control (like a timer). This requires more advanced electrical knowledge and possibly a licensed electrician’s touch.
When to Call a Professional
While most homeowners can handle a direct swap, there are scenarios where hiring a pro is worth the investment. If your bathroom lacks any external venting path-for example, if the duct leads into a loft rather than outside-you need a structural modification to route air outdoors. This involves cutting through walls or roofs, which risks water ingress if not sealed properly.
If you discover faulty wiring, such as burnt marks or melted insulation, stop immediately. This indicates an underlying electrical fault that could pose a fire risk. A qualified electrician can diagnose and repair the root cause before installing the new fan.
Lastly, if you live in an apartment building, check with your landlord or management company. Many leases prohibit modifications to shared ventilation systems or exterior walls. Unauthorized changes can lead to fines or forced reinstallation.
Choosing the Right Fan for Your Needs
Not all extractor fans perform equally. Look for models with a high SFP rating (Sound Power Level) if noise is a concern. Aim for under 30 dB(A) for quiet operation. Also, consider energy efficiency. Modern LED-integrated fans save on electricity bills compared to older halogen-lit models.
Smart features like humidity sensors automatically activate the fan when moisture levels rise, preventing mold growth without manual intervention. Timers allow the fan to run for a set period after the lights are turned off, ensuring thorough drying. These upgrades enhance comfort and protect your home’s structure from damp-related damage.
How much does it cost to replace a bathroom extractor fan?
A DIY replacement costs between $50 and $150 for the fan unit itself, depending on features like timers or humidity sensors. Labor costs from a professional electrician range from $150 to $300, including parts. Total expenses vary based on local rates and complexity of installation.
Can I install an extractor fan without ducting?
No, all effective extractor fans require ducting to expel moist air outside. Recirculating fans exist but only filter odors; they do not remove humidity, leading to mold and mildew buildup over time. Proper venting is essential for health and building integrity.
What size extractor fan do I need for my bathroom?
Calculate your bathroom’s volume (length x width x height) and divide by 60 to get the required airflow in liters per second. For example, a 4m x 3m x 2.5m bathroom needs approximately 50 L/s. Choose a fan rated slightly higher to account for duct losses.
Is it safe to replace an extractor fan myself?
Yes, if you follow strict safety protocols: turn off power at the fuse box, verify with a multimeter, and wear insulated gloves. If you encounter complex wiring, structural obstacles, or lack confidence with electrical work, hire a licensed electrician to avoid shock or fire hazards.
Why is my new extractor fan noisy?
Noise often stems from improper installation: loose mounting screws, vibrating ductwork, or misaligned blades. Ensure all connections are tight, ducts are straight and secure, and the fan is level. If noise persists, the unit may be defective or undersized for your space.